Taking Your Google Slides Presentation to the Next Level (15 Tips)
Learn how to captivate your audience with Google Slides using 15 proven tips that make your presentations unforgettable.
Let’s recall all the meetings, conferences, seminars, webinars, and events that you have attended to date. Now, choose the one that you would like to re-attend. It’s likely the one that added value to your business, enhanced your existing knowledge, and provided you with the right solution, isn’t it? Also, consider what made you spellbound and fall in love with that particular event or conference. We are sure it was the speaker and the presentation.

Presentations are crucial to the success of any business. Whether you are a student, educator, business expert, or healthcare professional, you will need to present at some point in your career. To ease your presentation woes, Google Slides has emerged as a fantastic tool. It is one of the best alternatives to PowerPoint, and it is both easily accessible and user-friendly.
Since its inception until now, Google Slides has undergone many innovative updates. By tapping into the potential of Google Slides and leveraging its mind-blowing features to the fullest, you can create engaging and memorable presentations. In this context, we’ve provided a few hacks in this article to help you make your next Google Slides presentation top-notch.
Table of Content:
- Create Cohesiveness with the Perfect Theme
- Use High-Quality Images to Engage Your Audience
- Explore the Option to Reshape Images
- Add Links to Make Your Presentation More Informative
- Easily Make Changes to All Slides Using the Slide Master
- Easily Add Diagrams
- Add Movement with Animations and Transitions
- Add YouTube Videos to Enhance Your Content
- Use Speaker Notes to Write Key Discussion Points
- Keep Up with Presenter View
- Dictate Your Speaker Notes
- Engage with Audience Questions
- Keep the Audience Engaged with Appropriate Audio
- Collaborate in Real Time
- Put Your Google Slides Presentation on a Website
1. Create Cohesiveness with the Perfect Theme
Google Slides offers a plethora of themes that you can use to give your presentation a harmonious and unified look. With these pre-designed themes, you’re not required to expend effort or devote time to format your slides manually. You simply need to consider your audience, topic, and core message when choosing the right theme. However, if you want to create your own customized theme, Google Slides provides options for that too.
You can choose a pre-designed theme by clicking on the ‘Theme’ option in the menu bar.

Upon clicking ‘Theme,’ you will see this option with a scroll bar. Select the theme that best fits your presentation’s content and objective, and click on it. The changes will be reflected in real-time. You can also experiment with different theme options until you find the most relevant one.
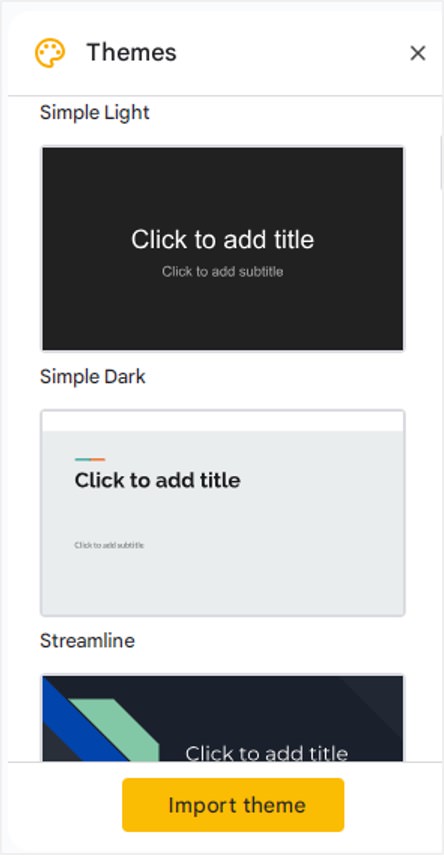
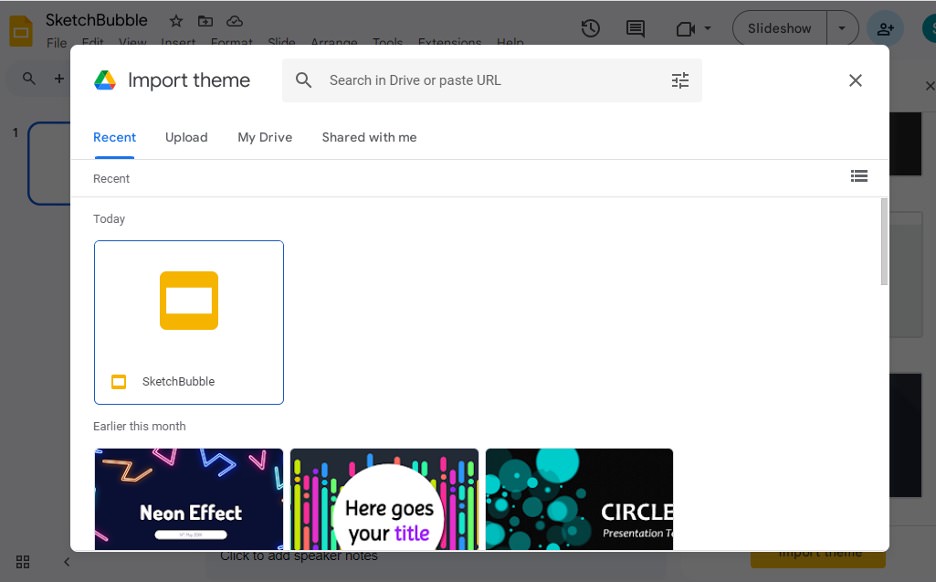
Click on the ‘Import theme‘ button if you want to import pre-designed Google Slides themes saved in your drive or shared folder.
2. Use High-Quality Images to Engage Your Audience
Images can communicate your message more clearly than text. However, be sure to use relevant and high-definition images, as the wrong ones might ruin your entire presentation.

With Google Slides, you have various ways to insert images. You can upload them from your computer or Google Drive.
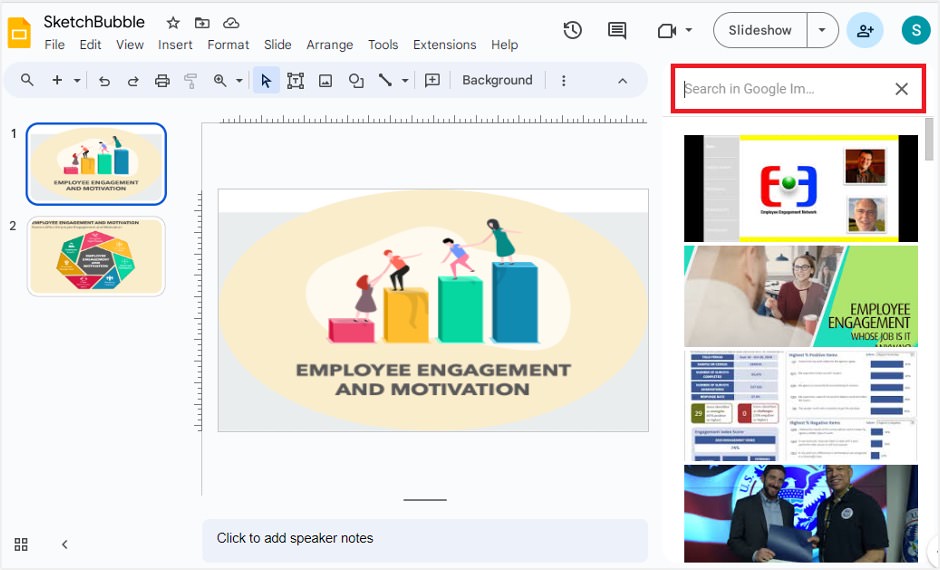
You can also search for images directly through Google Images. To do this, click on Insert > Image > Search the Web. A panel will open on the right side of your screen. Just type the keyword for the image you want, then click on it to add it to your slide. This way, you won’t need to download and reupload images to your slide.
3. Explore the Option to Reshape Images
Tired of the same old square or rectangular images? Get creative with Google Slides by reshaping your images into various callouts, arrows, shapes, or equations.
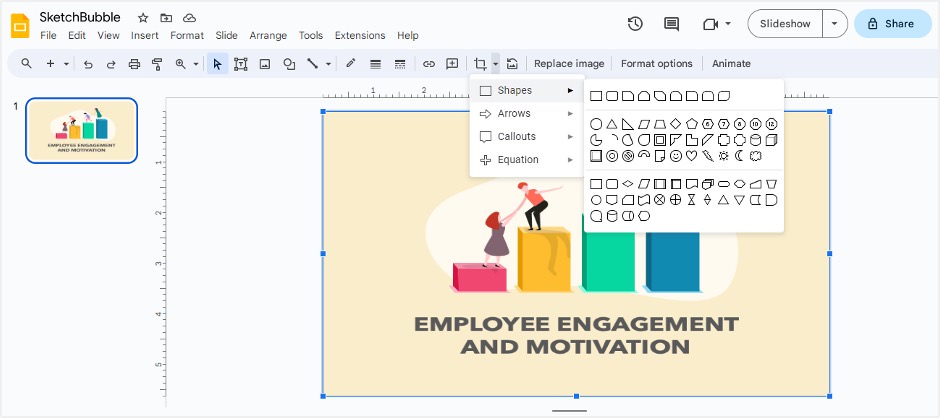
First, select the image you want to change. Then, click the ‘Mask image‘ option, which you’ll find as a small triangle button on the right side of the Crop icon (as shown in the accompanying screenshot).
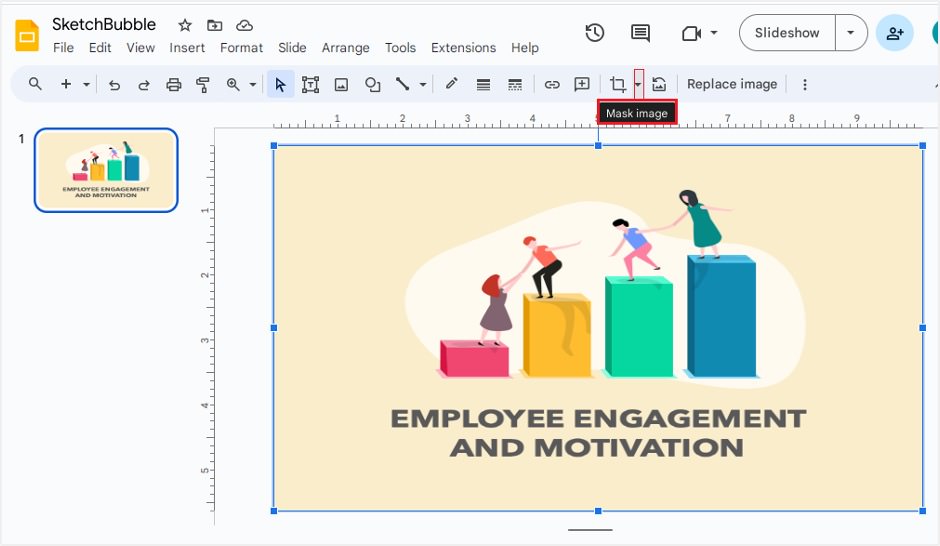

You’ll be presented with many reshaping options like Shapes, Arrows, Callouts, and Equations.
For instance, if you choose the Oval shape, you can transform the image into a beautiful new form.
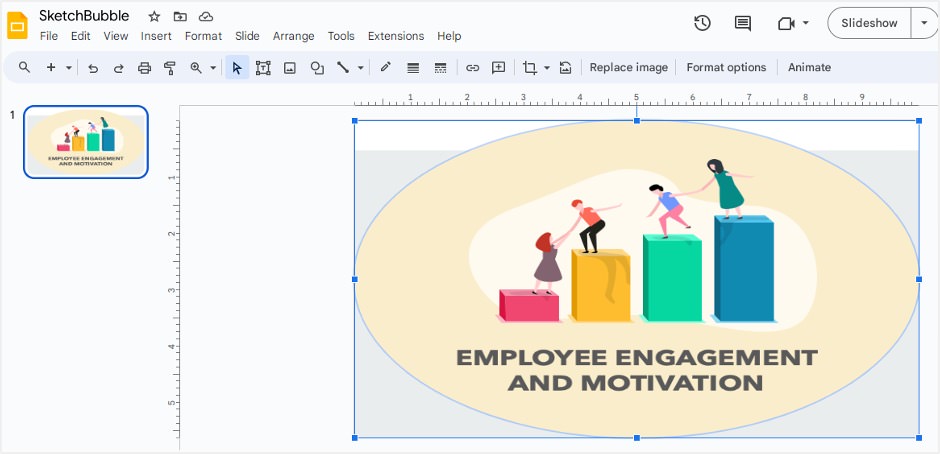
Feel free to explore and experiment with different shapes until you find the one you like. Google Slides lets you undo your changes, so don’t hesitate to try different things.
4. Add Links to Make Your Presentation More Informative
You don’t want to overwhelm your audience by cramming too much text into your slides. So how can you make your presentation richer and more insightful?
Google Slides offers a solution: you can add links to images, websites, other slides in the presentation, or even to files on Google Slides.
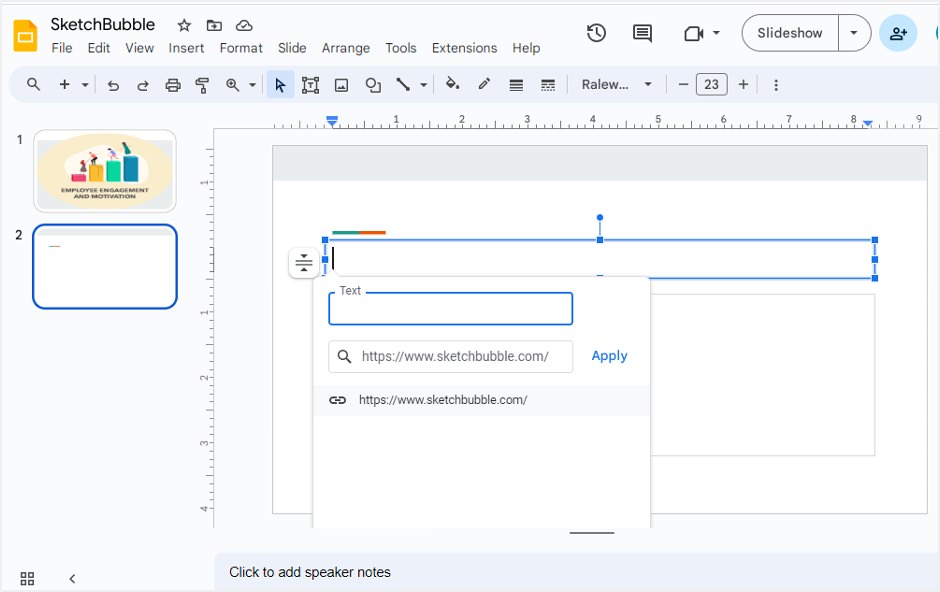
To add a link, simply select the text you want to link, then right-click on it or press Ctrl + K (Mac: Cmd + K) on your keyboard. Next, click on the ‘Link’ option.

Now, type the text you want to display, add the relevant link, and click on ‘Apply.’

5. Easily Make Changes to All Slides Using the Slide Master
Imagine you have a 15-slide presentation and want to make the same adjustments to every slide. Editing each one separately would be time-consuming, wouldn’t it?
Google Slides offers a quicker solution through the ‘Theme Builder‘ option found in the View menu and the ‘Edit Theme‘ option in the Slide menu.
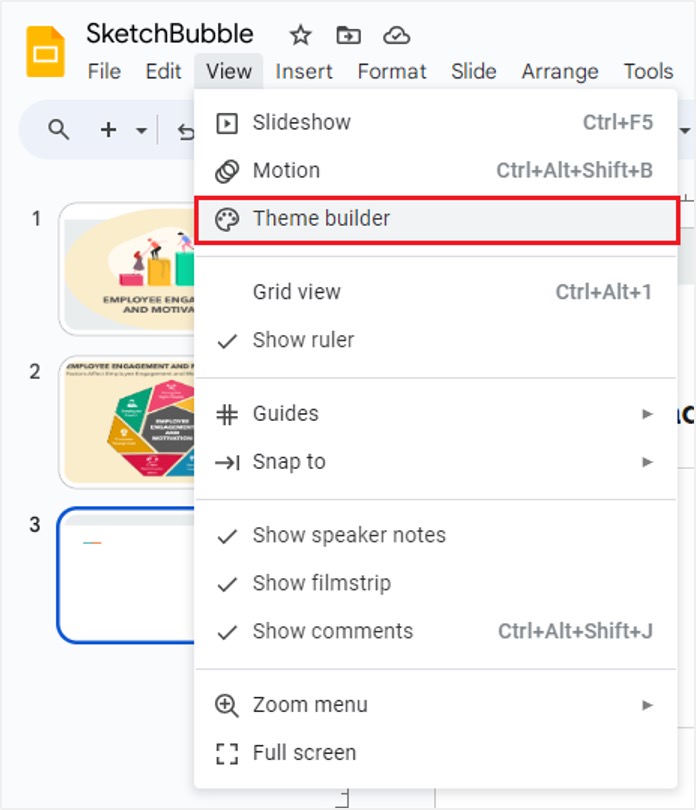
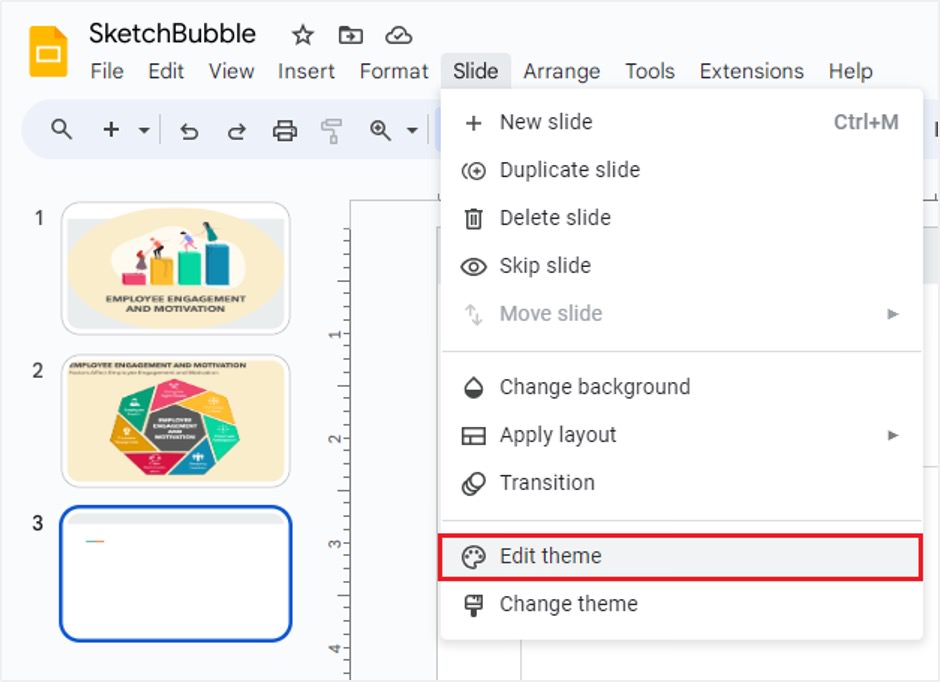
You can access these options by clicking on either one of them.
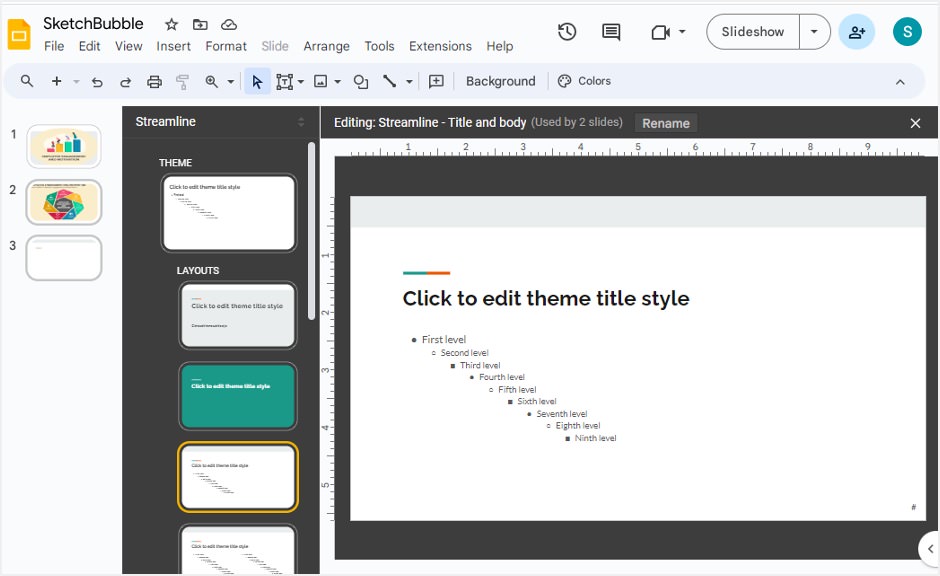
Then, simply click on the elements you want to change. Whether you need to modify the font style of titles and subtitles, add your company’s logo to the header or footer, or make other adjustments, these changes will automatically apply to all the slides.
6. Easily Add Diagrams
Diagrams make it simpler for presenters to link different pieces of information and data. This helps the audience understand concepts without difficulty. Plus, diagrams are widely recognized and used in presentations.
To insert a diagram, follow these steps:
- Go to ‘Insert‘ and then select ‘Diagram‘.
- Depending on your content, choose a diagram type such as Grid, Hierarchy, Timeline, Process, Relationship, Cycle, or others.

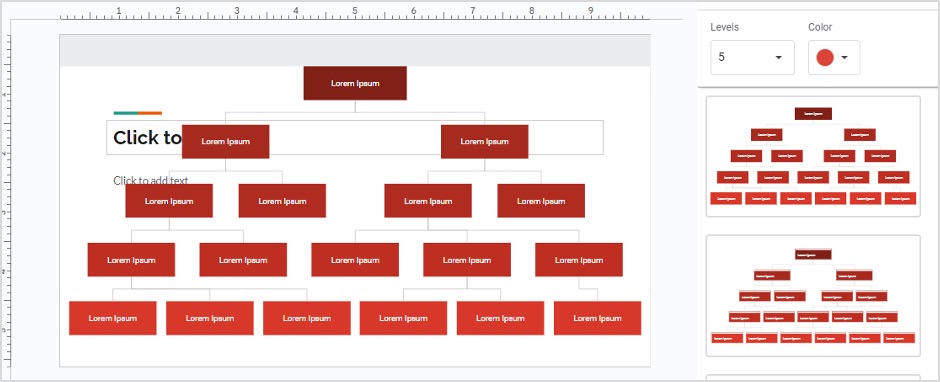
Here, we are inserting a Hierarchy diagram.

You’ll find many design options to choose from. You can select the number of levels and colors that suit your needs, and you can also modify the text.
7. Add Movement with Animations and Transitions
Make your presentation more engaging and lively by incorporating animations and transition effects. Use these effects to enhance the visualization of processes, concepts, or stories. Be mindful to use them thoughtfully and not too much, as overuse can distract your audience.
Apply transition effects as you move from one slide to another. Animation effects can be applied to individual elements on a slide, such as images, shapes, or text.
To add an animation, go to the ‘Insert‘ tab and click on ‘Animation‘.

A panel will then open:
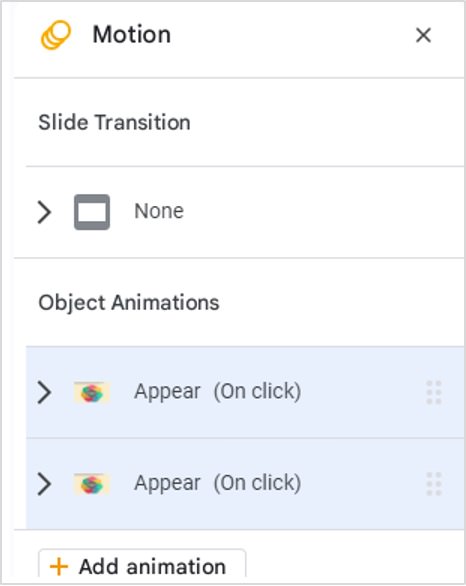
Applying Transition
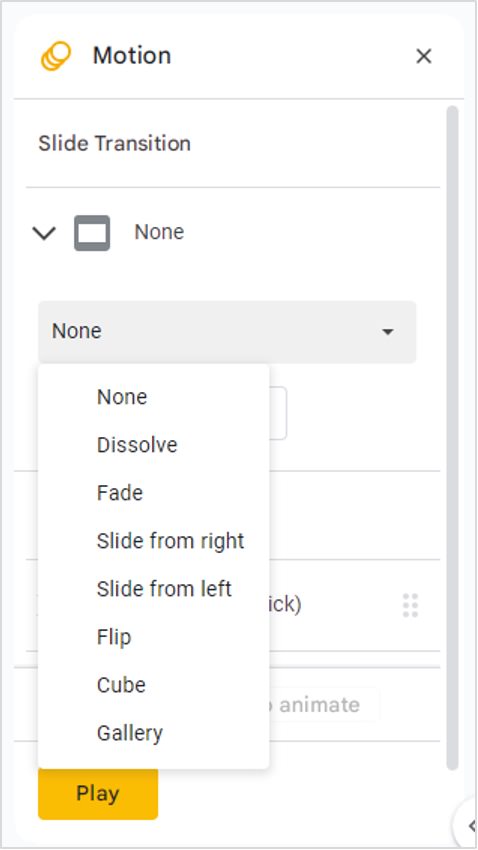
- To add a slide transition, click the arrow under the ‘Slide Transition‘ option. Initially, there will be no transition selected (marked as ‘None‘).

- By clicking the drop-down arrow, you can select the effect you want. You can also set the speed of the transition to slow, medium, or fast. After choosing your settings, click ‘Apply to all slides‘.

Applying Animation
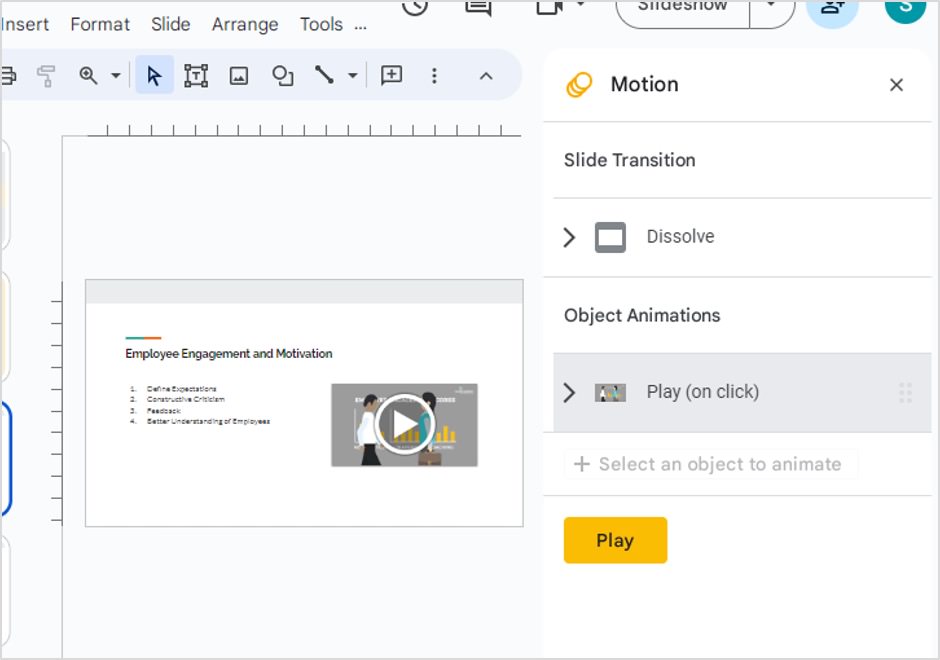
Choose an object on the slide, such as a video, text, or image, that you want to animate. Then select from the available animation options.
For example, you might want to apply animation to a video.
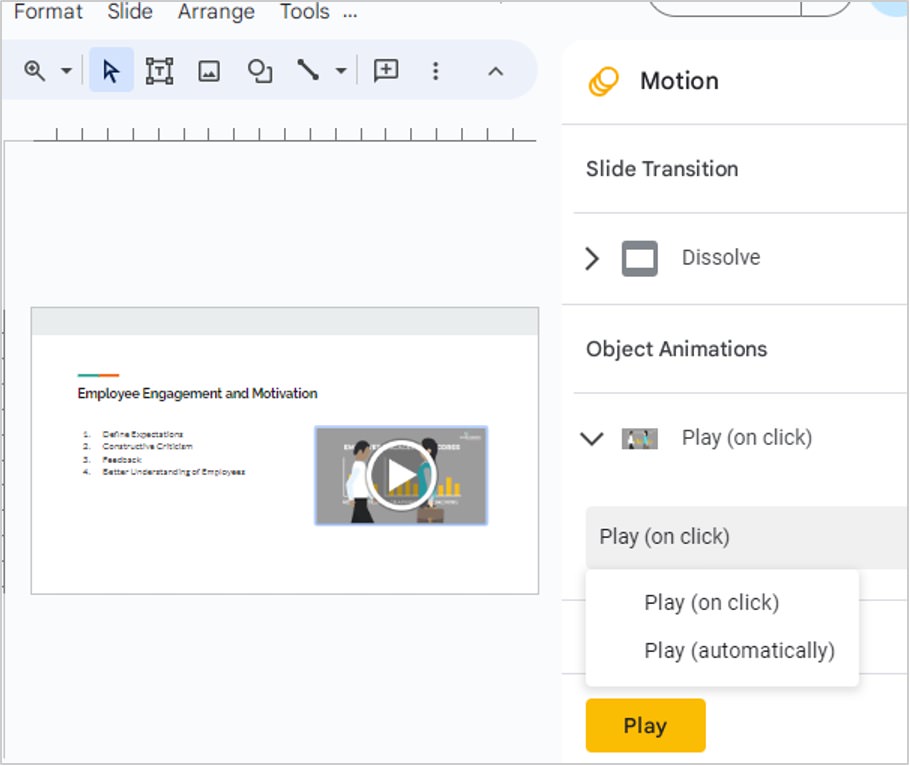
In Google Slides, you have two ways to animate videos: either play it when you click ‘Play on click‘ or have it play automatically. Select the option that fits your needs and click on ‘Play‘.
In this case, we’ve chosen the ‘Play on click‘ option.
8. Add YouTube Videos to Enhance Your Content
People often prefer visual content, so adding videos can make your content more appealing and engaging. Videos breathe life into your presentation, making it more convincing.
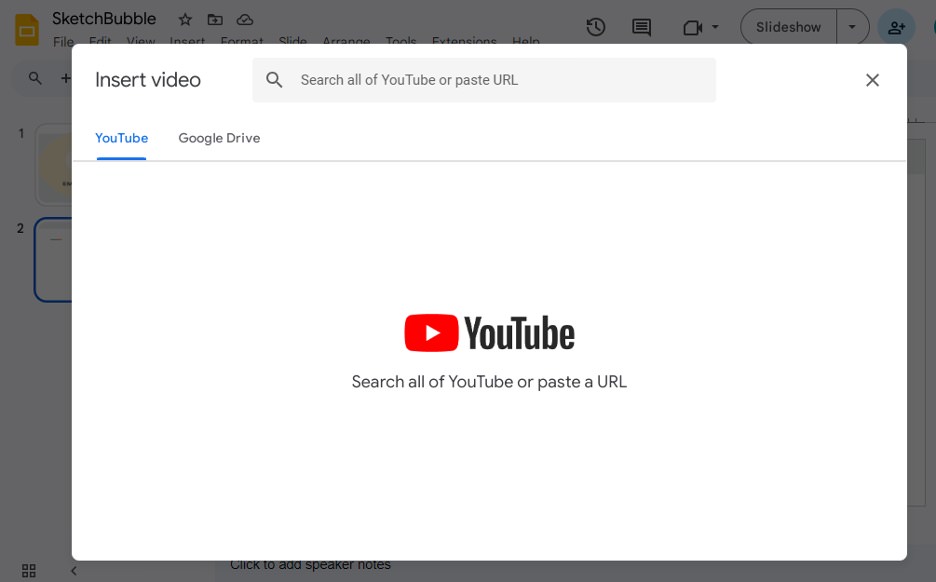
With Google Slides, you can easily include videos from Google Drive or YouTube. Simply click on Insert > Video, and a screen will appear.
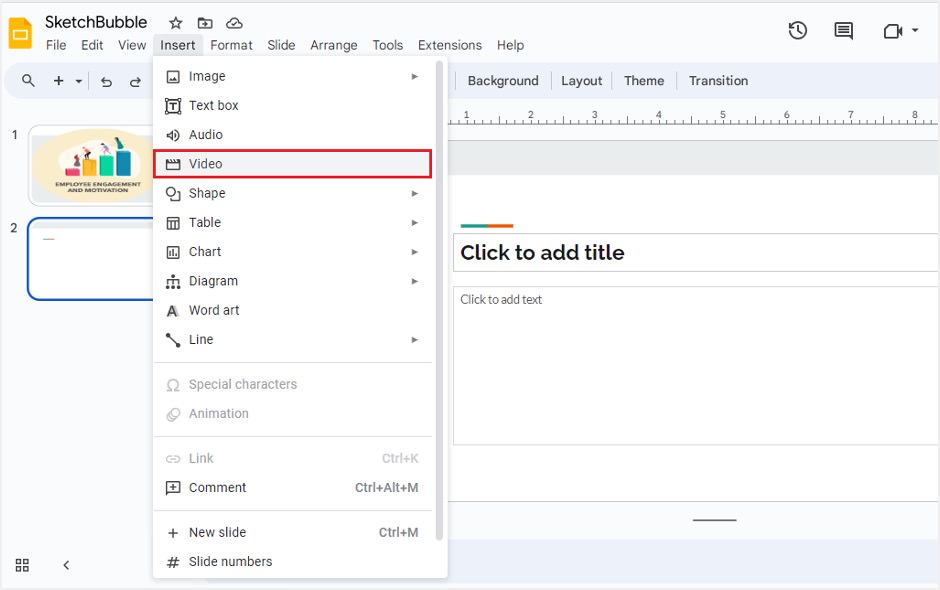
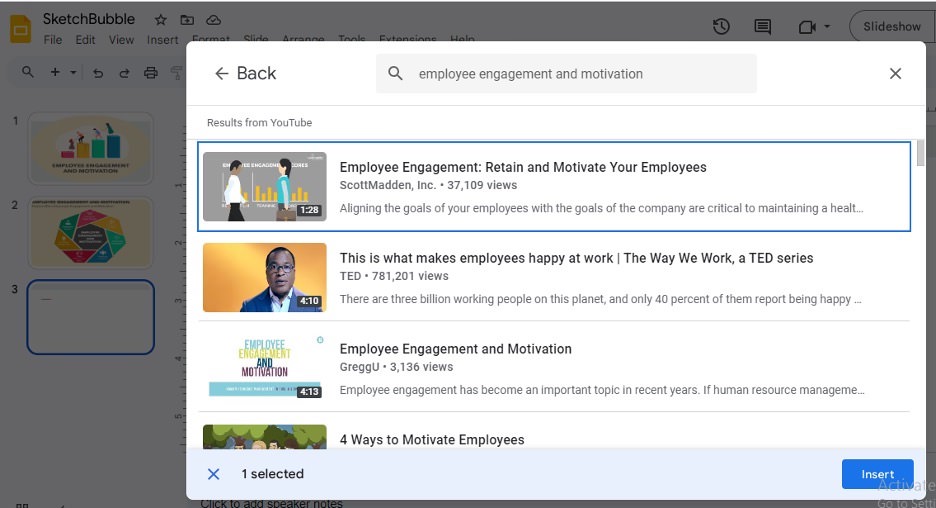
From this screen, you can either insert videos saved on your Google Drive or paste a YouTube video URL. You even have the option to search for YouTube videos by entering relevant keywords.
Choose the video you’d like to include and click on ‘Insert‘.
Once the video is embedded in the slide, the Format options should automatically appear. If they don’t, just click on Format > Format options.
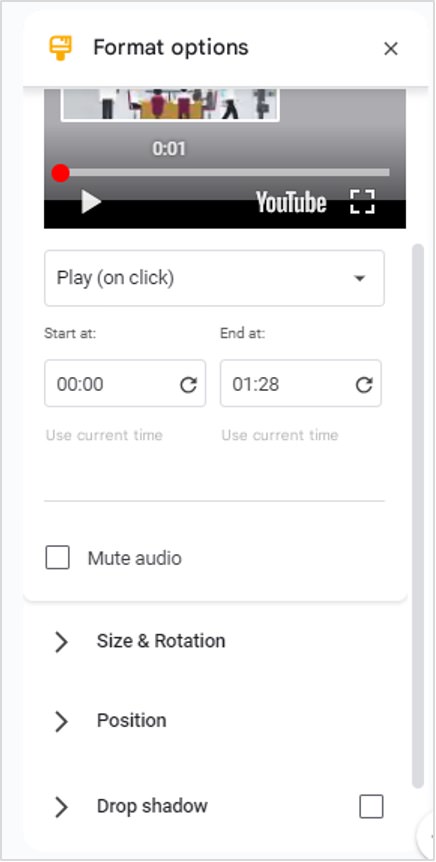
In this section, you have the ability to customize the video’s start and end time, size, position, and more. Options to mute the audio and alter drop shadow settings are also available.
9. Use Speaker Notes to Write Key Discussion Points
When giving a presentation, it’s often better to avoid paper notes or cue cards for reminding yourself of the important points you want to share with your audience. Instead, Google Slides offers a feature called Speaker Notes. These notes are hidden from the audience but can be seen by the presenter.
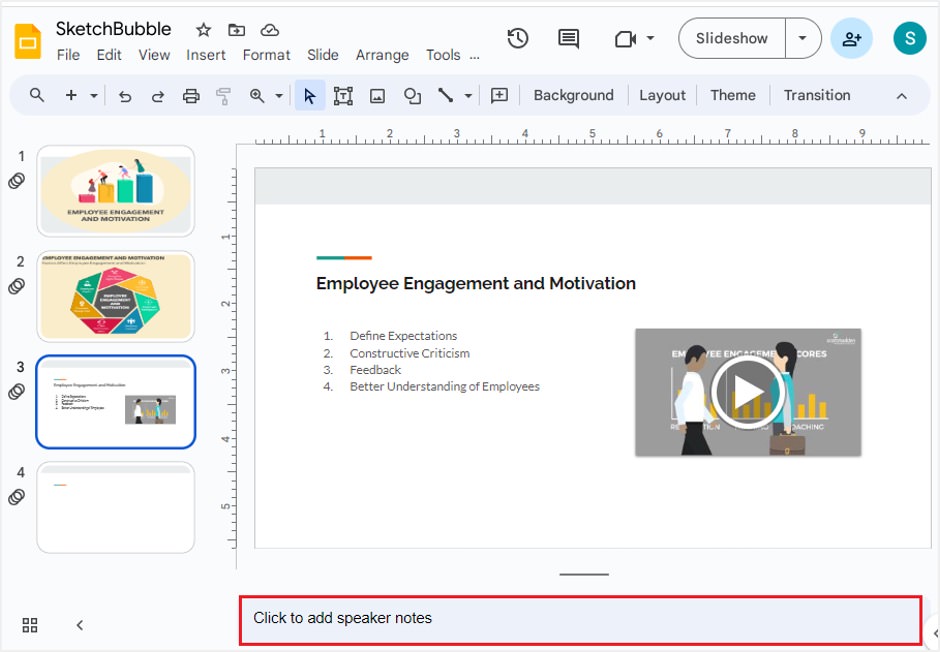
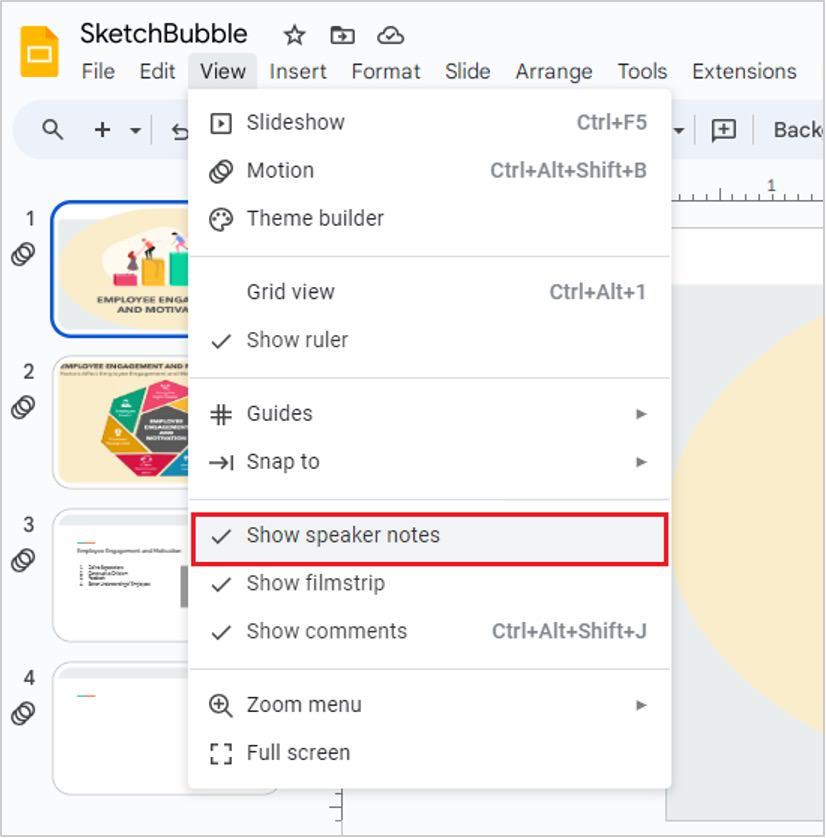
Speaker Notes can be found at the bottom of each slide. If you don’t see them, you can make them appear by going to View and clicking on ‘Show speaker notes‘. A checkmark symbol (✓) will appear next to this option when you click on it.
To add the text you want, simply click on the speaker notes area and type it in.
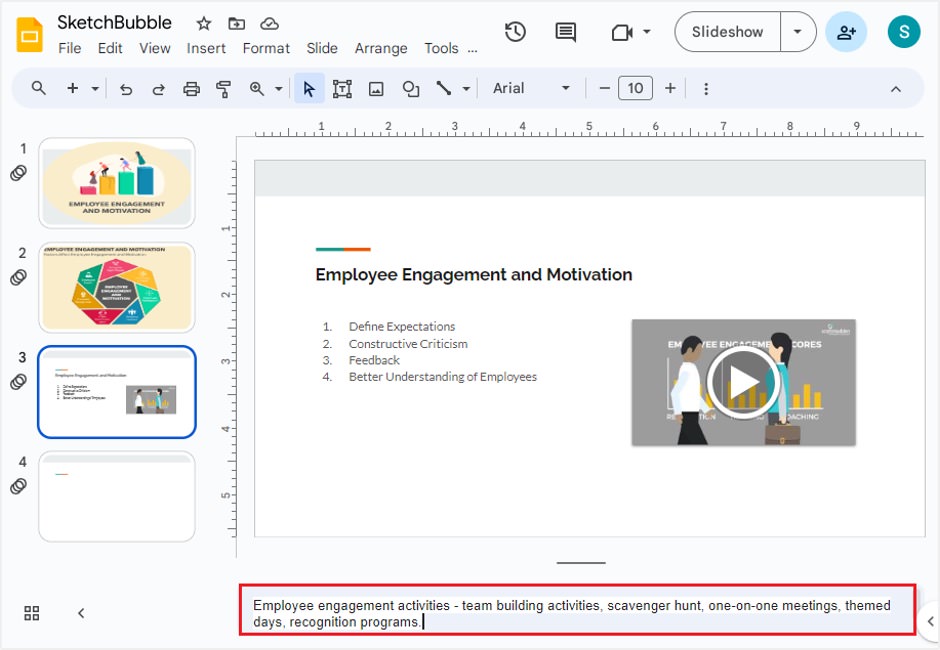
Remember, you can view these speaker notes in the Presenter View.
10. Keep Up with Presenter View
With Presenter View in Google Slides, you can see your current slide, speaker notes, and upcoming slides. What’s great about this feature is that only you, the presenter, can see this view, while the audience only sees the slideshow.
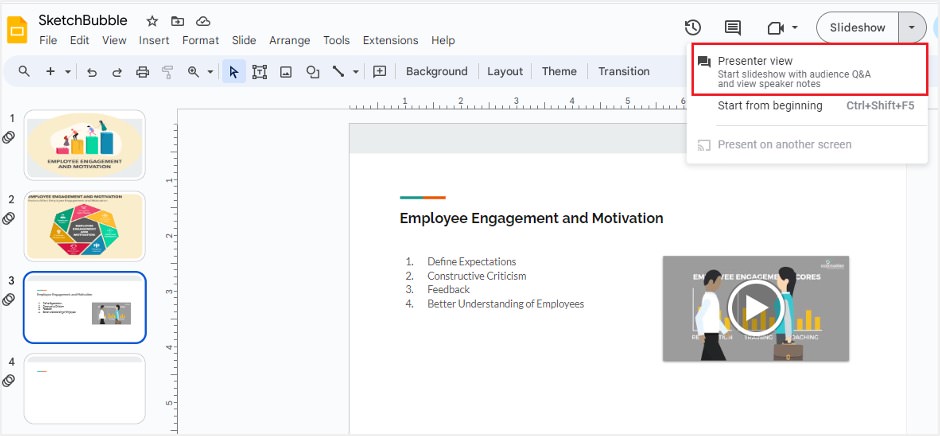
To use Presenter View, click the drop-down arrow next to the ‘Slideshow‘ button and choose ‘Presenter View‘.
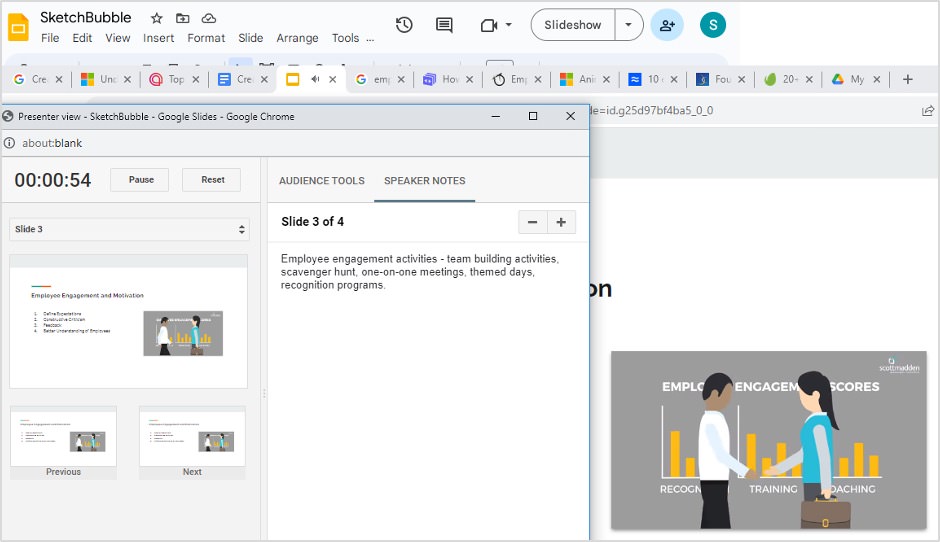
When you do this, your presentation will fill the entire screen, and a new window will open where you can view speaker notes and other details. This window won’t be visible to your audience.
11. Dictate Your Speaker Notes
Using Google Slides, you have the ability to dictate the notes for your presentation if your computer is equipped with a microphone. Here’s how you can do it:
- Turn on your microphone.
- Click on the Speaker Notes, located below the slide.
- Then, navigate to Tools > Voice type speaker notes.
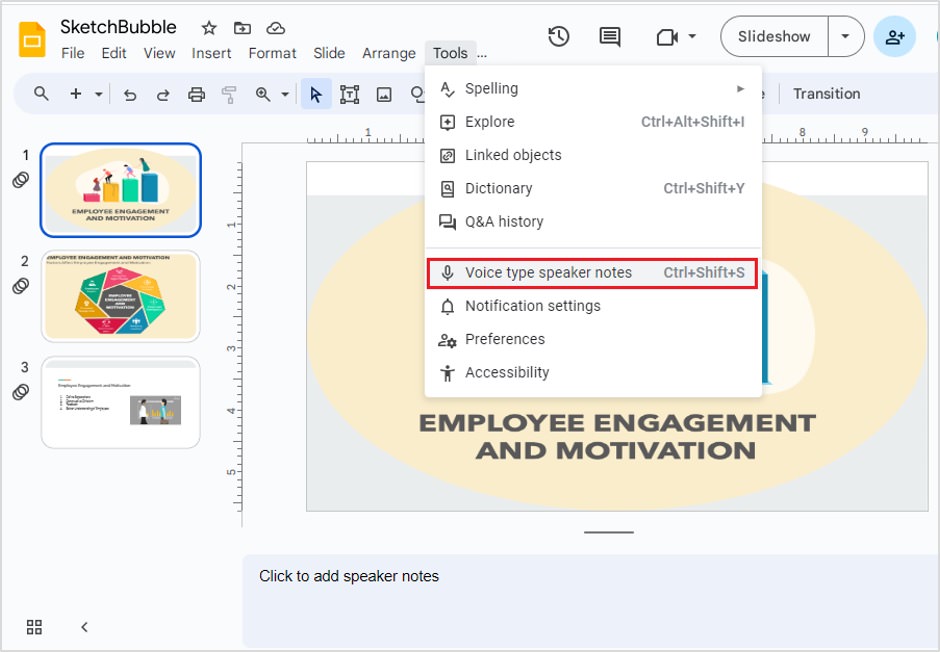
A microphone icon will then appear on the slide, as illustrated in a screenshot below.
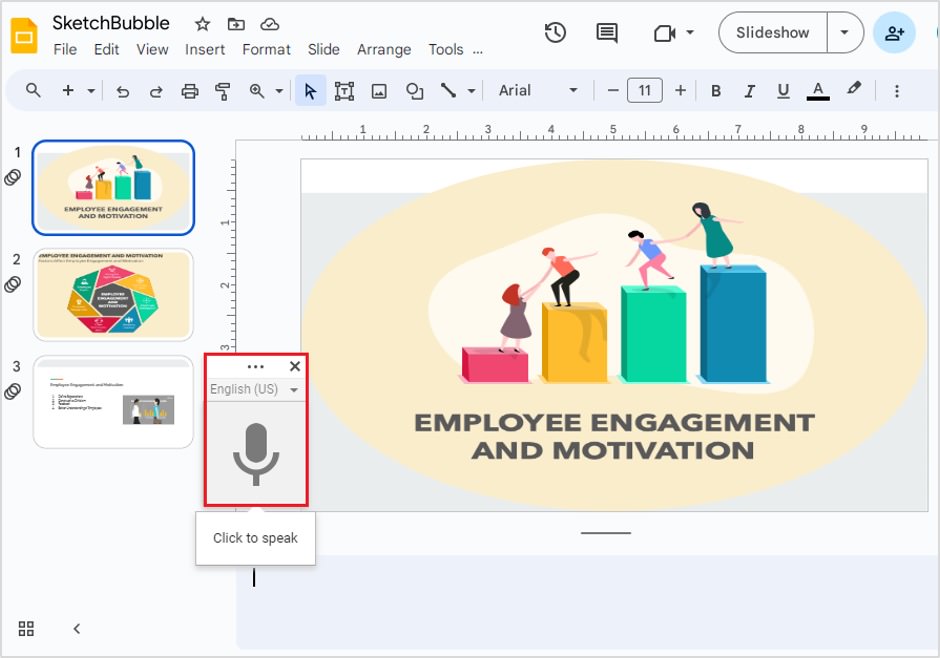
Click on the microphone icon and begin speaking. Your spoken words will be automatically added to the speaker notes.
When you’re finished, click the microphone icon again to turn off voice typing. To remove the icon, click the ‘X‘ in the upper right corner.
12. Engage with Audience Questions
Google Slides enables interactive presentations by allowing you to take real-time questions from your audience.
Select the drop-down arrow next to the ‘Slideshow‘ button and pick ‘Presenter View‘.

Then, select ‘Audience Tools‘. Here, you’ll find the ‘Audience Q&A‘ option. Click ‘Start new‘.

Google Slides will provide a link to your presentation. Share this with your audience.
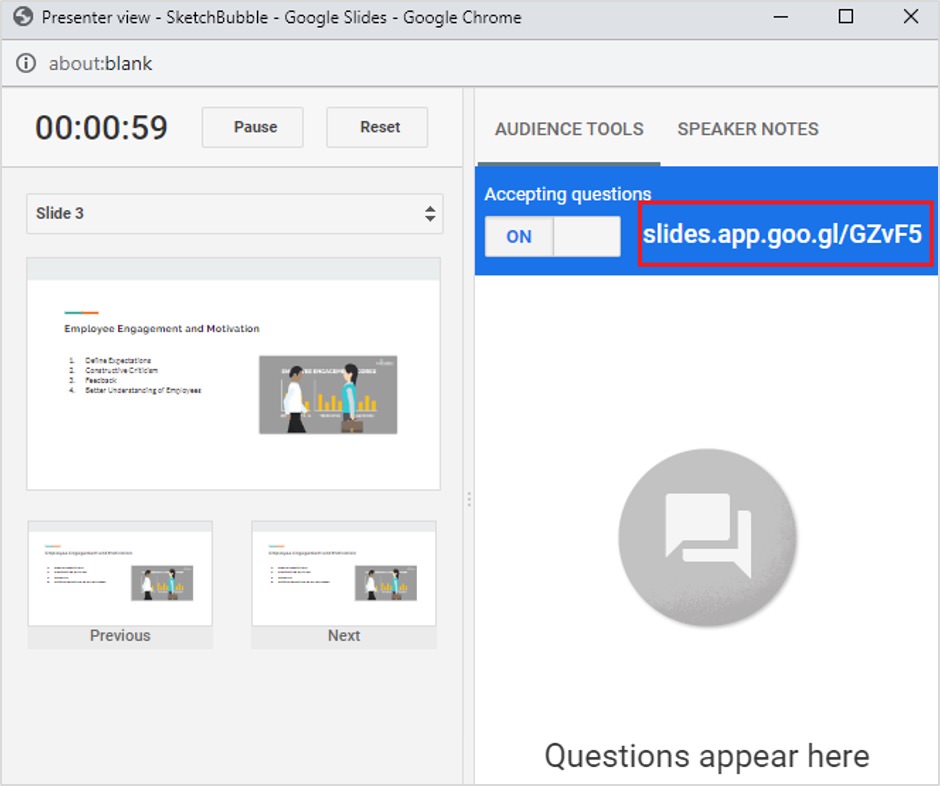
As questions come in, they’ll show up in a designated box, ready for you to address them individually.
13. Keep the Audience Engaged with Appropriate Audio
Adding audio to your presentation can help connect with your audience and make your content more engaging. However, don’t use audio just to fill space, as it can distract the audience. Only include sound or audio if it complements the flow of the presentation and adds meaning.
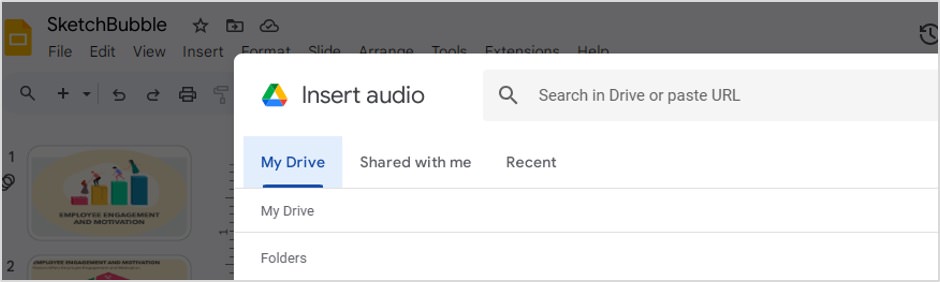
Go to Insert > Audio.
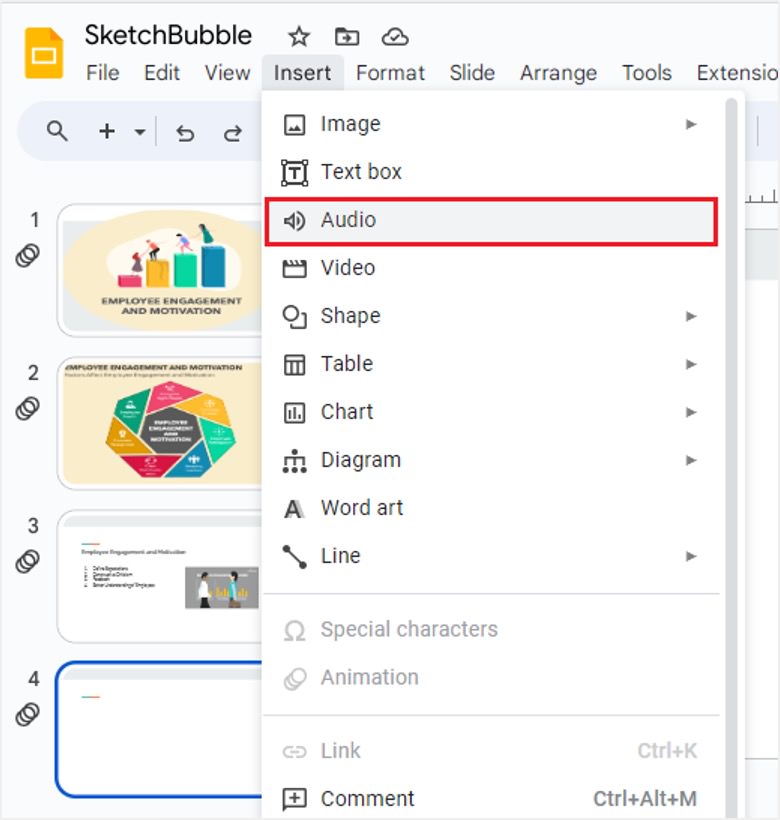
A panel will open, allowing you to add audio from your Google Drive or shared files. You can also paste the URL of the specific audio you want to insert.
14. Collaborate in Real Time
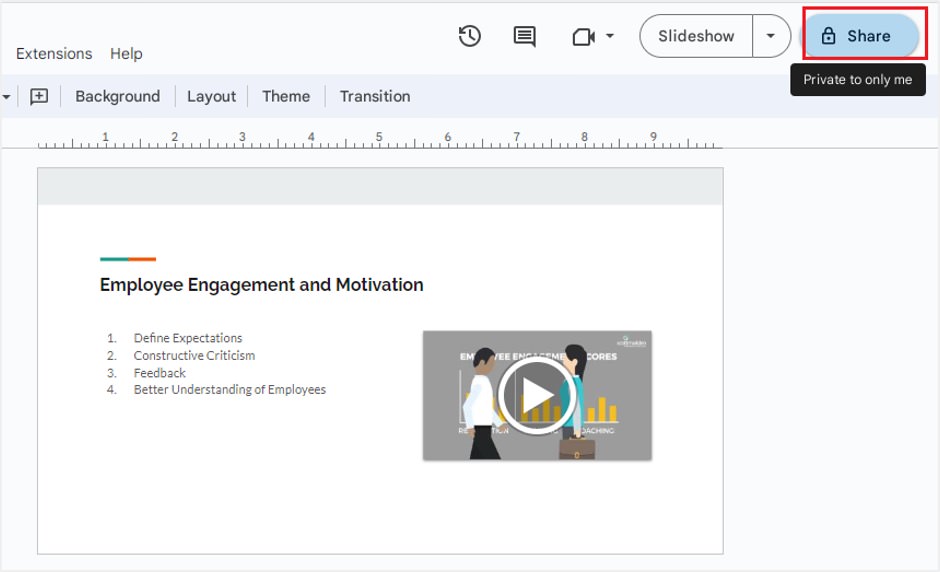
ou can share your presentation with your audience and work together in real-time. It’s also possible to create a link that can be used on your website or sent through email.
Click the Share button next to the Slideshow button.
Then, select the people or groups you want to share the presentation with and click Done.
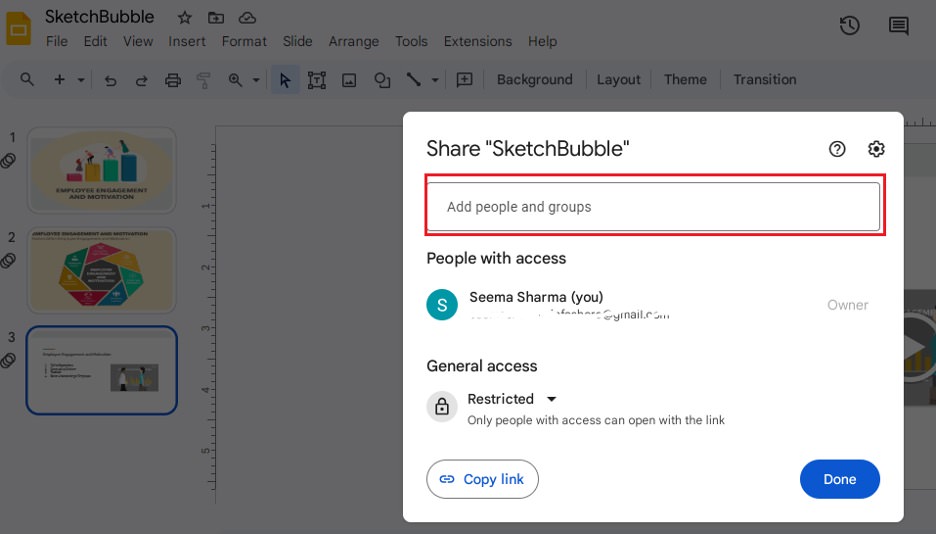
With Google Slides, you can set the access level for each person. This means you can decide if a particular person can view, edit, or comment on the presentation.
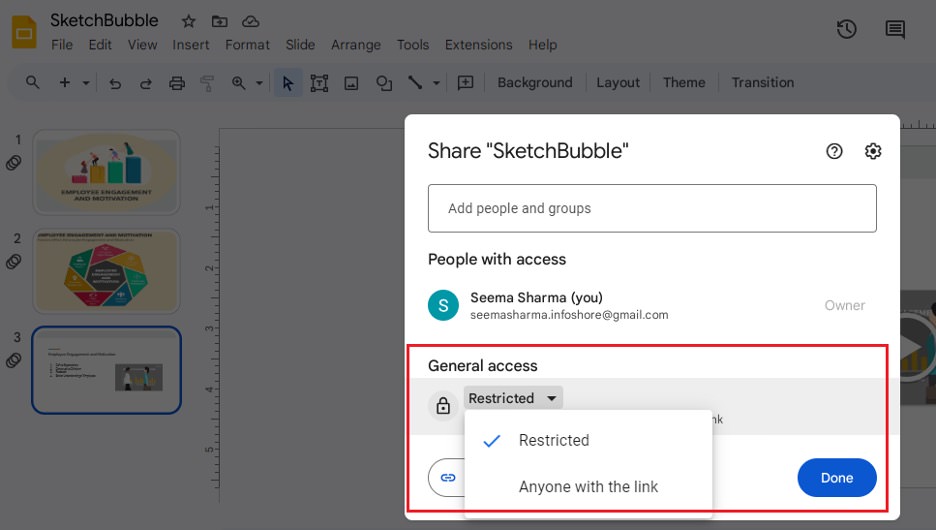
You can also choose if only specific people can access the presentation or if anyone with the link can view it.
15. Put Your Google Slides Presentation on a Website
You can place your Google Slides presentation on a website, allowing people to view it without needing to log into their Google accounts. However, they won’t be able to comment or make changes to the presentation.
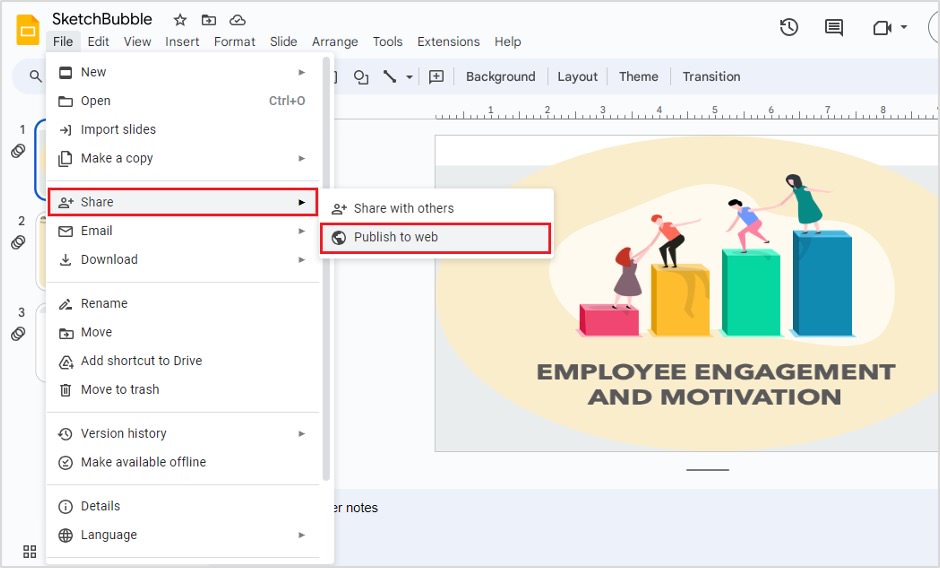
Follow these steps: Go to File > Share > Publish to Web.
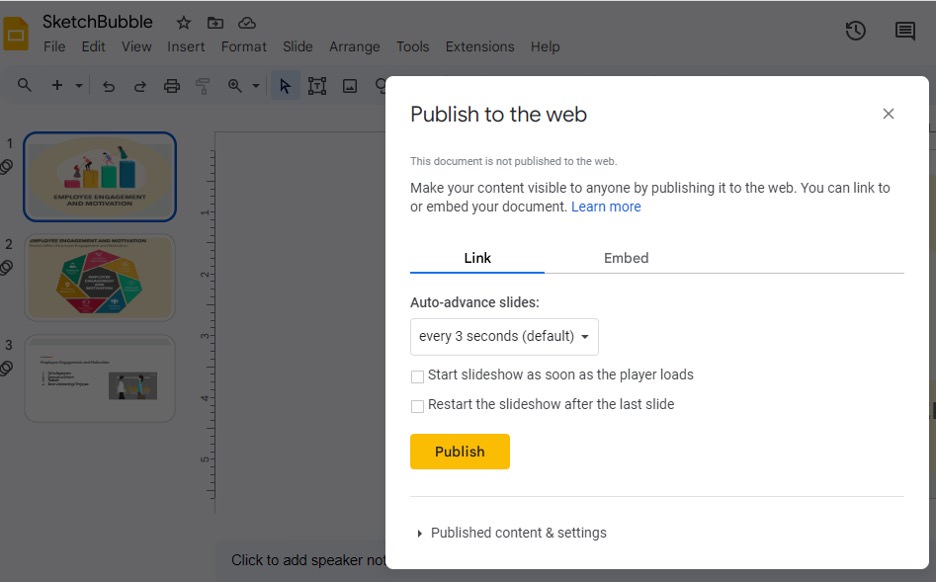
A panel will appear where you can set when the slideshow starts, how quickly the slides advance automatically, and adjust other settings.
Conclusion
Google Slides may have been late to join the presentation scene, but it quickly became a favorite for millions of people who make presentations. Its excellent features like easy sharing, unlimited history of revisions, and real-time collaboration make it a user-friendly tool for crafting engaging presentations on any subject.
If you haven’t tried out the amazing features of Google Slides yet, don’t wait any longer. Start using them to make your next presentations truly memorable for your audience.