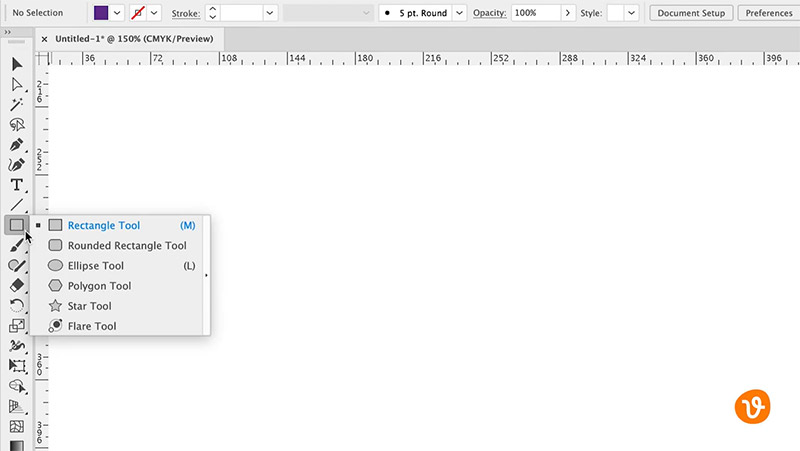
Today we’re going to be working with shapes inside Adobe Illustrator. Let’s start with the built-in shapes you can build very easily. Go over to the toolbar and click on the Rectangle tool. You can hold the mouse down and get a menu of additional shapes Illustrator has built-in. You’ll see the Rectangle, Rounded Rectangle, Ellipse, Polygon, Star, and the Flare tools.
Related: The Best Free Adobe Illustrator Plugins
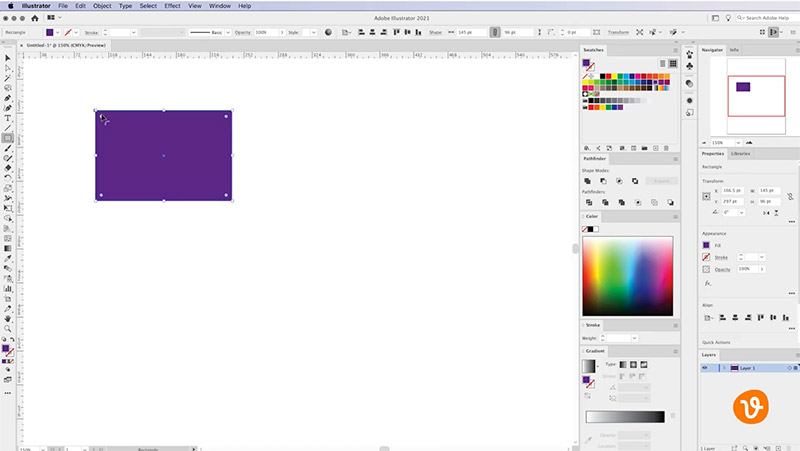
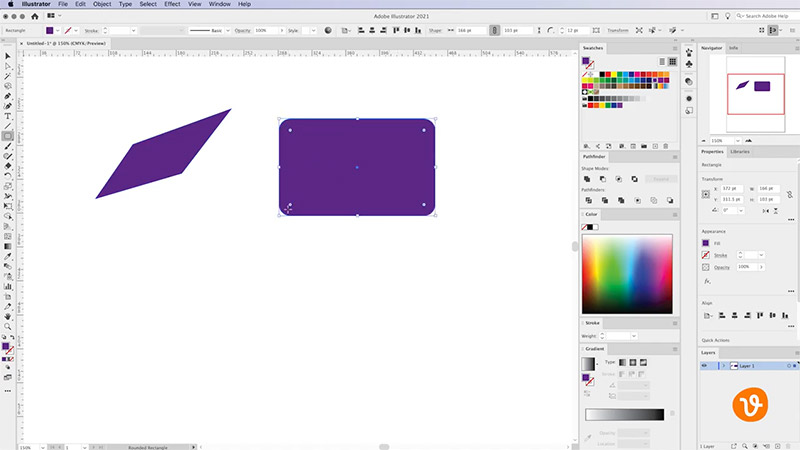
You can simply click on the Rectangle tool and draw a rectangle on the document. You’ll see it fills with the fill color and it’s been created with multiple points.
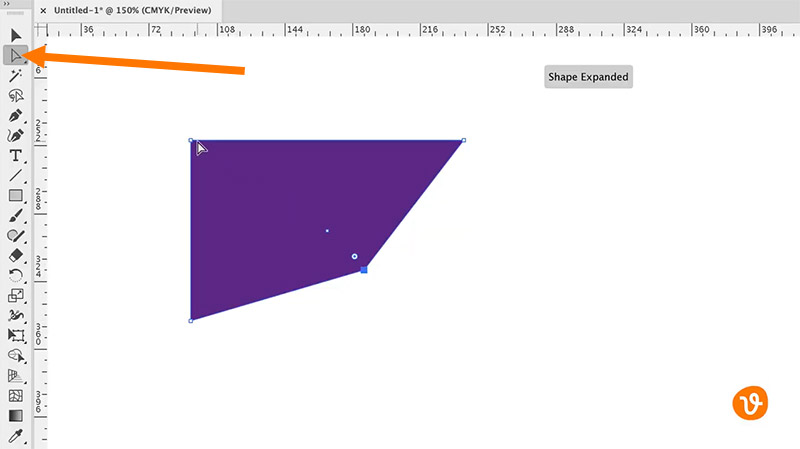
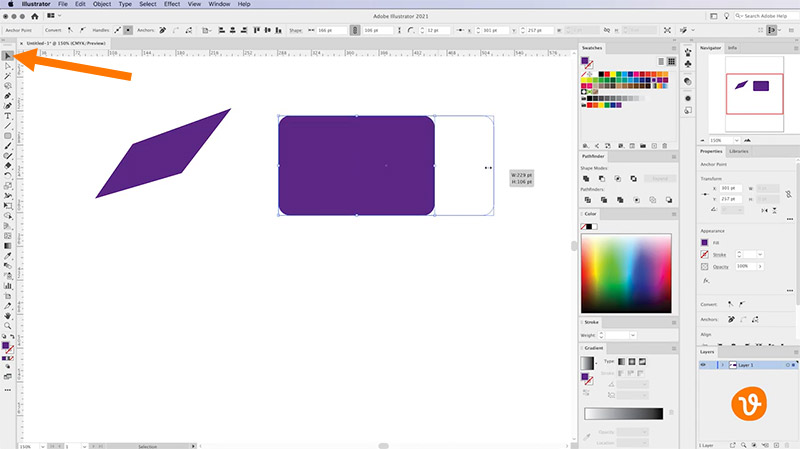
You can then go to the Direct Selection (white arrow icon) and modify any of those points to further manipulate its shape.
Next, let’s look at the Rounded Rectangle tool. Simply select it from the toolbar and then create a rounded rectangle. You’ll notice that the curves are already put in there for you by Illustrator, but again, using the Direct Selection tool, you can go in and adjust any of the curves to your liking.
You can also use the regular Selection tool (black arrow icon) to resize any of the shapes you’ve created. For example, you can drag one of the corners or one of the sides.
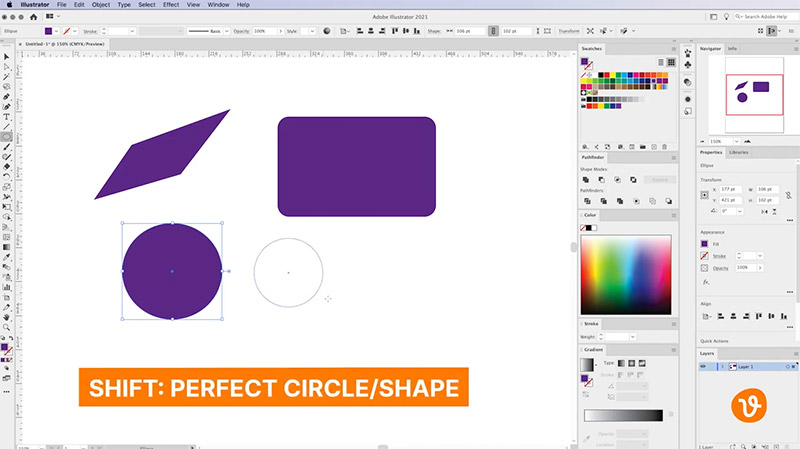
Next, let’s look at the Ellipse tool or the Circle tool. You can simply select it from the toolbar and drag a circle into your artboard. If you hold down the Shift key, you’ll be able to draw a perfectly proportional circle.
Get millions of stock images and videos at the best price
Unlimited access. No attribution required. Starts at just $9/month.

Related: What is a Vector File?
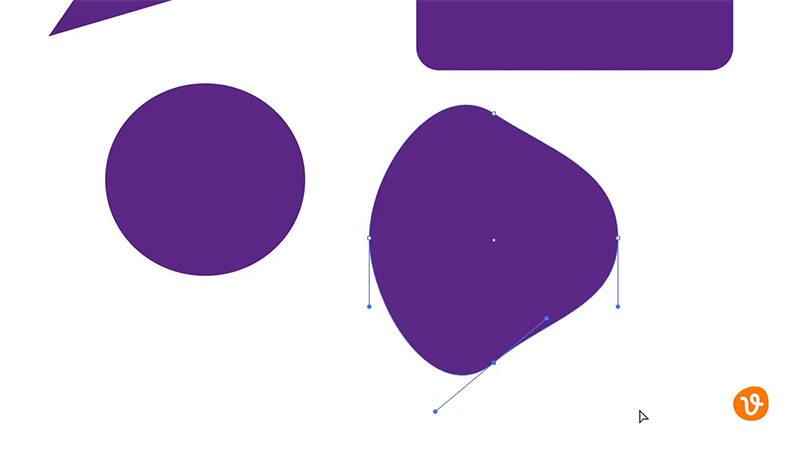
Just like the other examples, you can use the Direct Selection tool to click on any of the points and modify the curve of the circle.
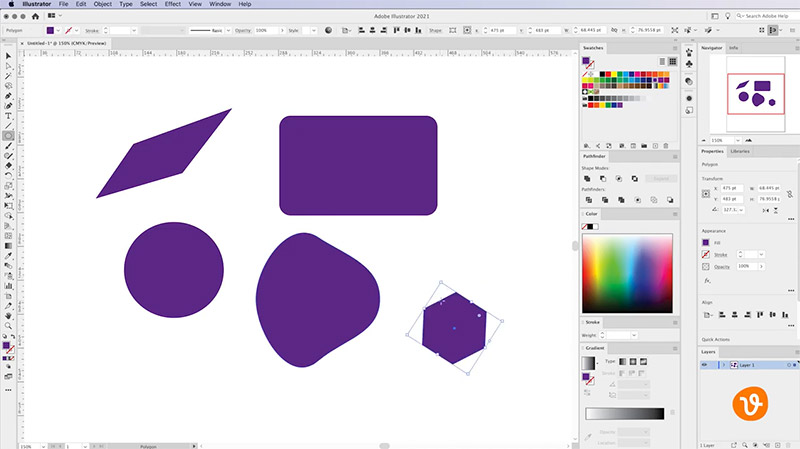
Now, let’s look at some of the more complex shapes in Illustrator. That includes the Polygon tool and the Star tool. If we click on the Polygon tool and simply draw a polygon on our artboard, you’ll see we can rotate it to land on the artboard in the direction that we want and you’ll see it’s got six sides.
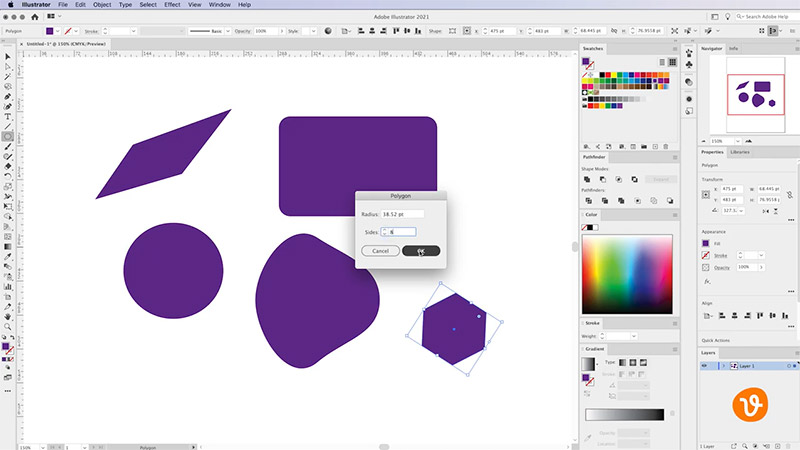
Let’s say we want to create a polygon with a different number of sides. Simply click one time on the artboard, which will open the Polygon controls window. Here is where you can control how many sides your polygon has. Let’s go ahead and make an eight-sided polygon.
You’ll see Illustrator has automatically created the polygon for you.
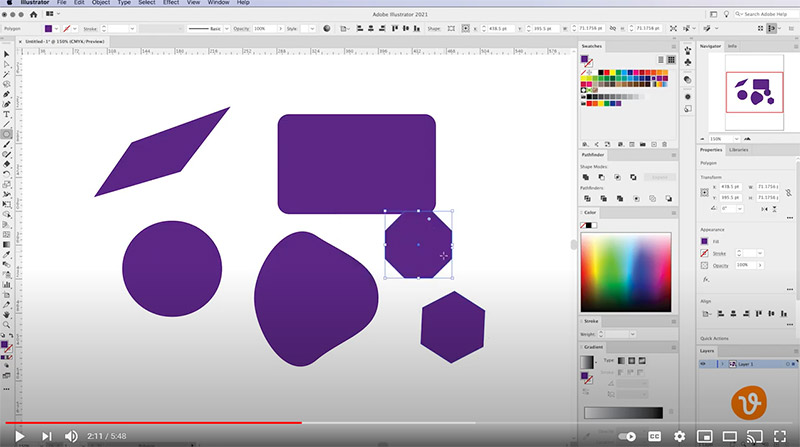
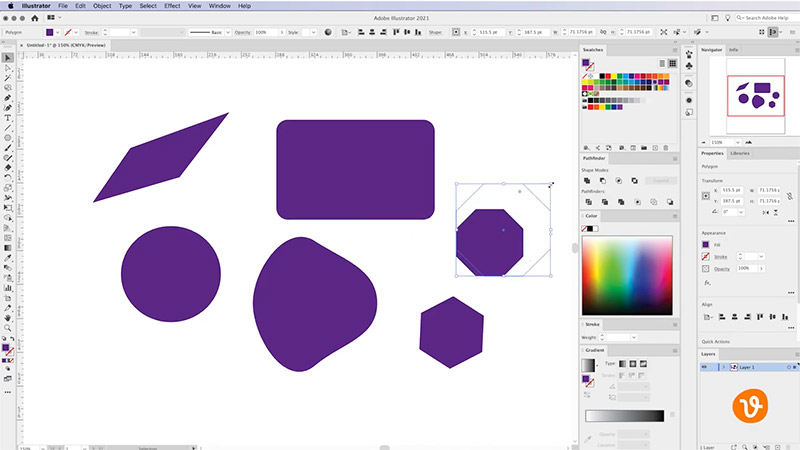
You can then use the Selection tool to move the polygon or scale it to your liking.
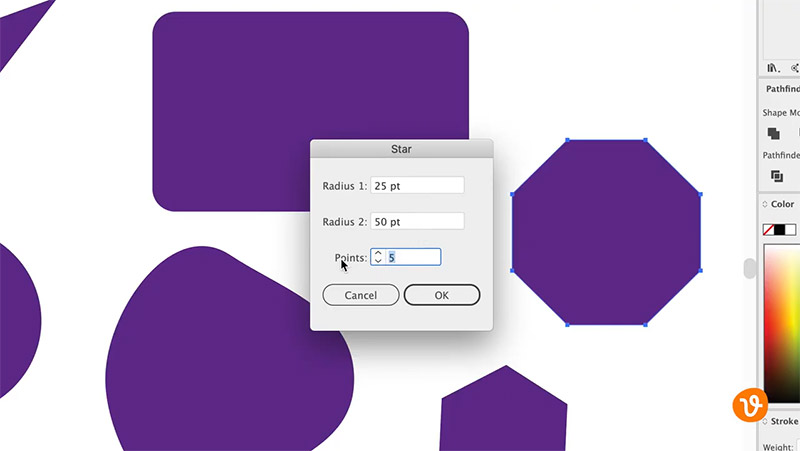
In a similar fashion, let’s look at the Star tool. Click one time on the document and you’ll be presented with the Star options where we can select how many points you want the star to have. If you want a standard star, you can leave it set to five.
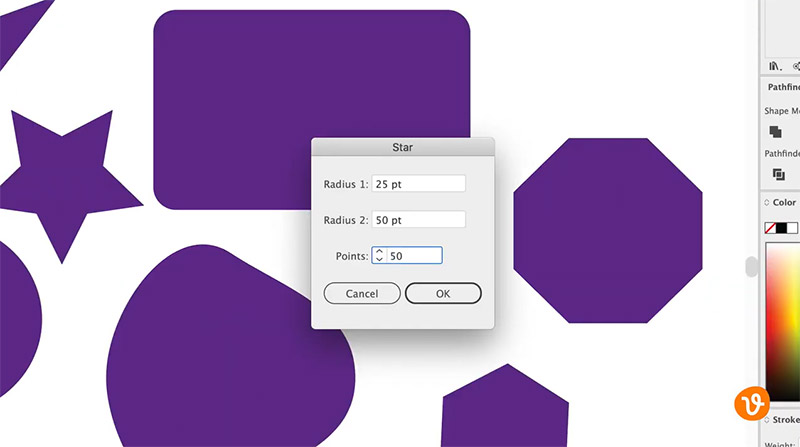
But let’s say you want to add more points to the star and maybe create something like a starburst. Simply enter a number like 50 that will give you a large number of points.
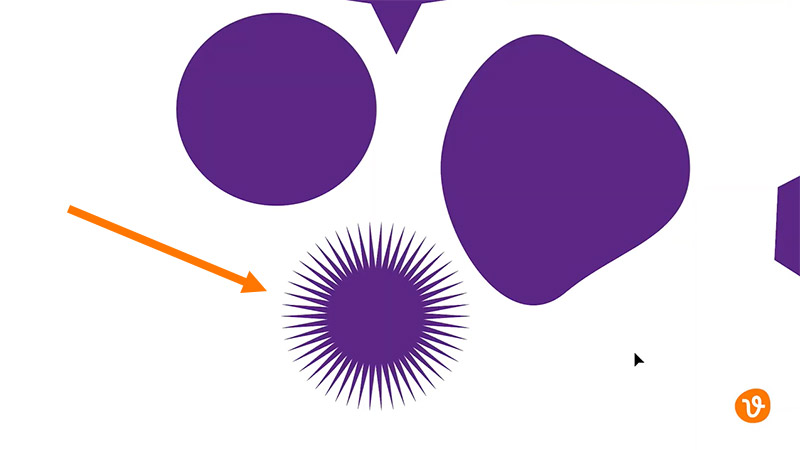
Now, look at this starburst you’ve created very quickly within Illustrator.
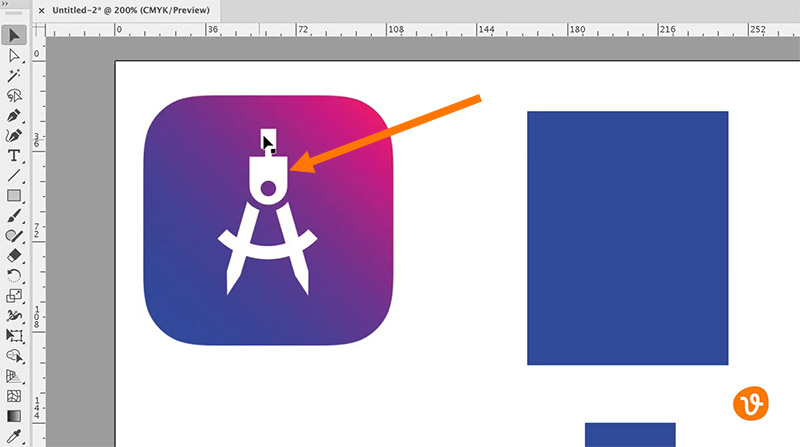
Now, let’s say we want to create a custom shape in Illustrator. We’ve downloaded an application icon here on the left that has a compass, and you’ll see at the top of the compass you have this very interesting shape.
Here are some rectangles and a circle that I’ve drawn.
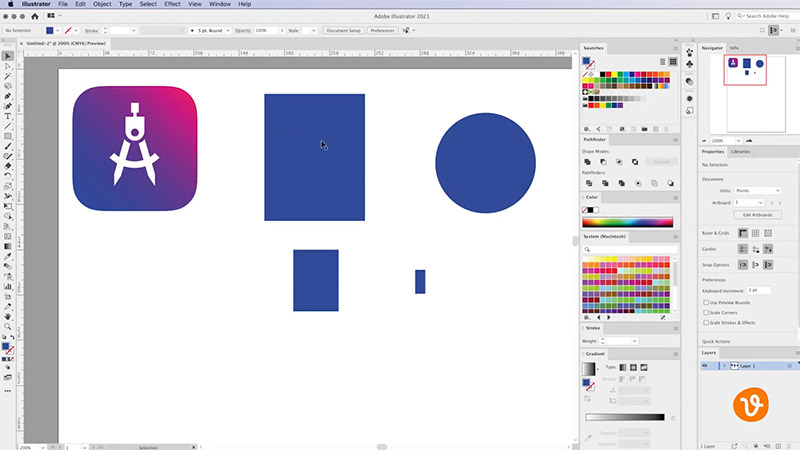
What you can do is merge those shapes together to create an all-new shape within Illustrator. To do that, move each of the shapes into the approximate location that you see on the icon that you’re using as an example. Use the Selection tool to drag these shapes on the artboard to try to recreate an approximate look of the top portion of this compass.
Related: Raster vs. Vector
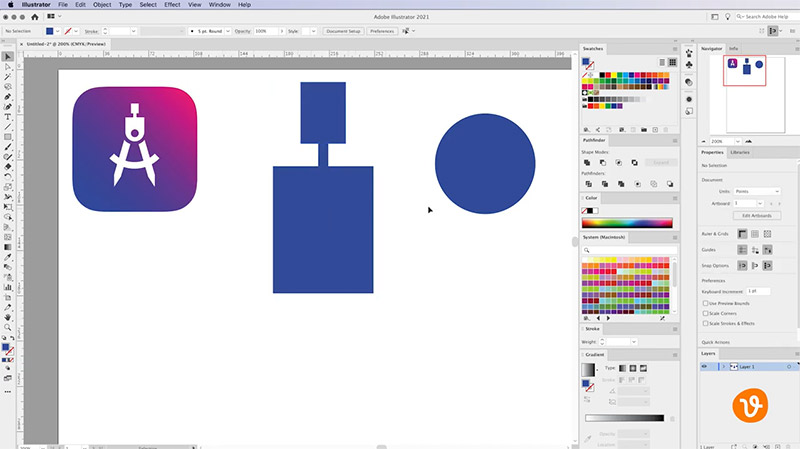
You’ll see that I’ve got a circle and I’ve already ensured that it’s the exact same width as the rectangle that it’s going to go on top of. Release that, and then hold the Shift key and move it down into position so it creates a round bottom.
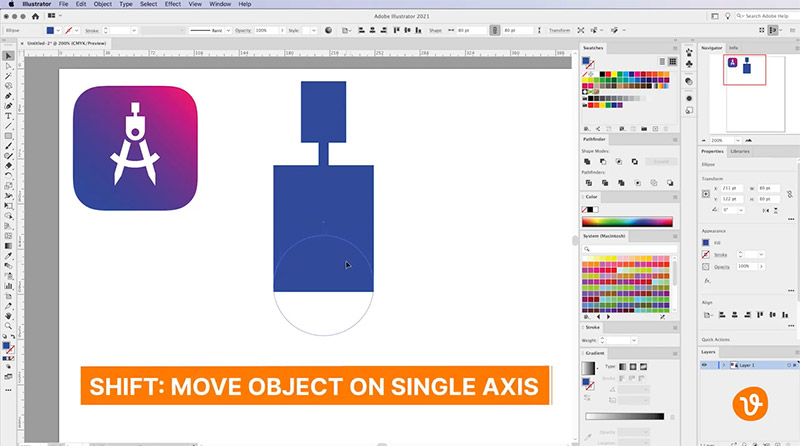
At this point, you’ve more or less created the same exact shape, except for the middle portion that needs to be cut out.
To do that, go back to the toolbar, select the Ellipse tool, hold the Shift key to draw a perfect circle, and put that nearly in the middle of the shape.
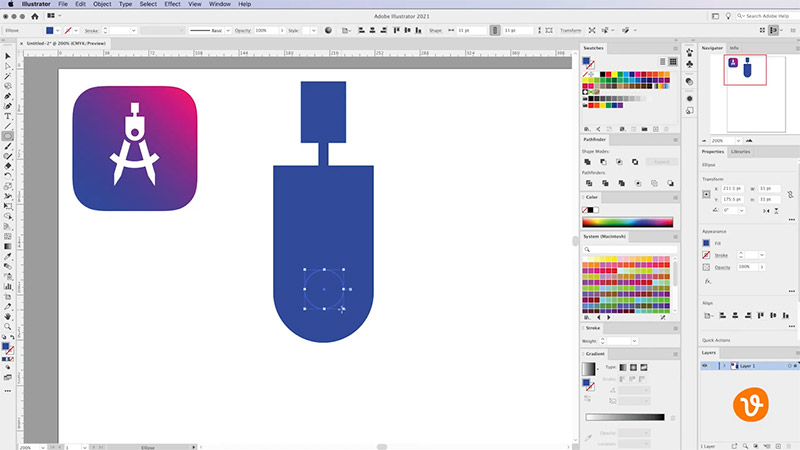
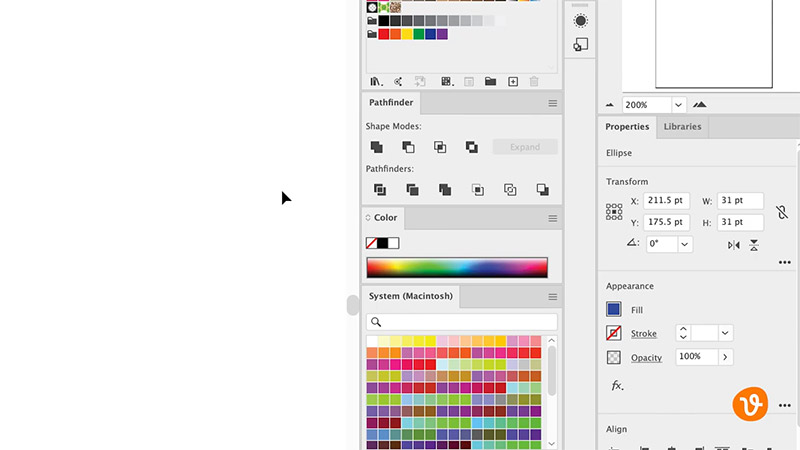
Then go to go back to the Direct Selection tool and deselect the shape altogether. At this point, all of the shapes are individual items. You need to find a way to merge them together and cut out the circle. To do this, you’ll use Illustrator’s Pathfinder features. Those are found at Window > Pathfinder. That will open up the Pathfinder panel where you’ve got many options when it comes to merging shapes together, pulling shapes apart, and separating items within Illustrator.
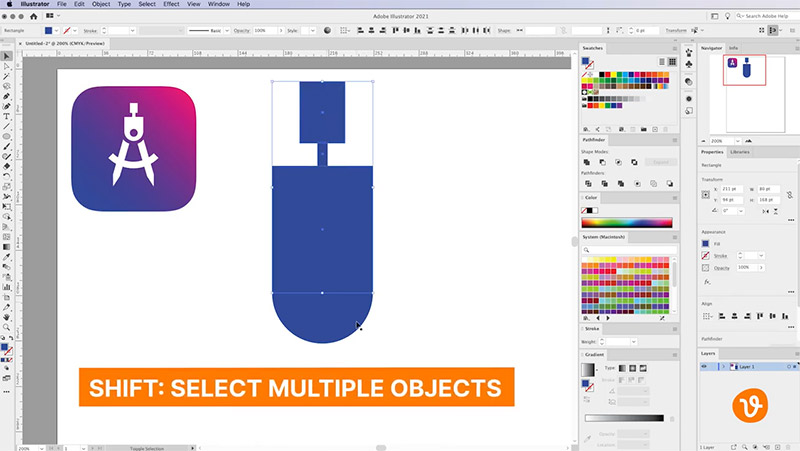
The first thing you’re going to do is select each of the shapes other than the circle that you’re going to cut out. To do that, click on the first rectangle, hold the Shift key, and click to select the other elements that have already been drawn.
Now go over to the Pathfinder window and use the Unite option, and that will merge all of those shapes together into one object.

You’ll see now when you click off the object and back on it, it selects the entire thing because now it’s just one shape. That means you can resize and manipulate the proportions of this shape if you want to.

The final step in creating your custom shape is to remove the smaller circle at the bottom. Select the circle/ellipse that we’ll be cutting out and then hold the Shift key and select the new shape that you’ve created so they’re both selected.

Then, instead of using Unite you’re going to use the Minus Front option.
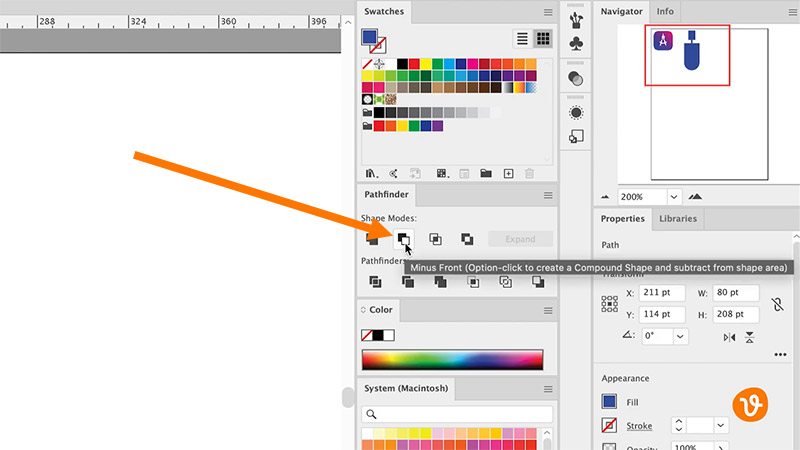
When you click on this, you’ll see that Illustrator removes the path that was on top, which is the smaller circle.
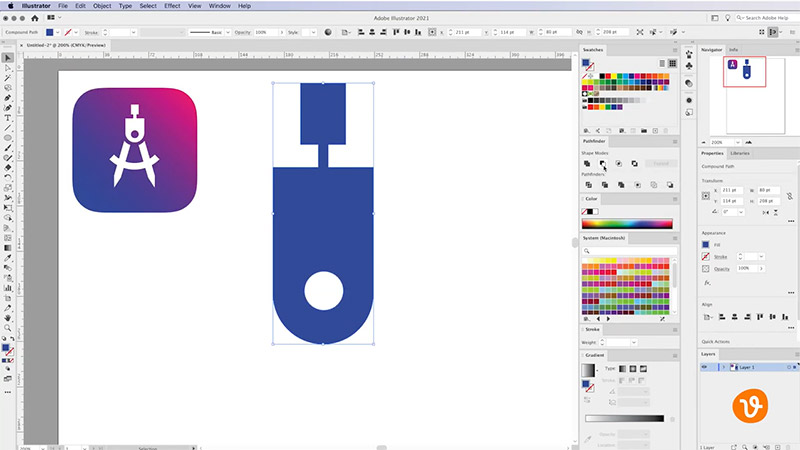
Now when you click off of the shape and onto the shape and again, you’ll see that you have an all-new custom shape built right in Illustrator.
Keep Learning
Want to learn more about Illustrator? Please see these tutorials: