Food photography is a delicate art form, and capturing the perfect shot of a dish can be as challenging as making it in the first place. High-quality food photos look almost effortless, but if you’ve ever tried to capture a shot of your favorite dish, you may have found that it’s not as easy as it looks. Whether you’re photographing your creations or someone else’s, these seven tips will help you come away with mouth-watering photos viewers will love.
1. Choose the Angle
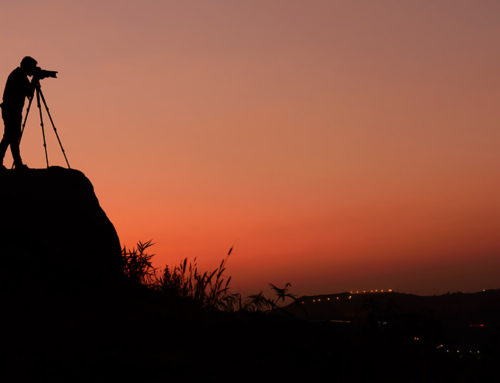
Your first decision is probably the most important: what angle should you shoot from? Experiment to find out which angles produce the best results, and try different perspectives. There are three different angles or views that are most common for food photos:
- Straight overhead looking down at the food (usually on a table)
- Straight on from the front or side
- A 45-degree angle from above
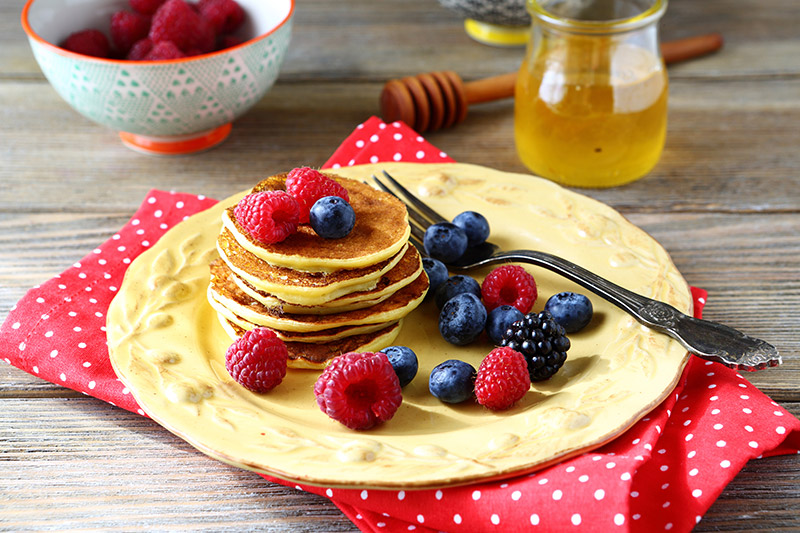
The different angles will have a more substantial impact on certain types of shots and subjects. Consider the main details you want to show and decide which angle will showcase those details most effectively. For example, the stack of pancakes in the photo above would lose some visual appeal if photographed looking straight down.
2. Think About the Background
The background of your composition is equally as important as the main subject. You could choose a clean, minimal background to help the subject stand out or include some complementary items in the background to complete the shot.
The items in the background can include other food, ingredients, accessories, utensils, and other supplemental objects.
3. Consider the Colors
Effective use of color can take your food photos from good to great. The colors of the food itself are crucial, but the colors of the background and complementary items will also have a major impact on the result. Be sure that the background colors are not overpowering or distracting from the colors of the main subject.
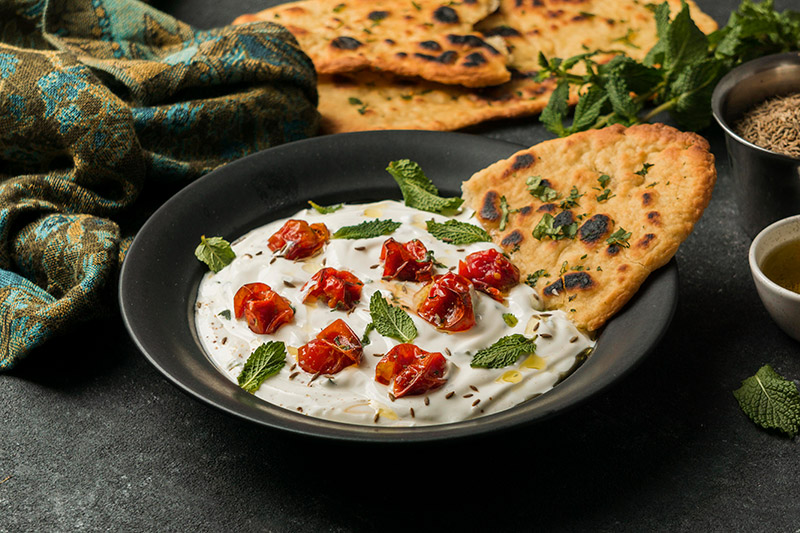
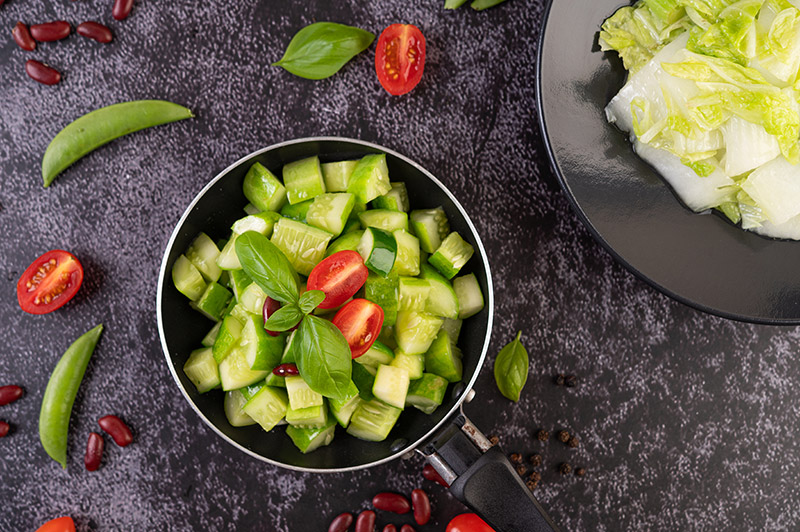
Neutral background colors are commonly used because they allow the colors in the photo’s subject to stand out. The picture above uses a dark background color. A brighter or busier background would overpower the green subject. Not only does the dark background make the green subject more appealing, but it also allows the red tomatoes to stand out.
Get millions of stock images and videos at the best price
Unlimited access. No attribution required. Starts at just $9/month.

4. Lighting is Everything
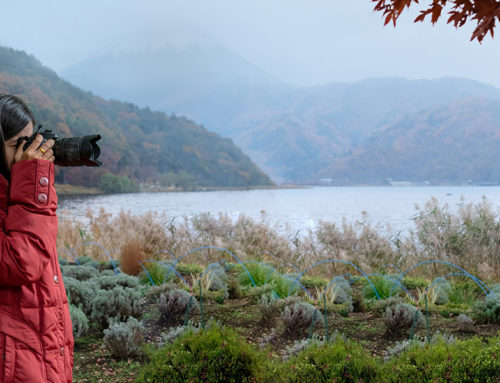
Lighting is an essential aspect of food photography. Generally, soft natural light works best. Avoid harsh light, which can create unflattering shadows. Overcast days are ideal for shooting outside or inside near a window. If the sunlight is causing too much shadow, try using a white sheet or a reflector to reduce the shadows.
5. Arrange the Food Precisely
The way you arrange the food and other items in the photo will have a significant impact on the overall composition of the shot. Food photography is much more than simply photographing the food as it happens to be on your plate. Everything in the photo should be neatly organized and placed with a purpose. If anything is messy, either on the plate or the table, it should be cleaned up before taking the shot.
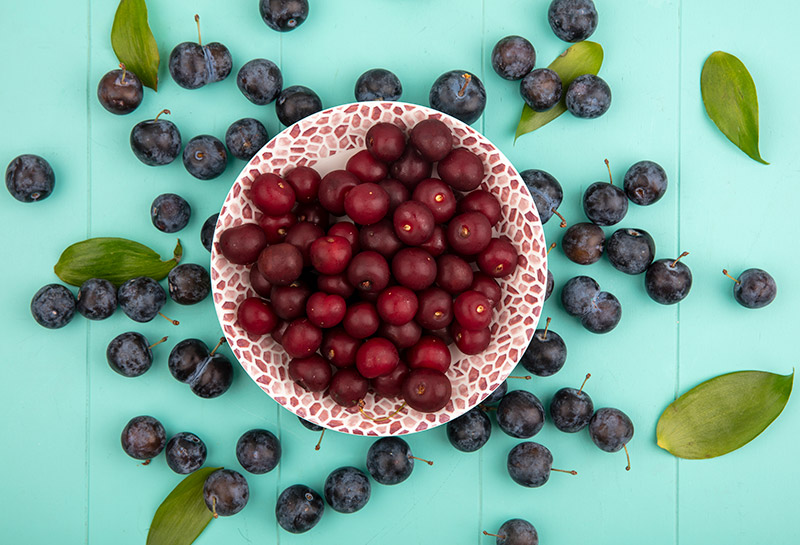
The photo above shows cherries in the bowl and on the table. They were all placed with a purpose (and so were the leaves) to create a strong composition.
6. Emphasize Texture
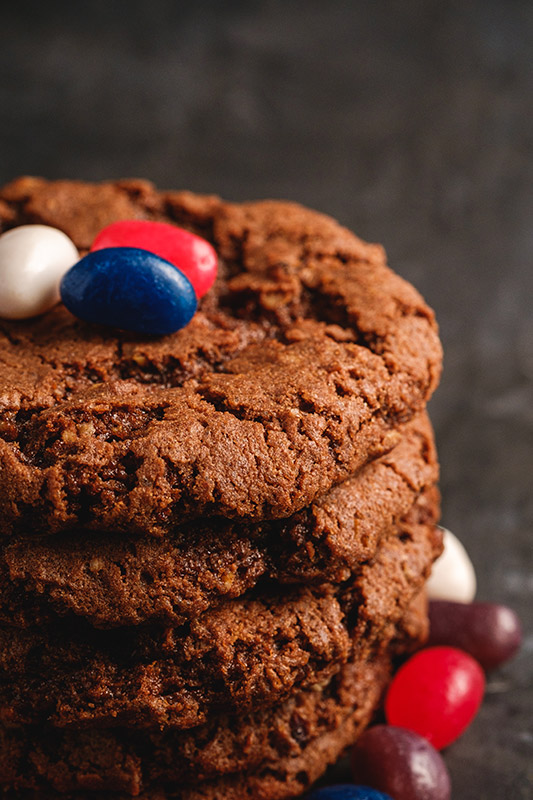
Texture is an essential part of food, and you can use it to your advantage with food photography. Capturing and showcasing texture is one way to make your photos come to life for viewers. One of the best and most obvious ways to incorporate texture is to take close-up pictures. The image of the cookies above has a much different feel than it would have if it was taken at a greater distance where the texture wouldn’t be so obvious.
Aside from getting close, another option is to use a shallow depth of field to blur the background. Blurring the background causes the subject to stand out more, and any texture is easier to notice thanks to the softened background. Large apertures (low f-stop numbers) are useful for creating a shallow depth of field.
7. Add Details
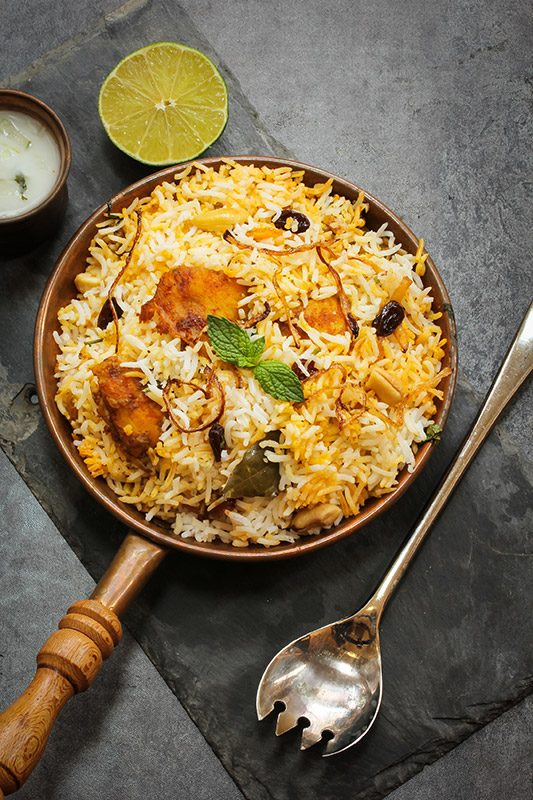
The smallest details can make a big difference with your food photos. Sometimes, those details may be background or complementary items, like we’ve already discussed. However, there are other possibilities. In the image above, the garnish is a subtle but important detail. Another example might be a strawberry in a bowl of oatmeal or yogurt. These details help to provide the finishing touches and complete the photo.
Final Thoughts
These food photography tips work well in a variety of settings and situations with any type of camera. By following these simple guidelines, you’ll be able to take photos worthy of sharing with friends, family, and social media followers. Be sure to experiment, as it will only help to improve your skills. Practice these techniques and see for yourself the quality of the photos you create.
Lead photo by Elena Danileiko.