


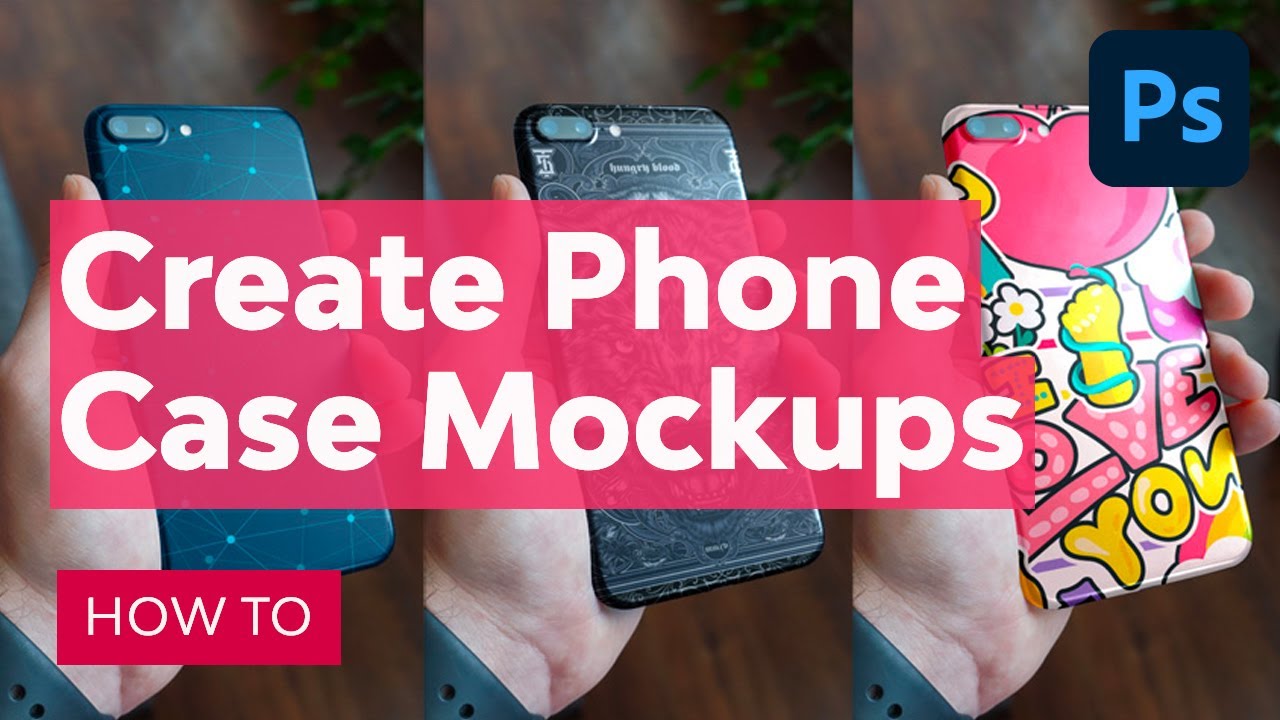
If you want to create an iPhone mockup, you can use an iPhone template or create your own phone case mockup in Photoshop. The second option may sound complicated, but it gives you more flexibility. In this tutorial, I will show you how to create phone case mockups in Photoshop using a photo as a base.
If you want to save time, you can always use a mobile case mockup generator on Placeit.
Follow along with us over on our Envato Tuts+ YouTube channel:
What You Will Need
You can download these images to follow the tutorial directly:
How to Create Phone Case Mockups in Photoshop
Step 1
Open your image in Photoshop (I used this one). Use the Pen Tool (P) in Path mode to select the outline of the phone case. Don’t forget to select the elements inside the outline that should not be a part of the case as well.


Step 2
Press Control-Enter to create a selection. Then go to Select > Refine Edge. Check Smart Radius and increase the Radius to make the edge of the selection smooth. Press OK.


Step 3
Create a New Layer. Fill it with 50% gray and name it Shape.


Step 4
Use the same selection and go to the Background layer. Press Control-J to copy the outline of the case. Drag it over the Shape layer.


Step 5
Use the Lasso Tool (J) to select the elements that are not a default part of the case. Then go to Edit > Fill and use the Content-Aware fill. Repeat the process for all elements like this.


Step 6
Duplicate the layer with Control-J and hide the copy. Double-click the original and adjust the Blend If settings. Drag the upper white marker to the left to remove bright parts of the case. Use the Alt key to split the marker and create a smoother transition. Set the Blend Mode to Multiply and name the layer Shadow.


Step 7
Duplicate the hidden copy and make it visible. Repeat the process, this time leaving more midtones between black and white. Set the Blend Mode to Soft Light and name the layer Midtone.


Step 8
Repeat the process, this time setting the Blend Mode to Screen and dragging the black marker to the right, to remove the dark parts of the case. Lower the Opacity to make the effect subtler, and name the layer Shine.


Step 9
Make the last copy visible without copying it—this will be the last one. Set its mode to Linear Dodge and drag the black marker far to the right, to leave only the brightest parts. Name this layer Highlight.


Step 10
The shading is done, so now we need to prepare the place for the design. Select the Shape layer and use the Rectangle Tool (U) in Shape mode. Hold Shift to draw a perfect square.


Step 11
Double-click the square layer and check Pattern Overlay. Select a pattern that will make it easy to see the perspective of the case, and press OK. Then right-click and select Rasterize Layer Style. Then again right-click and select Convert to Smart Object.


Step 12
Use the Free Transform Tool (Control-T) to rotate and resize the pattern to fit the perspective of the case. Hold Control and drag the corners to make the sides of the square parallel to the sides of the case. When you’re done, press Enter.


Step 13
Hold Alt and click the line between this layer and the Shape layer to create a Clipping Mask. Name this layer Design.


Step 14
Go to Filter > Blur > Gaussian Blur. Make the pattern as blurry as the blurriest of the fingers in the photo. Then paint on the Layer Mask with gray to remove the blur from the areas close to the sharp fingers. This will add more depth to the photo.


Step 15
Select the Background layer and add a Solid Color layer. Pick bright red and set the Blend Mode to Soft Light.


Step 16
Fill the Layer Mask with black and then paint with white, using a soft brush, to mark the shadows that should be colored by the reflection of the case. Name this layer Reflected Light and hide it.


Step 17
Finally, it’s time to add the actual design. Double-click the Design layer and go to File > Place to add your design. Resize it, save the file, and close it to go back to the mockup file. Your design will be automatically modified the way you modified the square before.


Step 18
Now, all you need to do is adjust the Opacity of the shading layers and pick a color for the Reflected Light layer.


There’s no perfect recipe for the values you should use—they will depend on the material of the case. For example, plastic will have medium shadows and bright highlights, rubber will have bright shadows and dark highlights, and metal will have contrasting shadows and highlights. Experiment to get the results you need!


Ready-to-Use iPhone Templates
Now you know how to create a cell phone case mockup, but as you can see, it's not exactly a quick process. If you want to save time, you can always use a mobile case mockup generator on Placeit. Yes, you will be less flexible this way, but the upsides are speed, ease of creation, and the sheer number of options. Let's take a look at a few examples:
Gradient Background Phone Case Mockup
Let's start with something simple. This phone case mockup comes with a customizable gradient background. You can also add text to create a promo image right away!


Professional iPhone Template
This iPhone mockup looks very clean and professional, giving you a view of both the back and the front of the phone. You can change the color of the background, or remove it altogether.


Woman Holding Phone Case
Adding a human face to your design will make it more eye-catching. This phone case mockup will make your vision for the case look real immediately!


iPhone Case Mockup in Real Life Situation
You can make the mockup look even better by adding some context. Maybe show the phone being used in a realistic situation? This will drag the attention away from the case, making it more believable.


Phone Mockup Without Background
Or maybe you just need something simple and effective? This cell phone case mockup comes without a background by default, so you can replace it with any colors or photo.


Good Job!
Now you know how to create phone case mockups in Photoshop.


You can learn more about creating iPhone mockups here:


