Inkscape is one of our favorite vector editing apps and an excellent free alternative to Illustrator. In this tutorial, we’ll look at how to work with shapes inside of Inkscape. We’ll cover how to create shapes, how to re-position and edit them, and how to create your own custom shapes.
Let’s start by looking at some of the built-in shapes.
Working With Rectangles
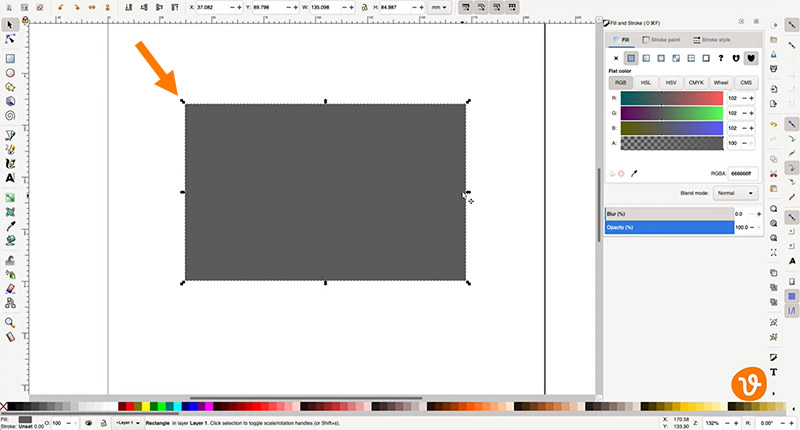
Start by going to the toolbar and click on the Rectangle icon.
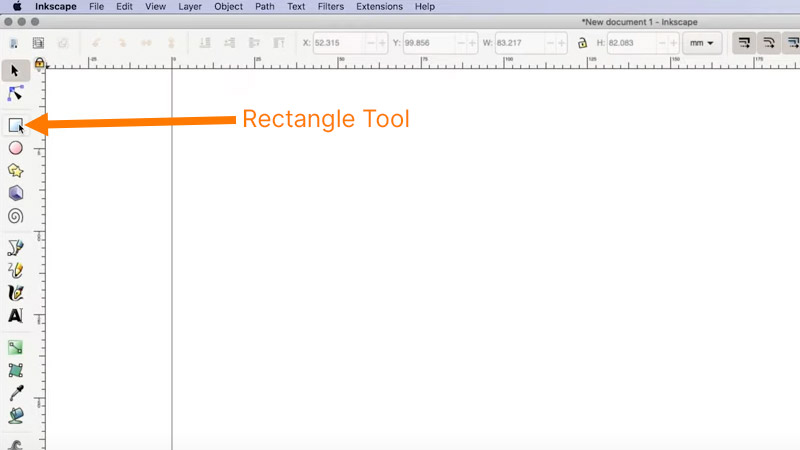
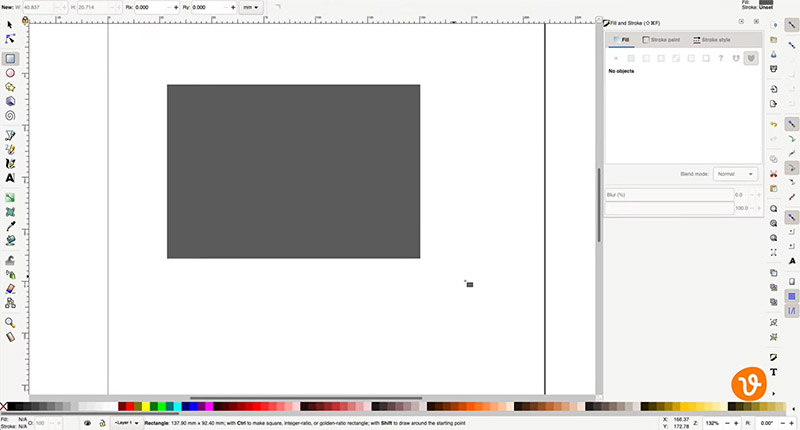
Then, click and drag to draw a rectangle on the artboard.
Next, use the Selection tool to transform the shape.
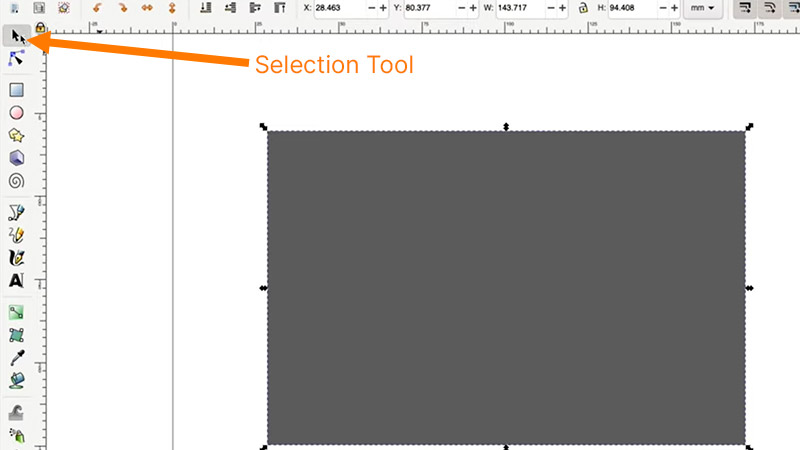
Pull the corners to change the size (without changing the proportions), or pull the sides or top or bottom to change the proportion.
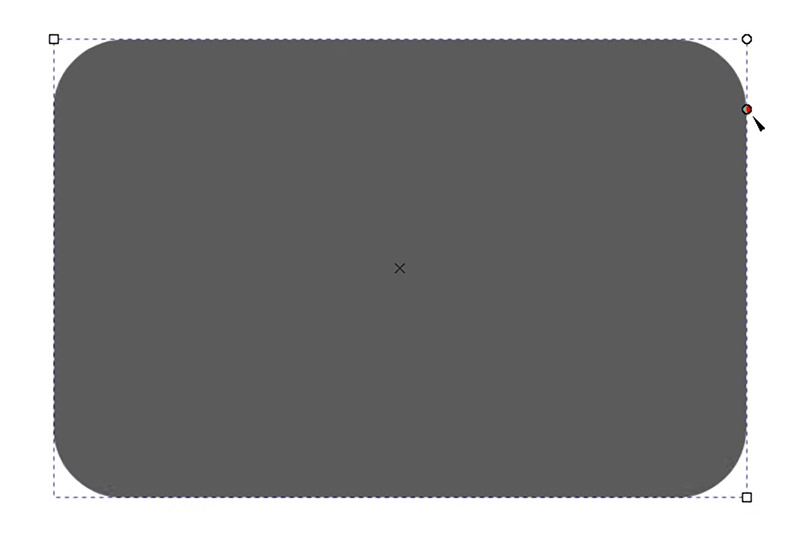
You can also use the Node tool to make specific adjustments to the shape.
Get millions of stock images and videos at the best price
Unlimited access. No attribution required. Starts at just $9/month.

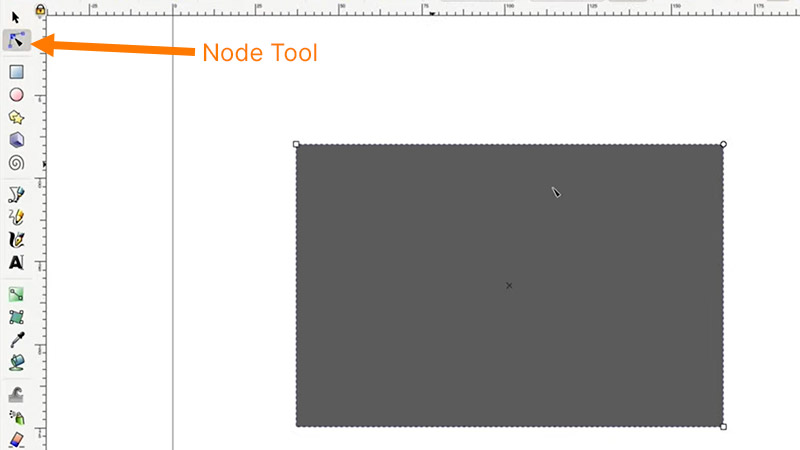
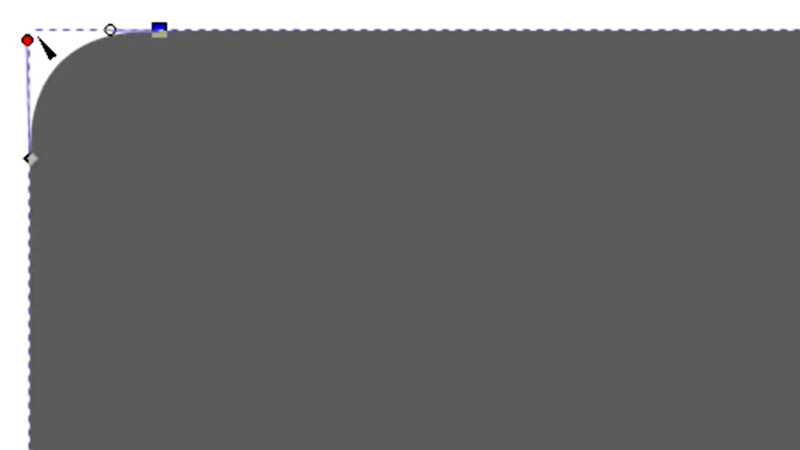
With the Node tool activated, go to the corner with the round icon. Pulling on this corner will allow you to change the rounded corner size on the rectangle.
Then go back to the Selection tool, and go to the Path > Object to Path.
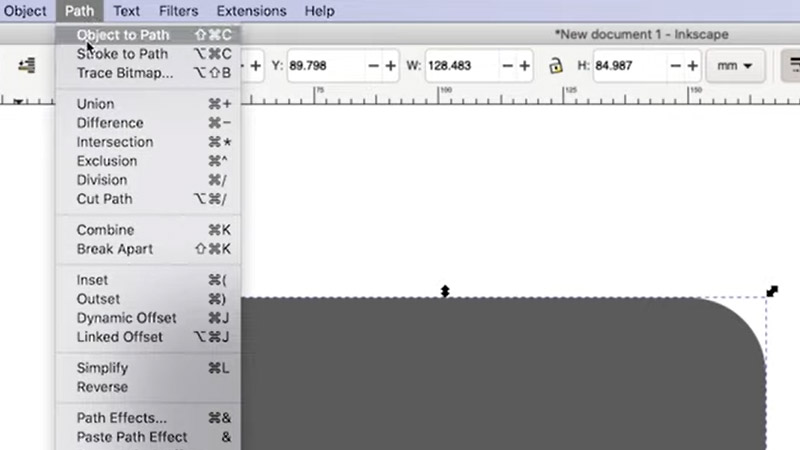
That will then convert the shape into an editable path and you can use the Node tool to adjust each individual curve manually and individually.
Working With Circles
Now let’s go to the Circle tool.
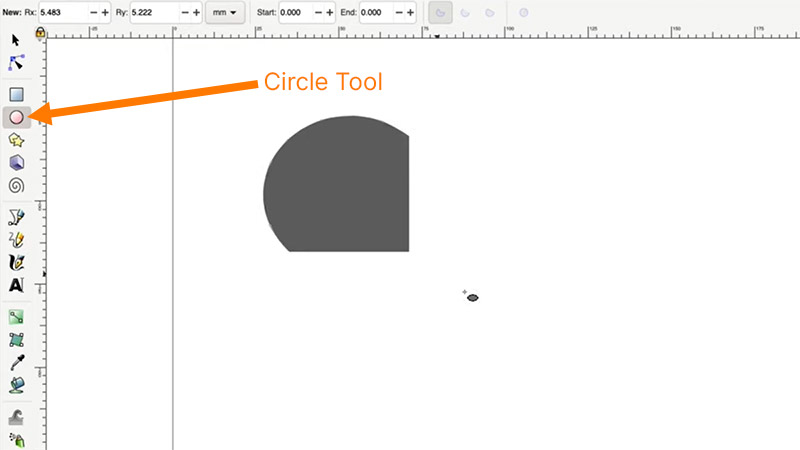
You can draw a circle on the artboard and use the Selection tool to modify and transform its proportions.
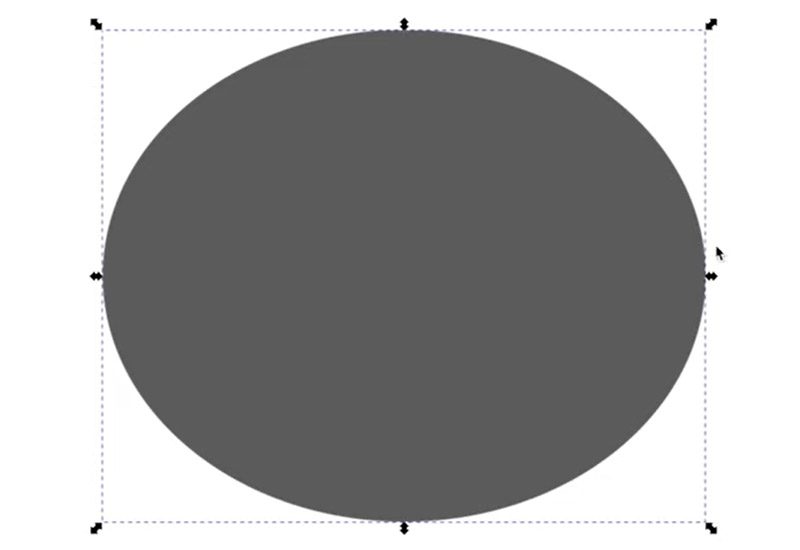
You can hold down the Control or Command key to keep the circle proportional when scaling.
Then, you can go to the Node tool and select the circle icon on the corner.
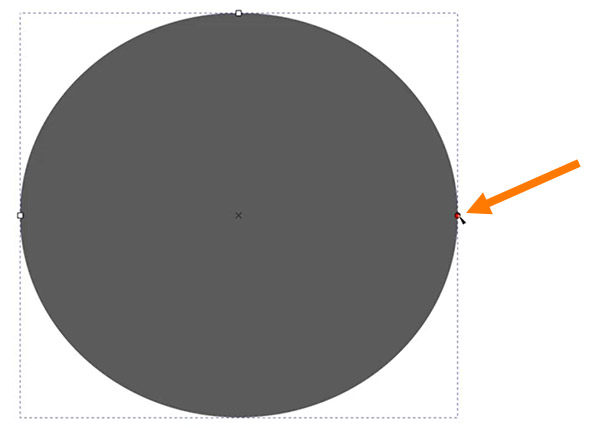
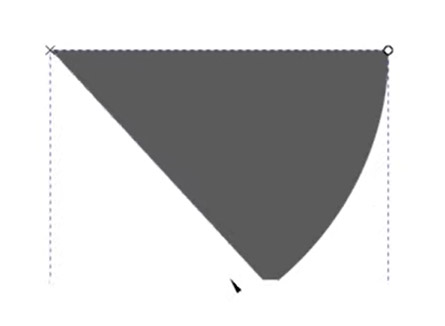
This will let us control how much of the circle is filled. More or less, it’s going to build a pie chart. Simply click and drag all the way around the circle and Inkscape will fill the circle.
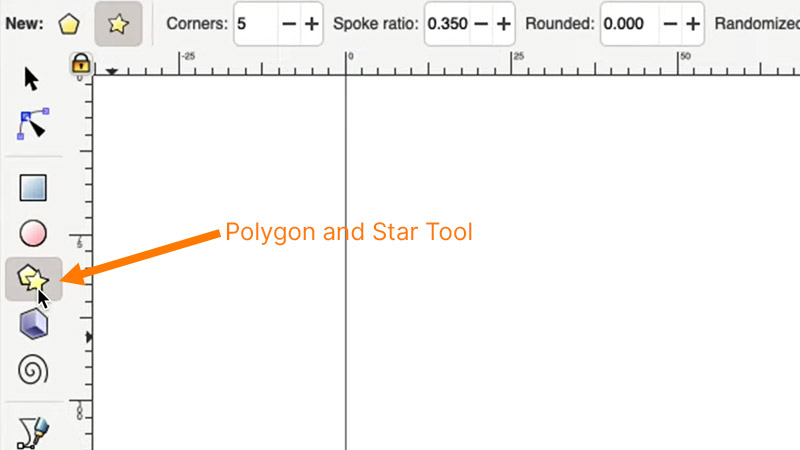
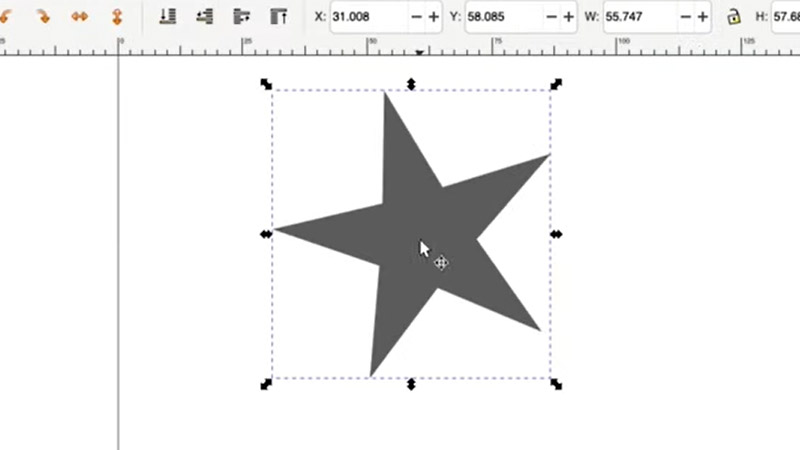
Working With Polygons and Stars
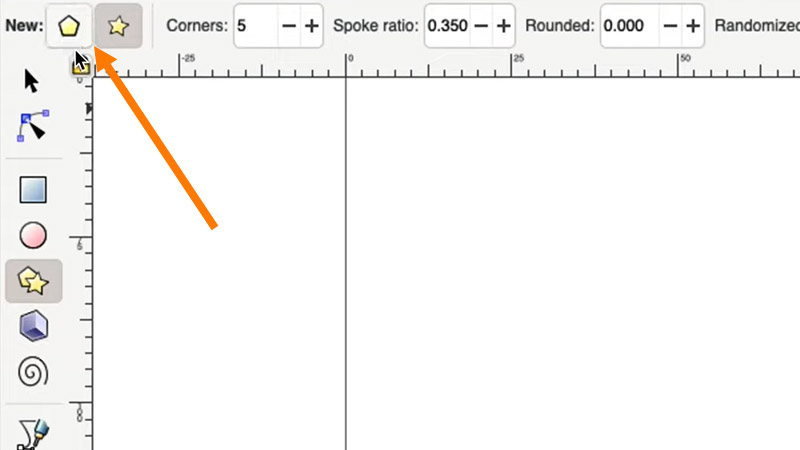
Now let’s look at drawing a polygon and a star. Choose the Polygon and Star icon in the toolbar.
If you go to the top, you’ll notice the option to draw a polygon or a star.
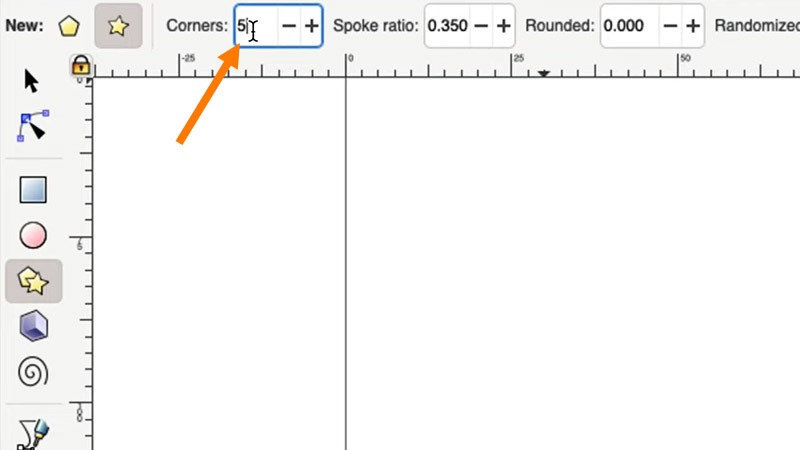
Let’s begin with a star. Enter the number of corners you want for the star.
Next, go to the artboard and draw the star by clicking and dragging.

Then, you can use the Selection tool to move it into place and to scale it to the size you want.
Now, going to the Node tool, you’ll see a diamond in the middle and one of the edges of the star.
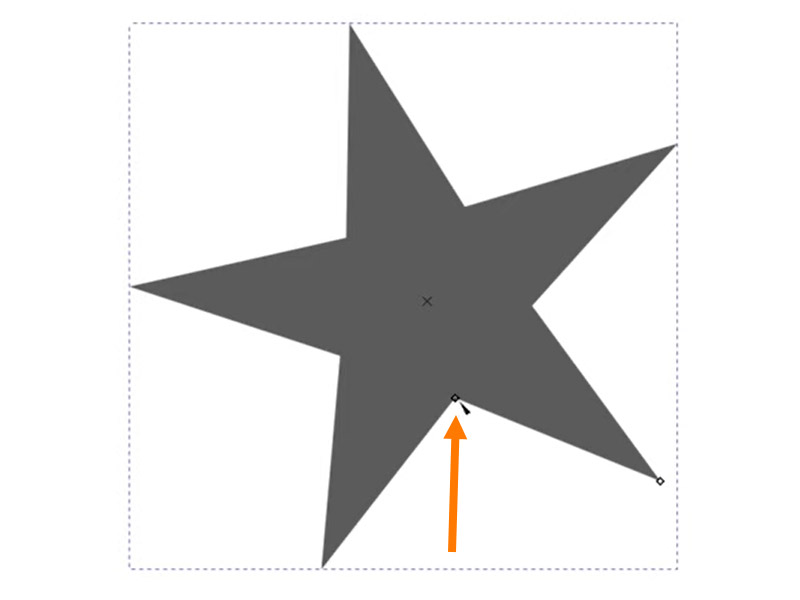
Click the diamond in the middle and that will allow you to expand and contract the star, making it thinner or wider.

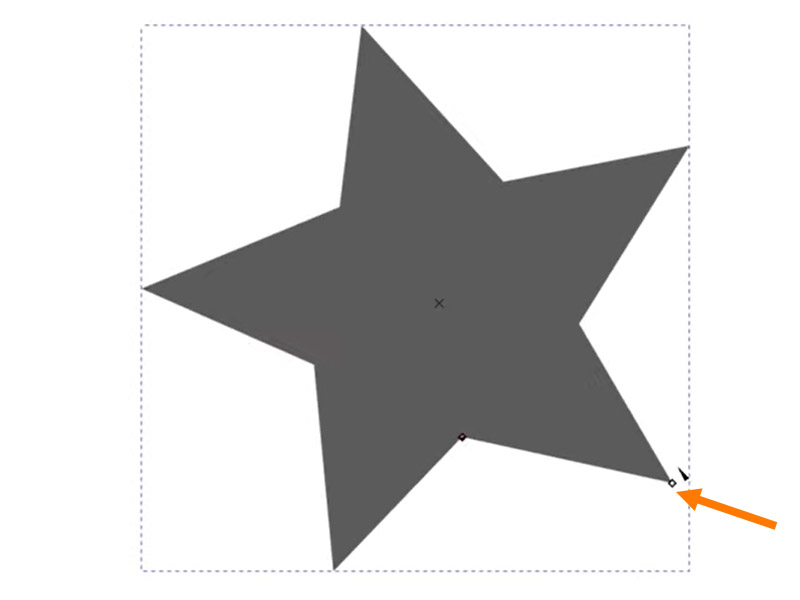
Now, selecting the other icon will allow you to rotate the star.
Let’s look at the Polygon tool. Enter “8” for the number of corners and draw an octagon by clicking and dragging.
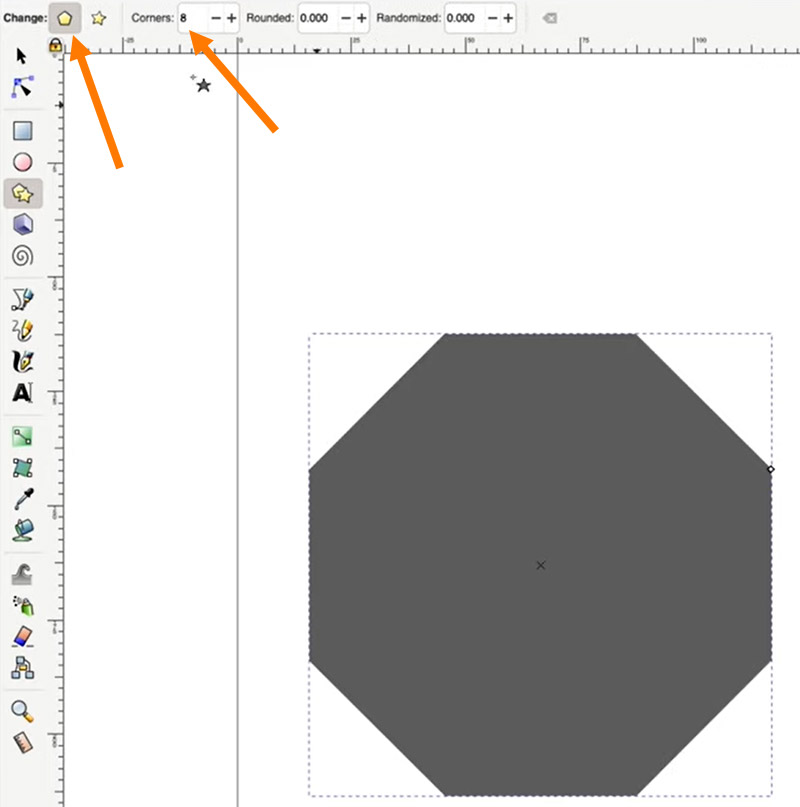
Use the Selection tool to move the octagon into place, and then select the diamond icon again with the Node tool, and that will allow you to rotate the polygon.

Now, let’s say you want to modify one of the individual points. You can simply select the object, go to Path > Object to Path. Then you can use the Node tool to select the individual points on the octagon and control them as you desire.

Custom Shapes
Now, let’s look at creating a custom shape within Inkscape. We’ve downloaded an icon for a bell and we’re going to try to re-create the icon with the built-in shapes and by merging shapes together within Inkscape. Here is the icon that will be re-created.
![]()
The first portion of the bell to re-create is the bottom portion, so use the Circle tool and draw a circle.

Then, use the same tool and draw another circle for the bottom part of the bell.

Next, using the Selection tool, select one of the shapes, hold the Shift key down to select the second shape, and then go to Path > Union.
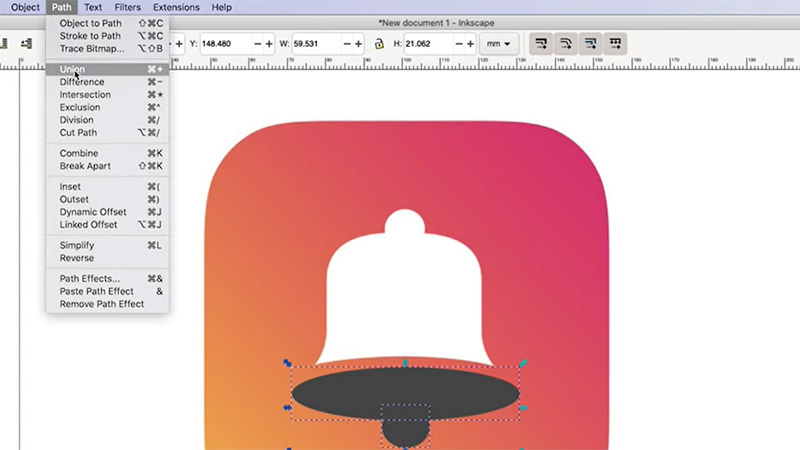
This will join the two shapes together and combine them into one custom shape.

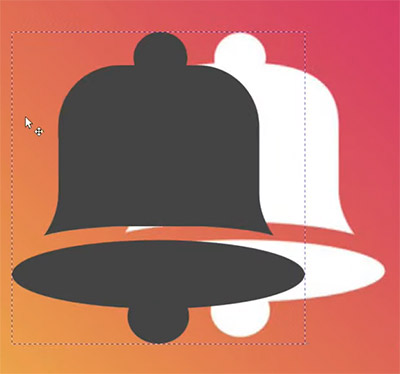
You can then re-create the top portion of the bell by following similar steps using the built-in shapes like squares and circles.

You’ll need to create your own custom paths for the corners of the bell.

Once you have your shapes in place, click and select one of the shapes. Then, holding the Shift key down, click the remaining shapes. Next, go to Path > Union to merge the shapes. Then, click on the shape that you made previously, which is the bottom of the bell. When you have both shapes selected, go to Object > Group and that will move both elements of the bell together at the same time.
Now you have a bell shape that was created by hand to replicate the original icon. That’s a quick overview of shapes in Inkscape, but it should give you an idea of what’s possible and how you can use the different tools to create and edit shapes.
You may also be interested in some of our other Inkscape tutorials:
- How to Create Transparent PNGs for Vector Files in Inkscape
- How to Convert Handwriting to Vector Art in Inkscape
- How to Export Images from Inkscape for PowerPoint
- How to Edit Stock Vector Files in Illustrator and Inkscape
Lead image by Chalermsuk Bootvises.