
Today we’re going to be working with lines and paths in Adobe Illustrator. Once you understand how lines and paths work, you’ll have the ability to illustrate just about anything you can imagine.
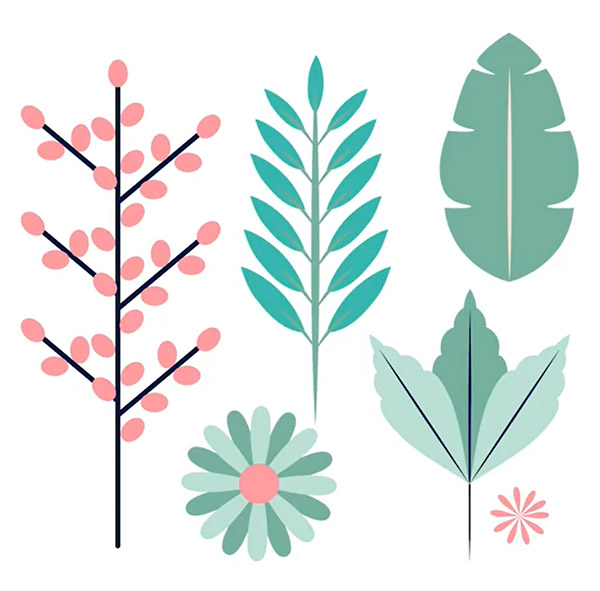
For this tutorial, we’ll be creating a leaf and plant image. We’ve downloaded a vector of flowers and plants from Vecteezy and we’ll use this as a demonstration of how to use the Path and Line tools to recreate similar plants.
Basics of the Line Tool
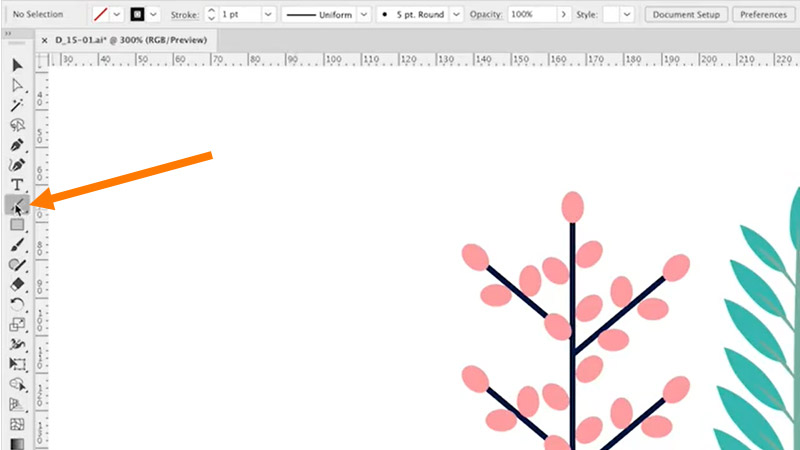
We’ll start with the Line tool. Click the Line tool in the toolbar, as shown below.
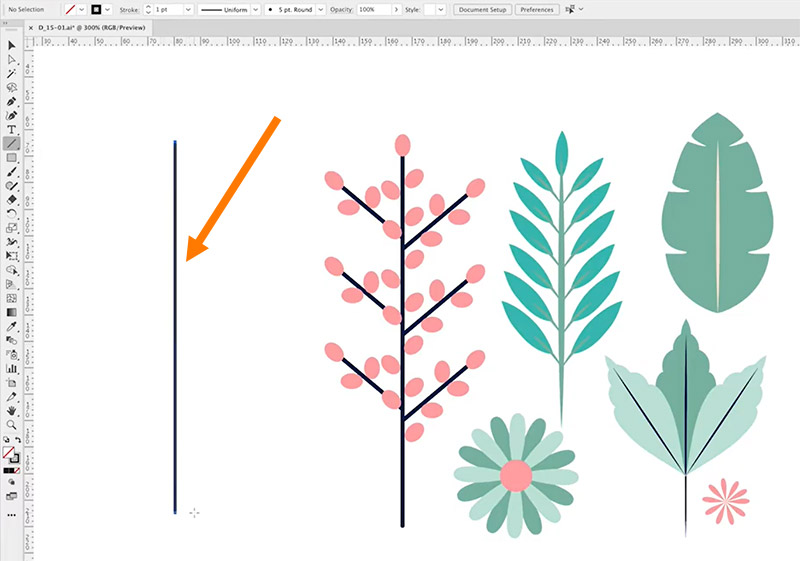
Now, simply draw a line on the document. I’m holding the Shift key to make sure the line is perfectly straight.
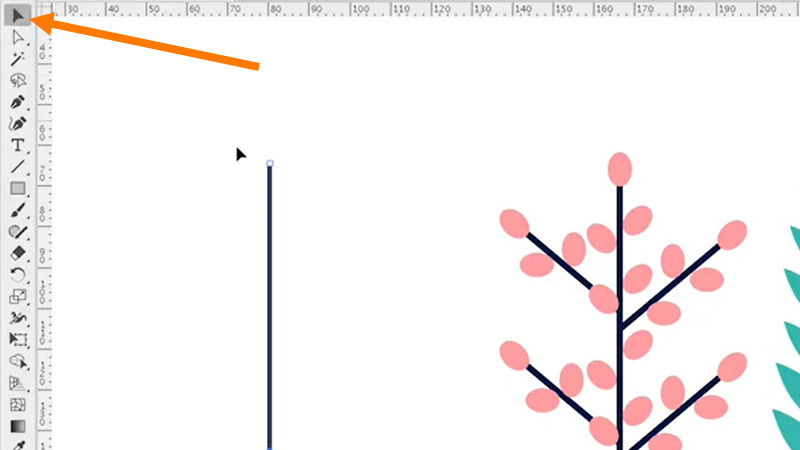
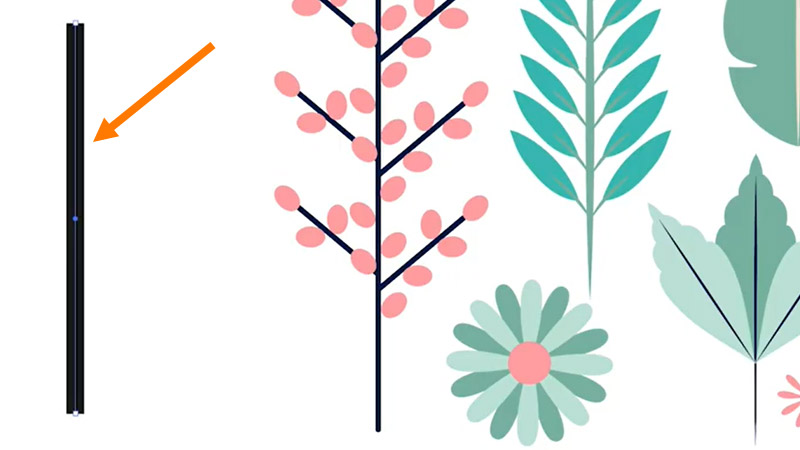
If you need to resize the line you can simply use the Selection tool. Grab one of the points of the line and reposition it or rescale the line according to your needs.
It’s easy to change the color and thickness of the line by using the stroke controls. You can see at the top in the menu bar that the line has a stroke of 1 point. We can change that weight to make the line thicker.
Get millions of stock images and videos at the best price
Unlimited access. No attribution required. Starts at just $9/month.

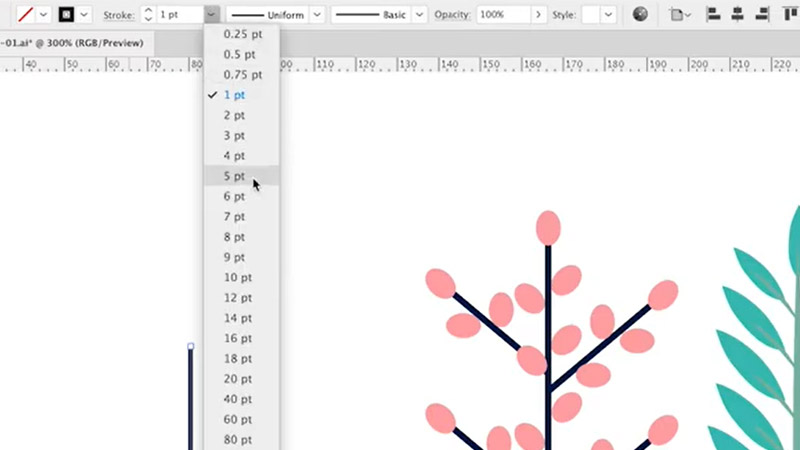
So if we change it to 5 points, for example, you can see the line gets thicker.
 For this example, I’ll switch it back to 1 point.
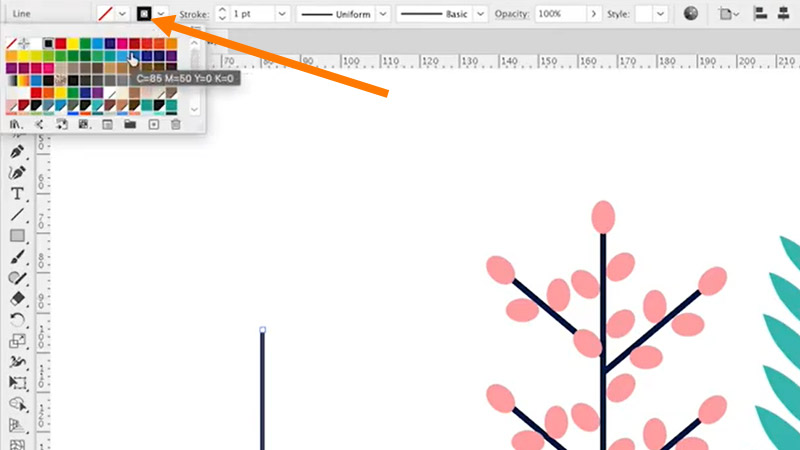
In addition to changing the thickness, we might want to change the color of the line. We can go up to the stroke fill color and use any of the swatches to change the color of the line.
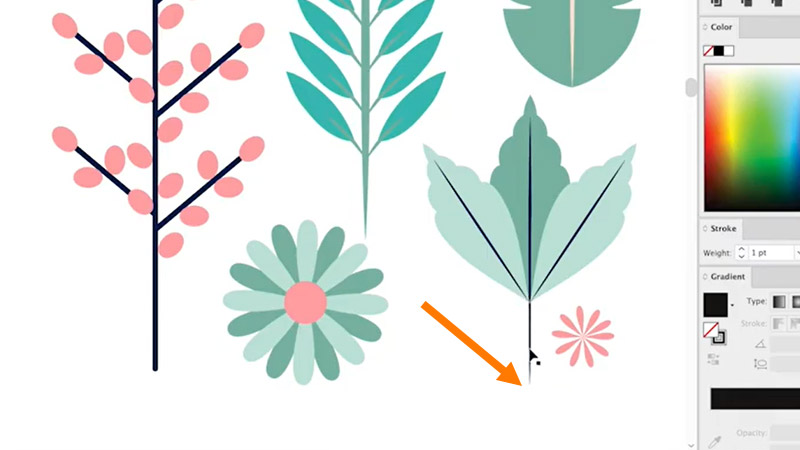
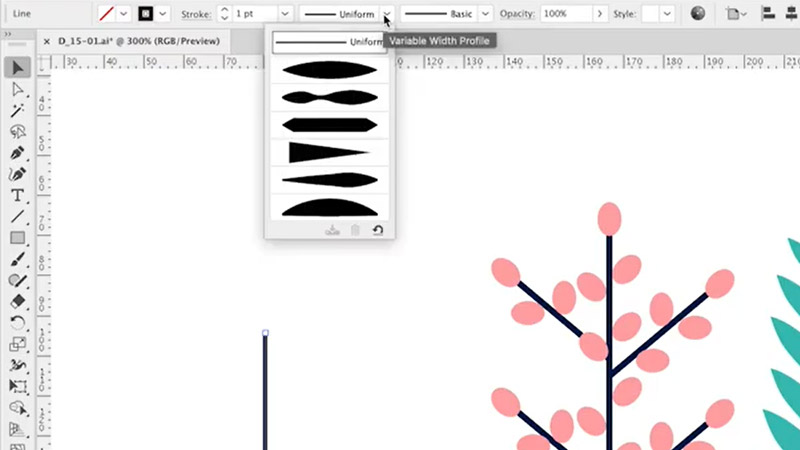
The final thing we’ll mention in this example about lines is the ability to change the endpoint of the line. You can see our line has a squared top and a squared bottom.

But in the vector we downloaded, you can see those lines come to a nice point.
Illustrator can do this for you. Click on the line to select it, and then instead of using the uniform option, use the dropdown menu to see the different options that are available.
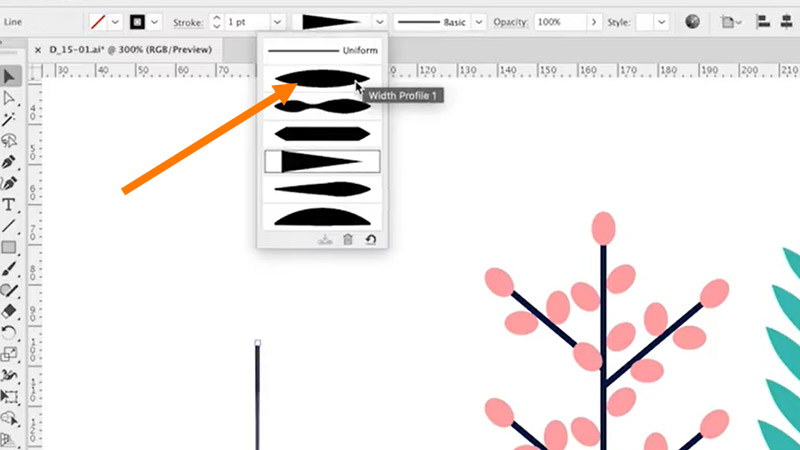
We can use the curved beginning and the curved ending, or we can bring that line to a nice point. For our example, we’ll go back and choose the curved beginning and end (or what’s called the width “profile 1”) and we’ll use it to recreate one of the plants.
Basics of the Path Tool
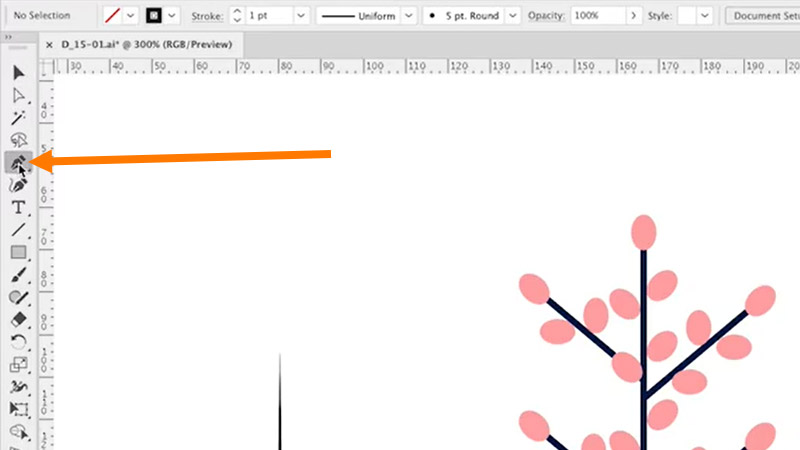
Now let’s use the Path tool (pen icon) to create one of the leaves or flowers on our plants as an example. I’m going to go to the toolbar and click on the Pen tool, or the Path tool.
Click to start the first point. With the Path tool, you’ll click and create multiple points. If you hold the mouse down when you create that point, you’ll be able to curve the line that it draws. So, for example, if I just move the mouse, you’ll see from our point, Illustrator’s creating a straight line.
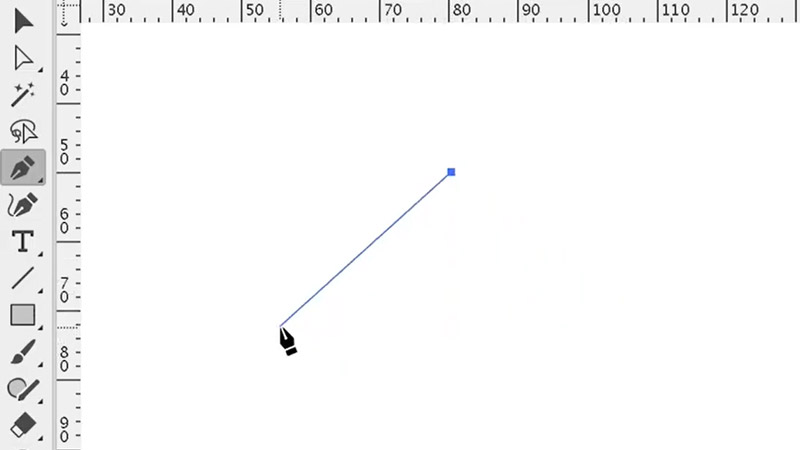
However, if I want to curve the line, I’ll simply hold down the mouse and drag that point and you can see using these handles, we can create a curve of the line.
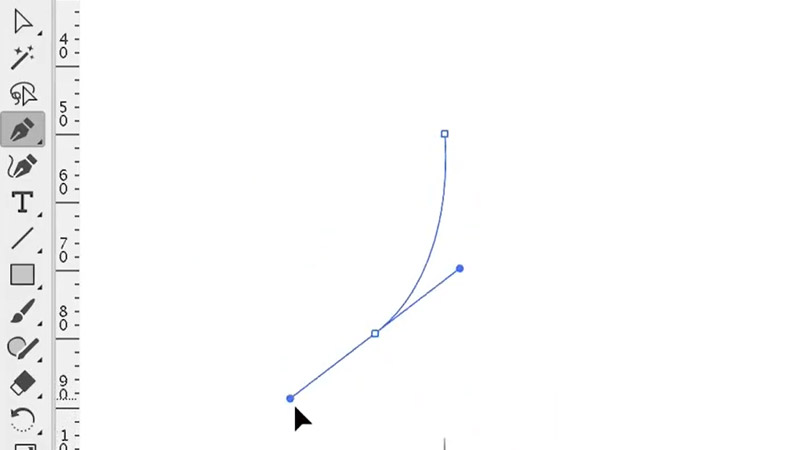
I’ll go ahead and create a curve to start the shape of a leaf.
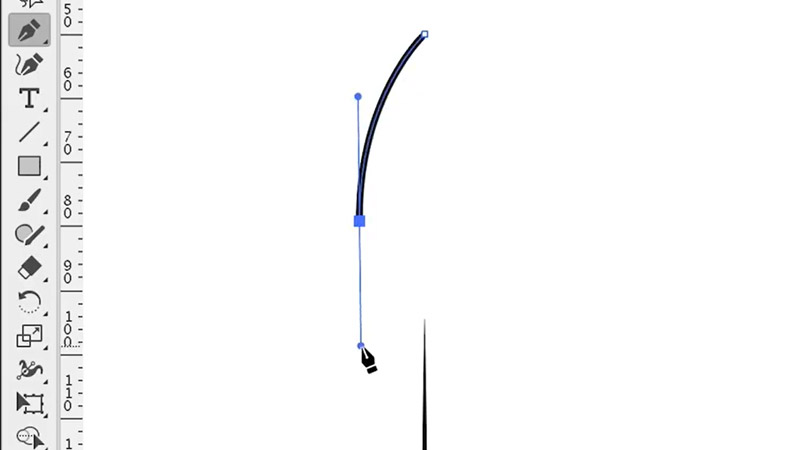
I’ll place the next point below and continue to create the curved leaf shape.
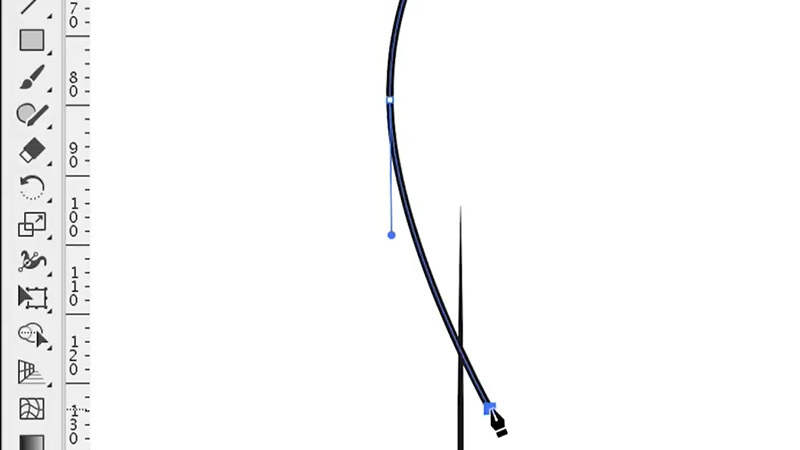
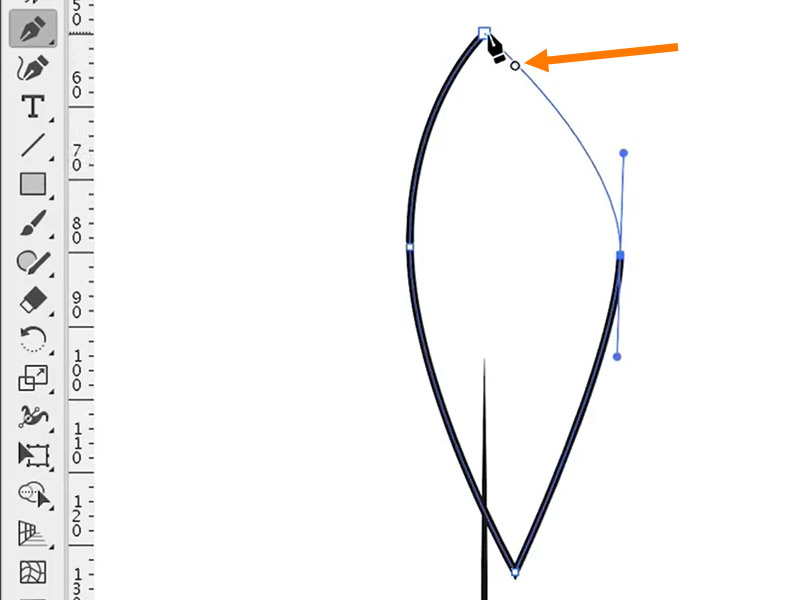
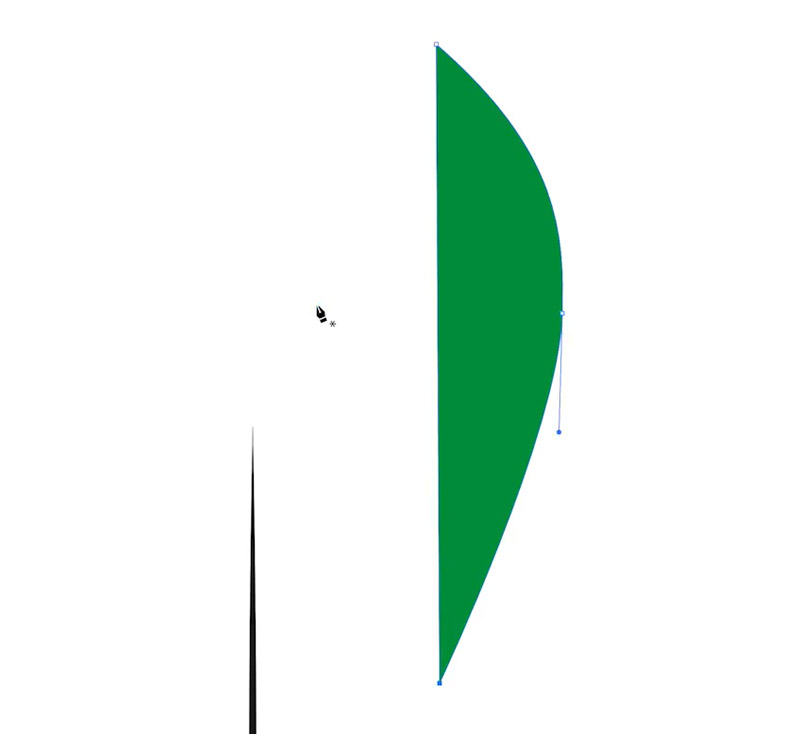
To create the other side of the leaf, I’ll bring the mouse up to about level with the midpoint and try to match this curve by holding the mouse down again.
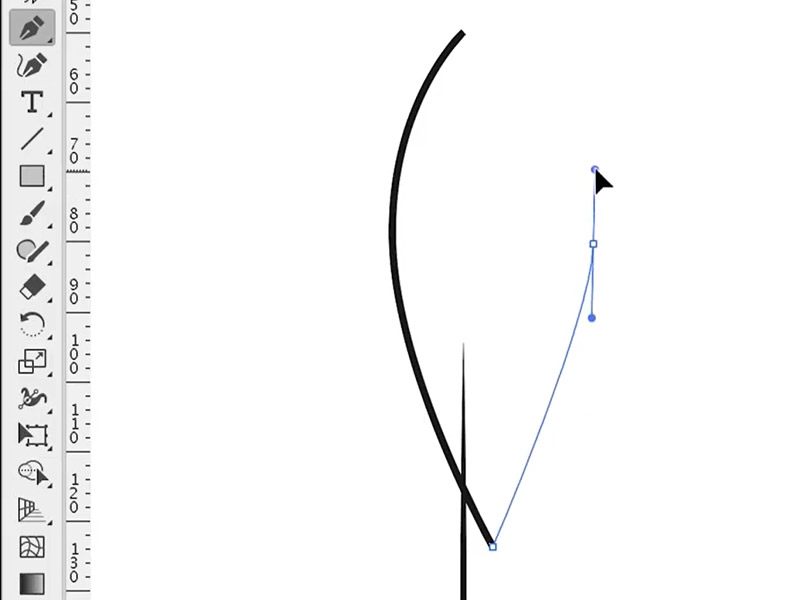
I’ll complete the path by clicking, and then you’ll notice the little circle icon that shows it’s going to close our path at the first point.
Again, I can click and drag to create a little bit of a shape here.
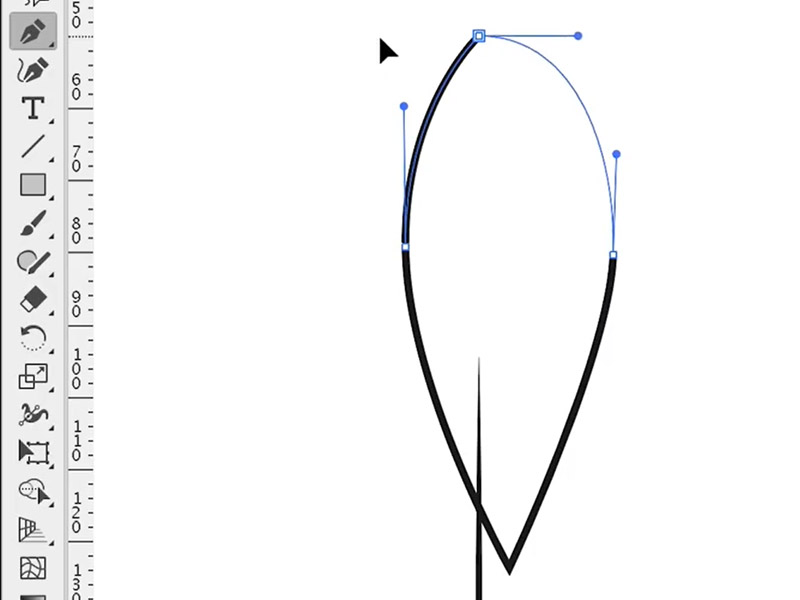
Here is a basic shape of a leaf we’ve created using the Path tool.
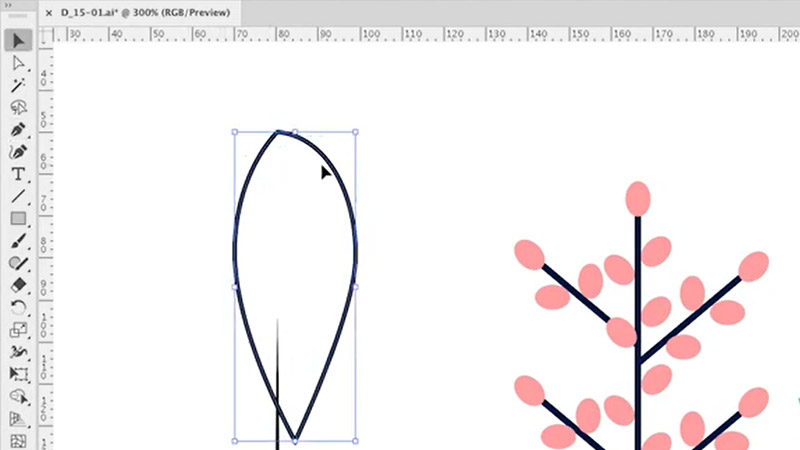
You’ll notice it’s not perfect. However, it’s really easy to go in and modify the different anchor points on your path.
So let’s zoom in a little bit using the navigator and we’ll go and take a closer look at this path. The bottom part looks pretty good, but the top part is a little off. We’ll go ahead and click on the path to select it. Then, to manage the individual points within the path, we’ll need to use the Direct Selection tool (white arrow icon).
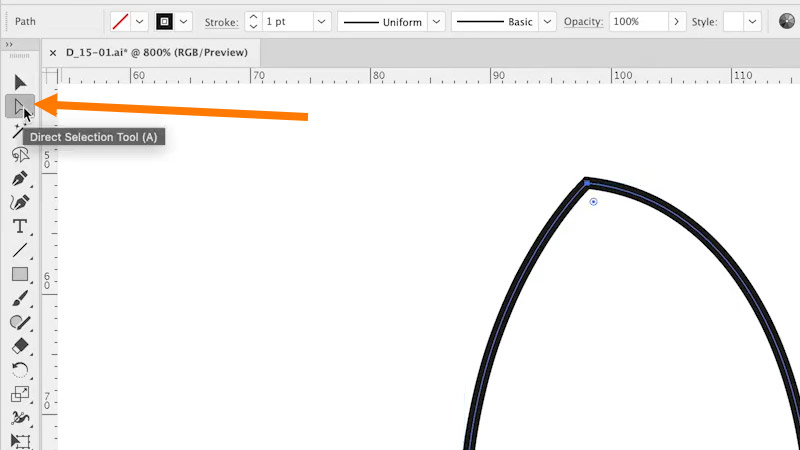
Clicking on the Direct Selection tool will reveal the different anchor points within our path.
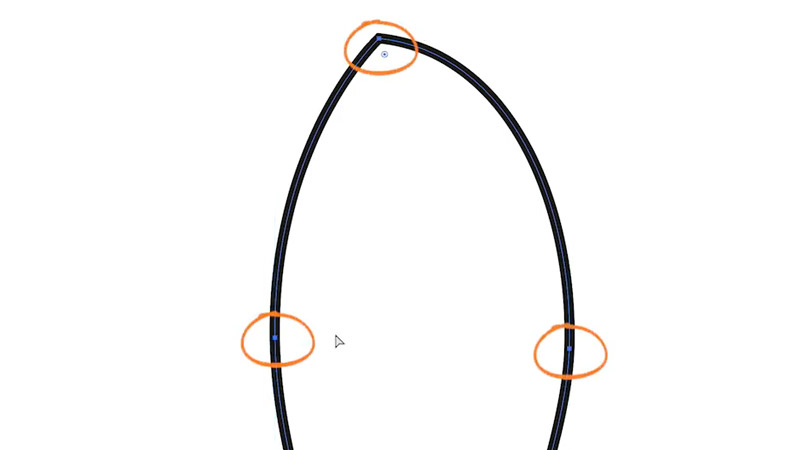
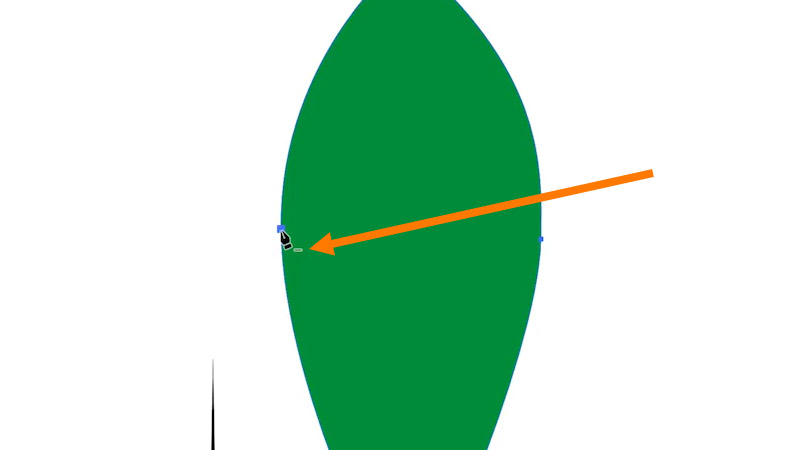
The top anchor point sits a little to the left and it needs to be centered to have the curve match perfectly.
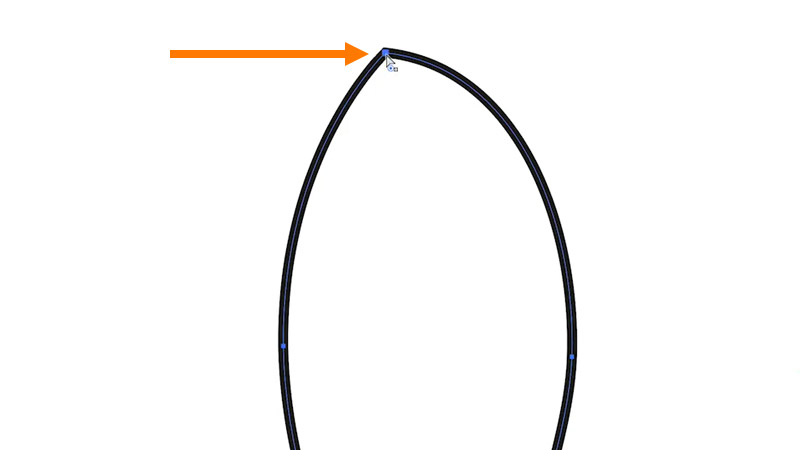
I’ll go ahead and click one time and I’ll simply drag that anchor point to the middle.
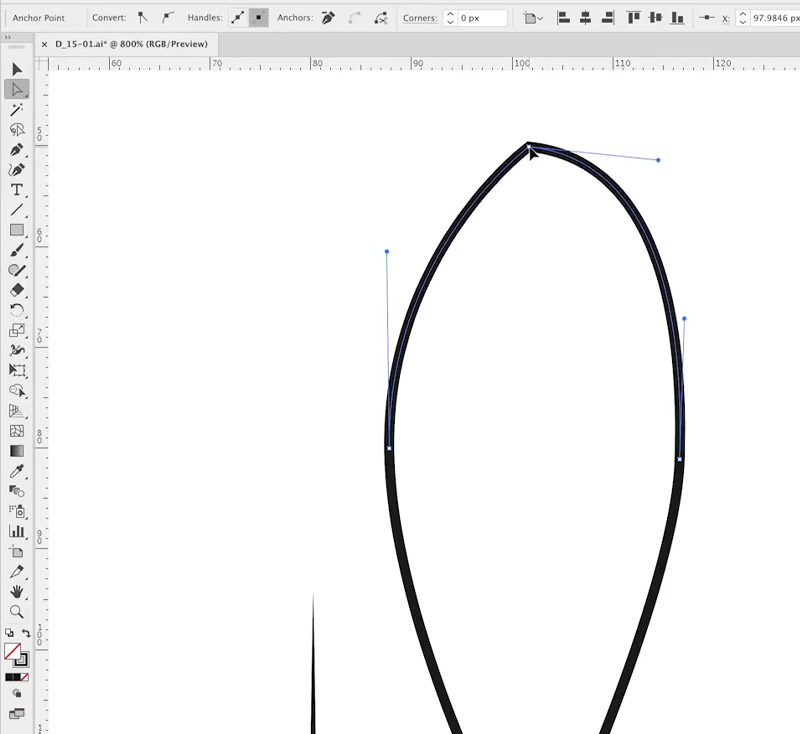
The curves on either side don’t match. We can easily click on one of the handles and adjust the curve until we get it to look a little better.
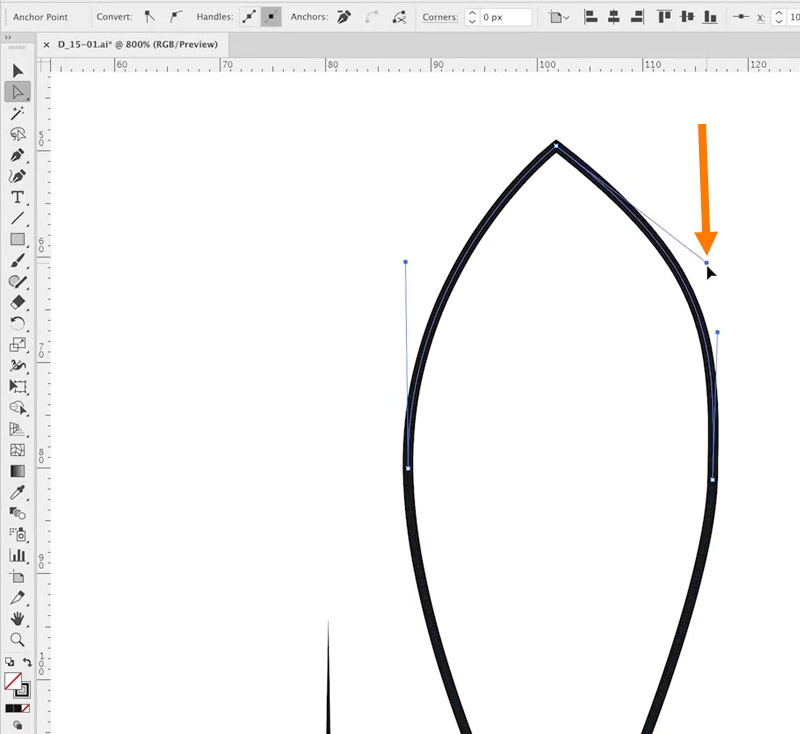
That looks pretty good. So now we’ve got a better shape and a better-looking leaf. You can click on the path using the Selection tool and we can use the fill option to fill it in with color.
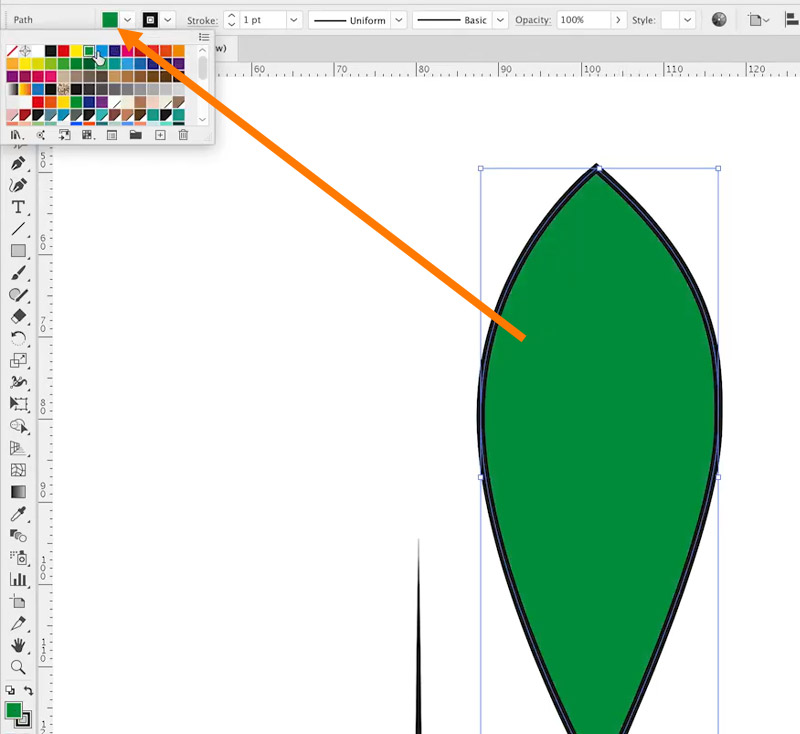
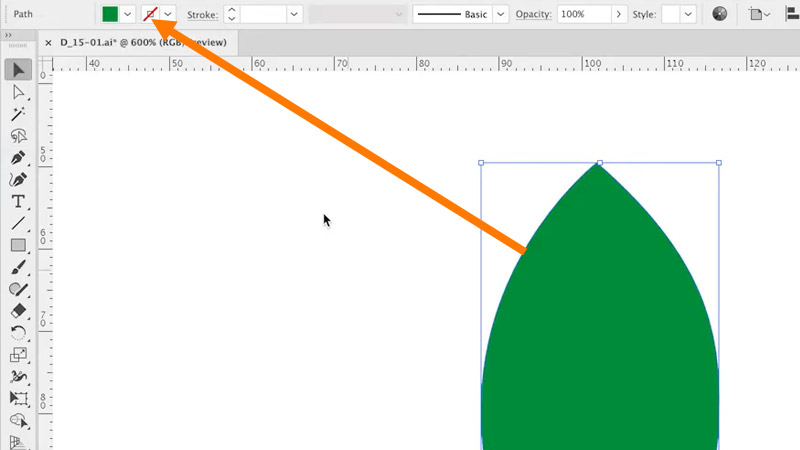
To remove the border, we can turn off the stroke.
Now that we have our leaf, what if we want to add an additional anchor point or remove a point from our path? That’s easy to do! We’ll simply select the path and then go over to the Pen tool.
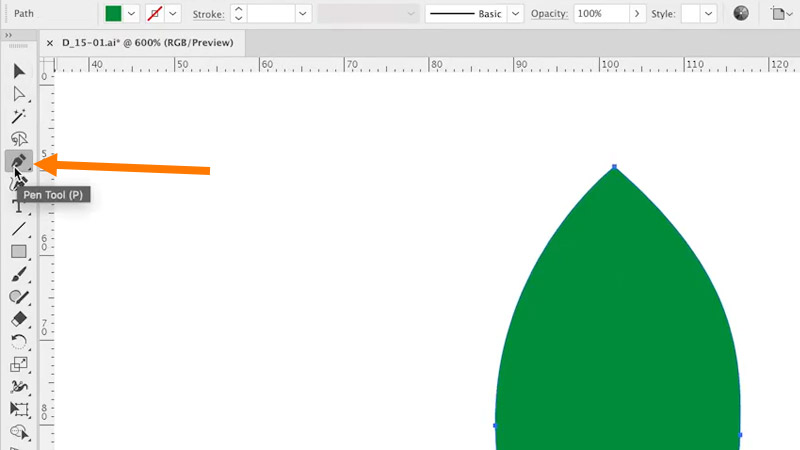
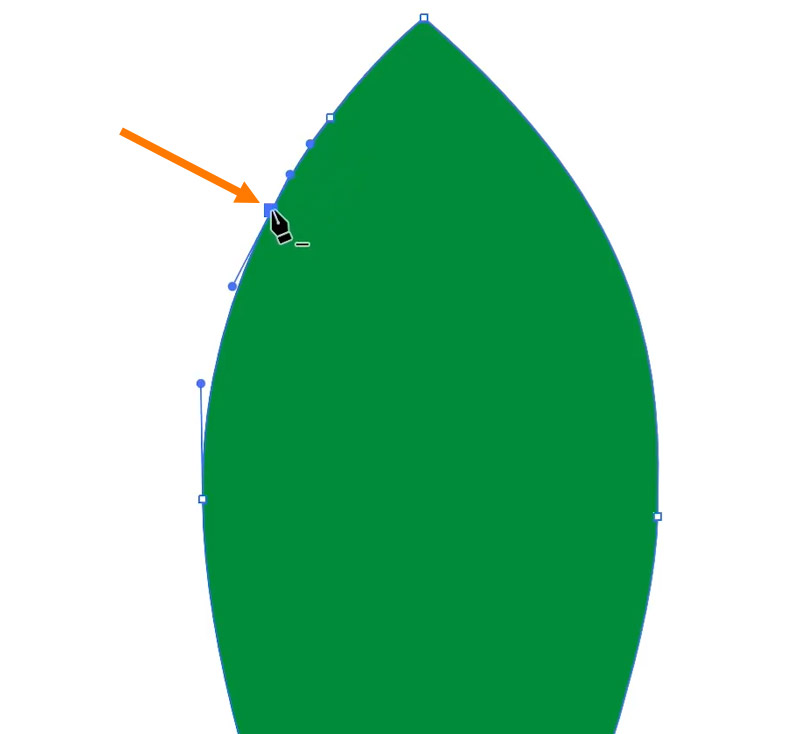
Now, you’ll see the different anchor points.
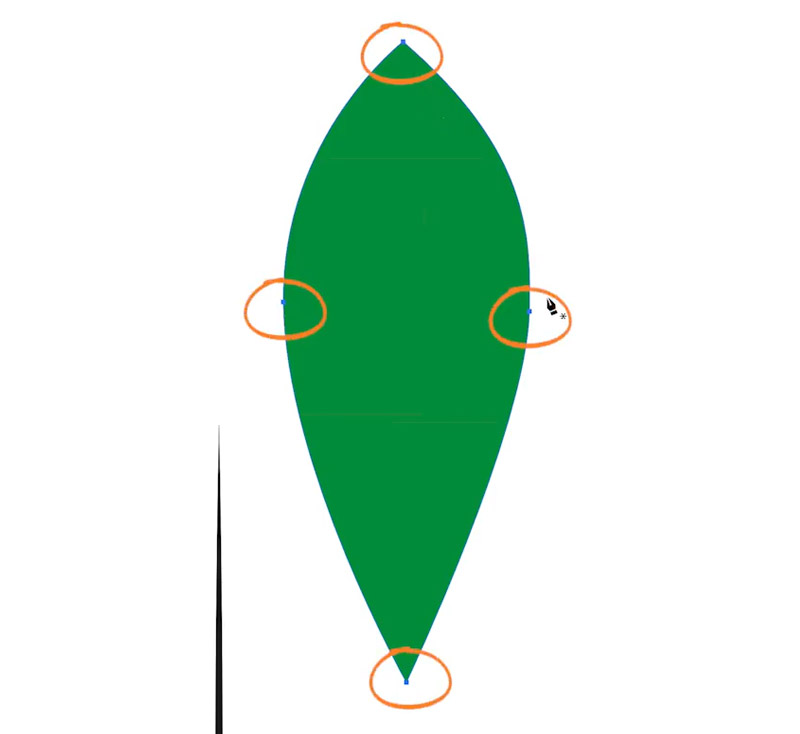
When I roll the mouse over these anchor points, you’ll see the icon with the minus sign. That will tell Illustrator to remove this anchor point.
So if I click on this, you’ll see the anchor point has been removed and the path just goes to a straight line.
I’ll undo that to put our anchor point back. You’ll notice this time if I move the mouse to a part of the line segment, you’ll see a plus sign that has been added.
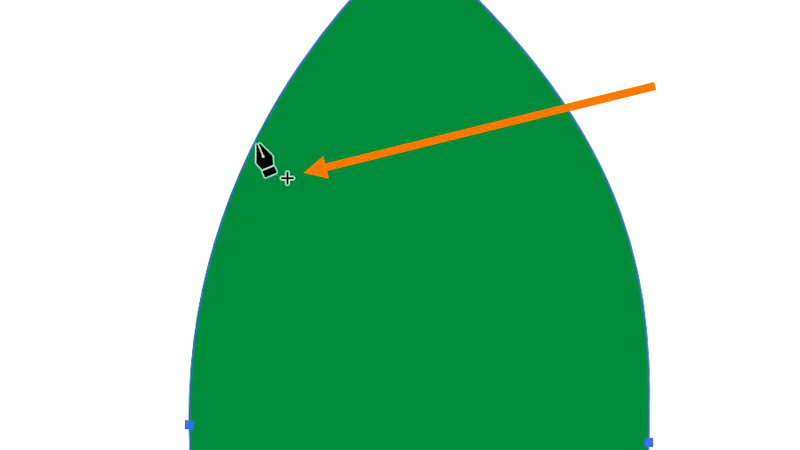
That plus sign allows us to add an anchor point anywhere we want to.
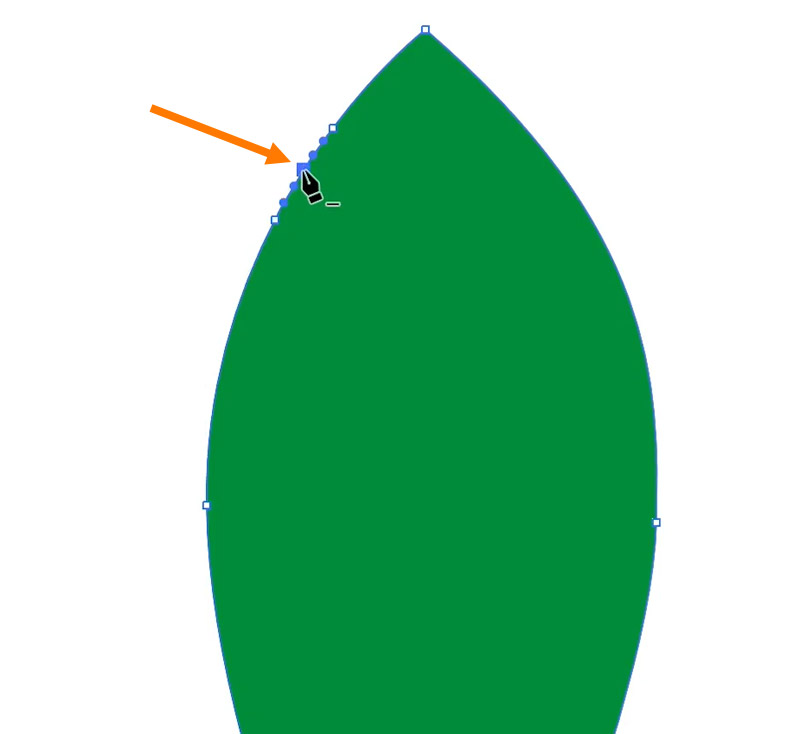
In this example, let’s say we want to take a bite out of the leaf. Maybe an animal or insect took a bite out of it. What we’ll do is create a point here by clicking.

Then we’ll create another point below.
Lastly, we’ll create a third anchor point in the middle of the other two.
We can then use the Direct Selection tool to pull one of these paths out to create the shape.
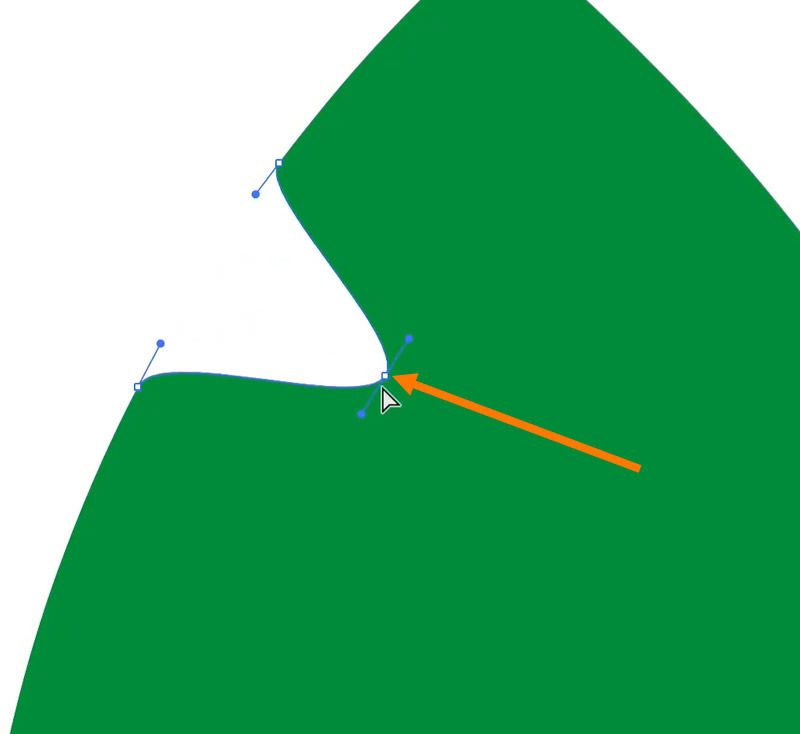
I’m then going to use the handles to create a bite mark.
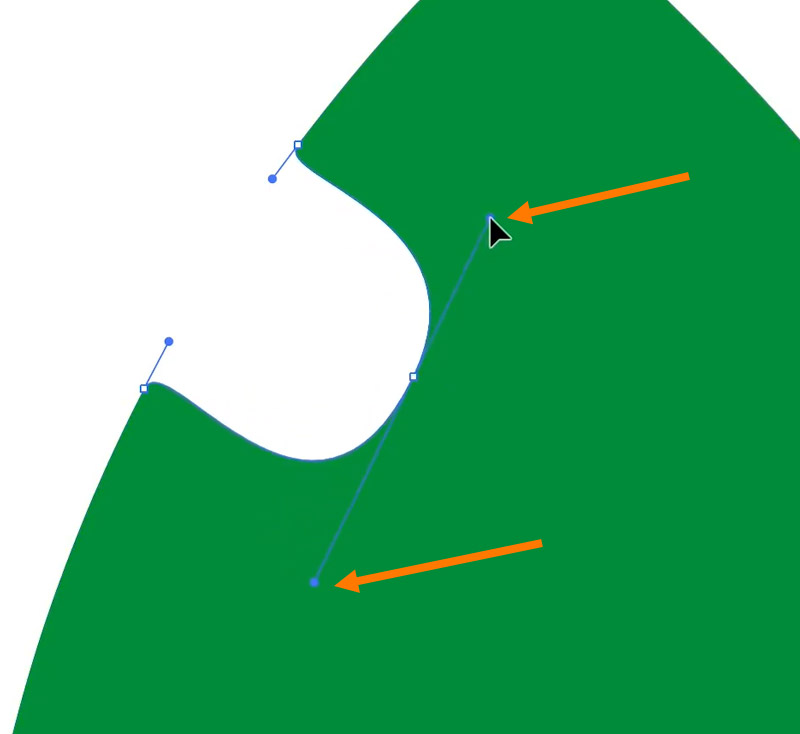
After that’s done, I’ll reposition it.

You can see now that we’ve modified the original path we made by adding additional points and anchor points to create the bite mark.
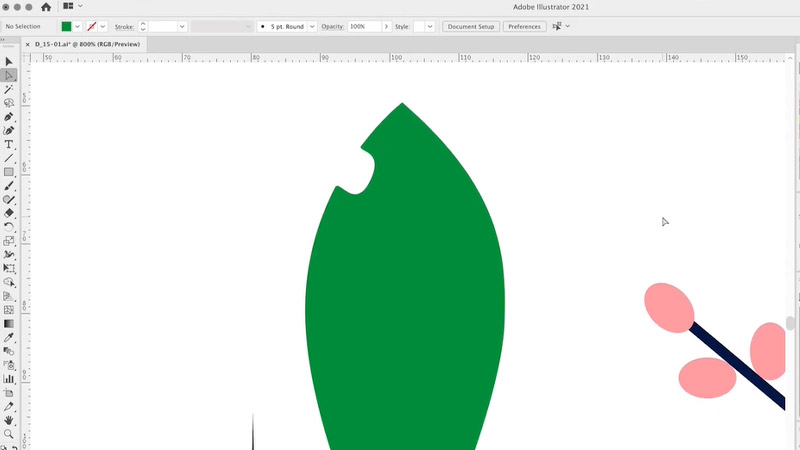
At this point, you can simply scale, rotate, and reposition each of the leaves and then position them on the stem we created using the line tool.
That’s all for now. Good luck on your creative journey!
Be sure to check out these other Illustrator tutorials: