
Have you ever wanted to add hair to a photo in Photoshop?
Whether you’re a photographer looking to enhance your images or someone who wants to have a little fun with editing, knowing how to add realistic-looking hair can be a valuable skill.
In this article, we will walk you through the step-by-step process of adding hair in Photoshop, allowing you to transform your images into stunning works of art.
If you wish, you can do it by yourself. Alternatively, you can hire clipping path action for your image post-production. A company that offers professional photo editing and clipping path services can help you achieve even more stunning results.
So grab your mouse, and let’s get started!
How to Add Hair in Photoshop
Method 1: How to Add Hair in Photoshop Using Lasso Tool
Adding hair to an image can significantly enhance the overall look and feel, whether you’re trying to create a new hairstyle or want to give your subject a fuller head of hair.

While many techniques exist for adding hair in Photoshop, the lasso tool is an excellent Photoshop tool for creating a natural and realistic effect.
We will guide you through the step-by-step process of using the lasso tool to add hair to an image and provide tips for achieving a seamless and professional result.
Step 1: Open Image
First, open the images you want to add hair to in Photoshop. To open the image, click “File > Open or Open As.”
Step 2: Duplicate Layer
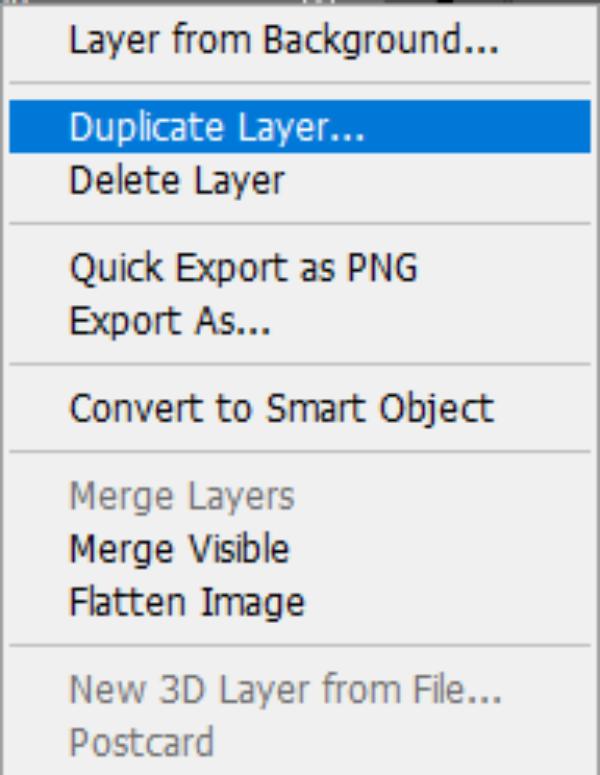
After opening the image, duplicate the background layer. Select the background layer and press right-click on your mouse. Here, you will see some options. Click on the “Duplicate Layer” option.
Then, a popup window will be visible. Here, set the name of the layer and press “OK.”
Step 3: Tool Select
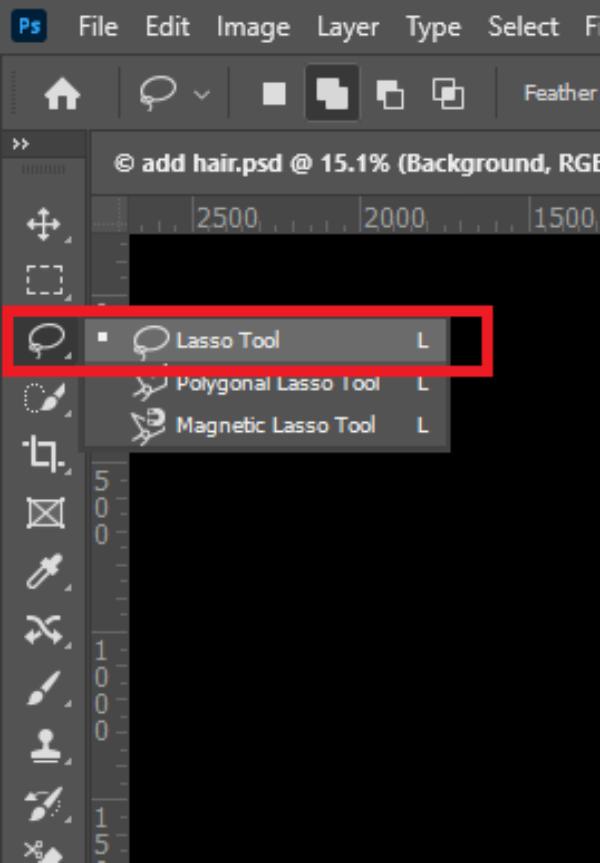
Now, go to the toolbar and select the Lasso tool. You can also select the tool using the keyboard shortcut L.
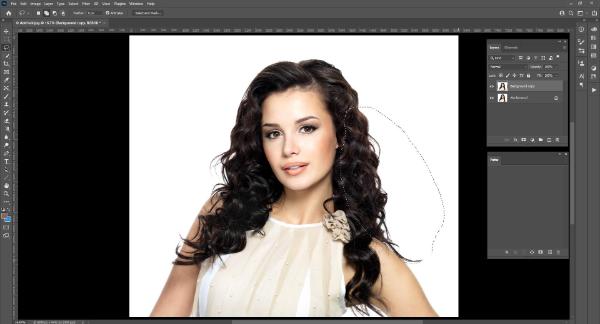
Step 4: Select Hair
Next, make a selection of thick hair portions. To select this:
- Create a starting point with the lasso tool and drag it around hairs.
- Take back the point to the starting point.
- When the starting point and ending point join together, leave your cursor.
Step 5: Make a Copy of the Selection
Now, make a copy of the selection as a layer. Go to “Layer > New > Layer via Copy.” You can use the Ctrl+J keyboard shortcut key. Now, you will see the selection as a layer in the layer panel.

Step 6: Adding Hair
Click on the selected hair layer and drag to the targeted area. Here, flip the layer horizontally. To do it, first, you need to make “Free Transform.” Right-click over the selection and click on the option.
![]()
Then, again, right-click on the layer, and you can see the option at the bottom of the options, as you can see in the image below.

Step 7: Layer Masking
Again, go to the Layer Panel to select the new layer (Hair Layer). Then, click on the Layer Masking icon. After that, invert the mask by pressing Ctrl+I. Now select the brush tool and make the foreground color white. Then, paint over the hair layer.

Step 8: Blur Edge
If you notice that the edges must be blurry, select the Blur tool from the toolbar. Then, Set tool options and paint over the edges that need blur.
Step 9: Save Image
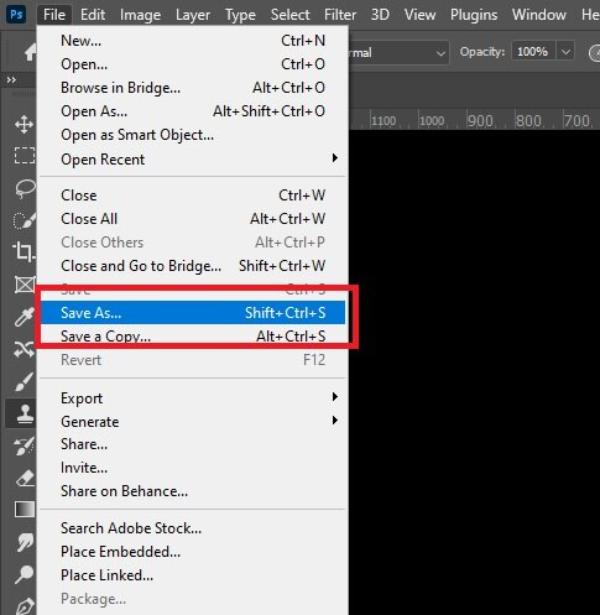
Once you are satisfied with the result, save your image. To save the picture, go to “File > Save or Save As.” Then, set a name, choose a file format, and click OK to save.

Method 2: Using Clone Stamp tool
In this method, we will use the Clone Stamp to add hair to an Image in Photoshop. So, let’s start the step-by-step tutorial on how to add hairs in Photoshop.
Method 2: How to Add Hair in Photoshop Using Clone Stamp tool
In this method, we will use the Clone Stamp to add hair to an Image in Photoshop. So, let’s start the step-by-step tutorial on how to add hairs in Photoshop.
Step 1: Open the Image and Make a Duplicate Layer
Launch your Photoshop and open your photo. Go to “File > Open” to open your image. You can open the image by pressing “Ctrl+O” from the keyboard.
Now, make a duplicate of your background layer so that you can use the main layer later if needed. To make a duplicate layer, click the background layer, drag it to the “Create a New Layer” icon, and leave it.
Step 2: Select Clone Stamp Tool and Do Some Setting
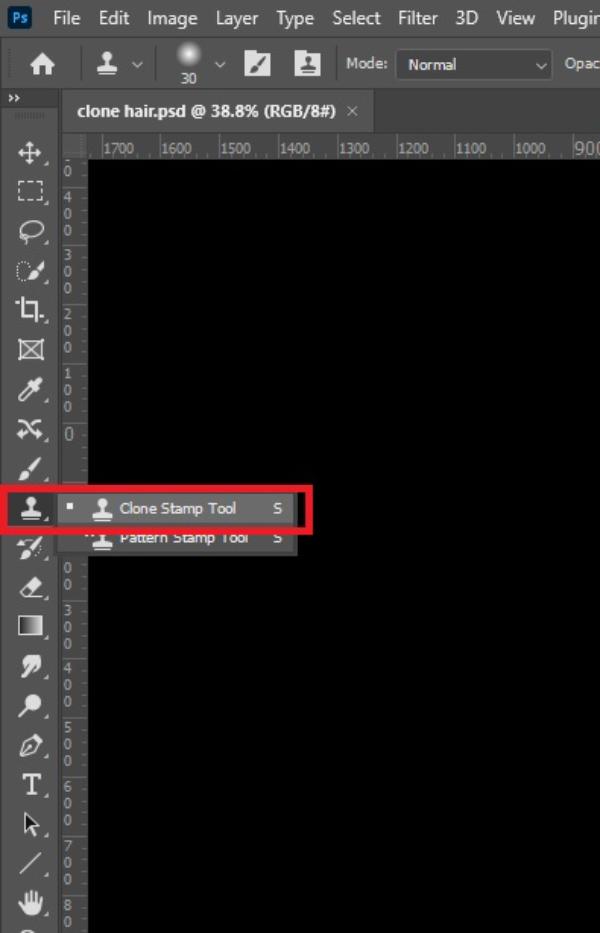
To select the tool, go to the toolbar and select the Clone Stamp tool. You can also use the S key from the keyboard to select the Clone Stamp tool.
After selecting the tool, you have to set the tool. Go to the options bar and set mode, opacity, flow, and sample options. Enable aligned option to take the source from the same place in every painting step. Here is an example setting we used.
![]()
Step 3: Select Clone Source
Now, you have to select a clone source to add hair to the empty area. To do this, from the window option, select the “Clone Source option.”
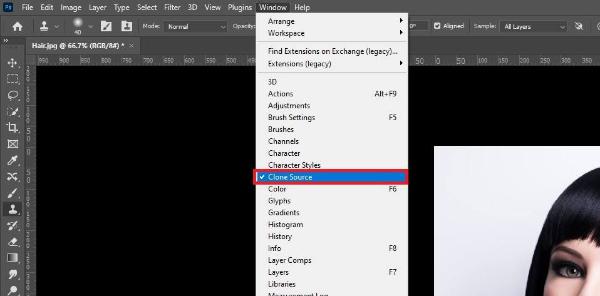
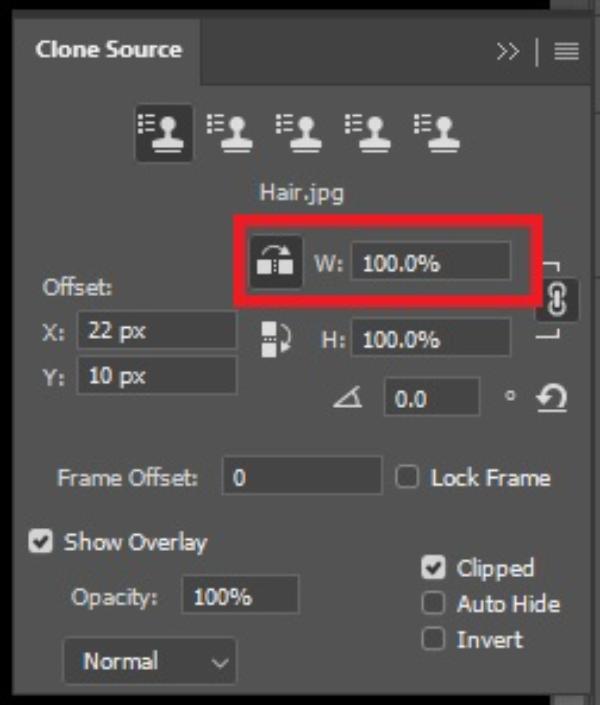
The clone source panel will be expanded in front of you. Next, click on the “Flip Horizontal” to clone horizontally that matches hair textures.
Now, you need to choose a clone source. To do this, press the “Alt” key from the keyboard and hold it. Next, click on the source area.
You can see the below image.

Step 4: Painting
After selecting the clone source, paint over the empty area to add hair. Remember not to overdo it. Otherwise, it will look unnatural.

If you make a mistake or you need to go back a step, go to “Edit > Undo Clone Stamp.” Or you can use the keyboard shortcut “Ctrl+Z” to undo a work step.
Step 5: Save Image
When you are satisfied with the result, save your image. Go to “File > Save or Save As” to save the image.
Conclusion
Adding hair in Photoshop can be valuable to enhance a portrait or create a new look. Following the step-by-step guide in this article, you can learn how to add hair seamlessly and convincingly in Photoshop.
Remember to start with a solid foundation by selecting the right hair image and using the appropriate tools and techniques. You can achieve realistic and stunning results with practice and attention to detail.
So go ahead and give it a try! Happy editing!