Retro design is making a major comeback and is especially popular in the creative industry.
Ranging from neon elements and bold accent colors to grainy texture and grunge effects, retro design not only conveys the feeling of nostalgia but also creates a specific connection with the viewer.
In today’s tutorial, we’re going to show you how to create retrowave-inspired animated artwork with Pixlr.
Get 66% On All Yearly Plans Now!
Hurray for Black Friday! It’s the sale we’ve been waiting all year for. Upgrade your photo editing skills with all our creative tools and create your best work of art – all with 66% OFF any yearly plan. Enjoy this massive sale today when you check out here with promo code PIXLR66BF!
What makes a retrowave artwork?
Before we begin, it’s important to identify all the elements that a retrowave piece consists of. Retrowave (or synthwave) visuals draw a lot of inspiration from 80s graphics, such as colorful sunset graphics, bright neon lights and grids, arcade-like pixel art etc.
1. Set your background

Go to Pixlr, create an empty artboard and set your background, preferably a dark and plain image. You wouldn’t want your background to look overly busy and attention-grabbing.
2. Create a gradient sun
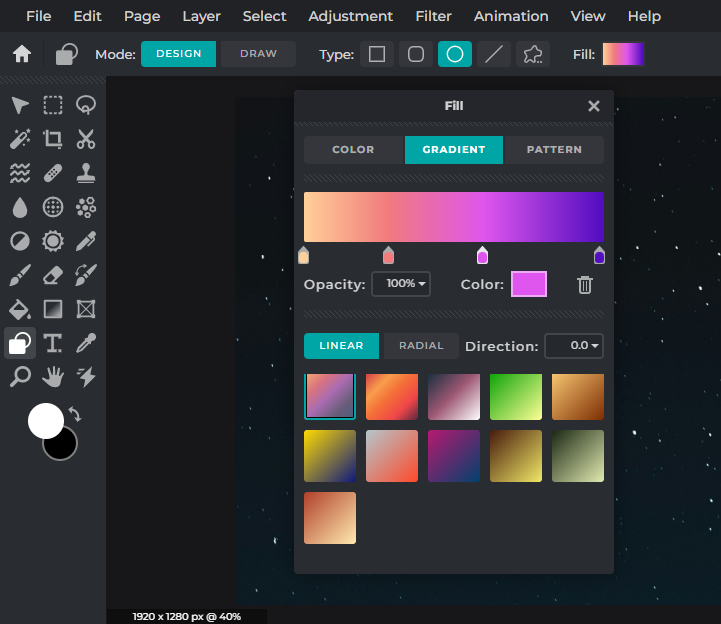
To create the sun, we’re using the Shape tool and the Gradient Fill feature.
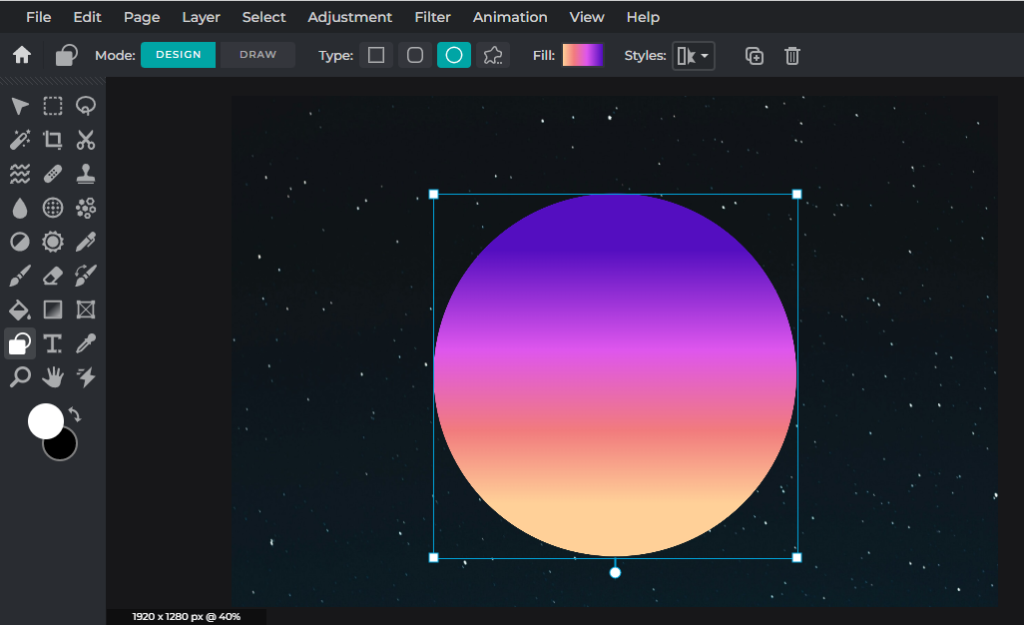
Now, the gradient sun is the focal point of your piece, so it’s crucial that the colors you choose for your sun are bright and bold. Here, we’re going for a beige, pink, purple and indigo combination.
3. Country road, take me home!
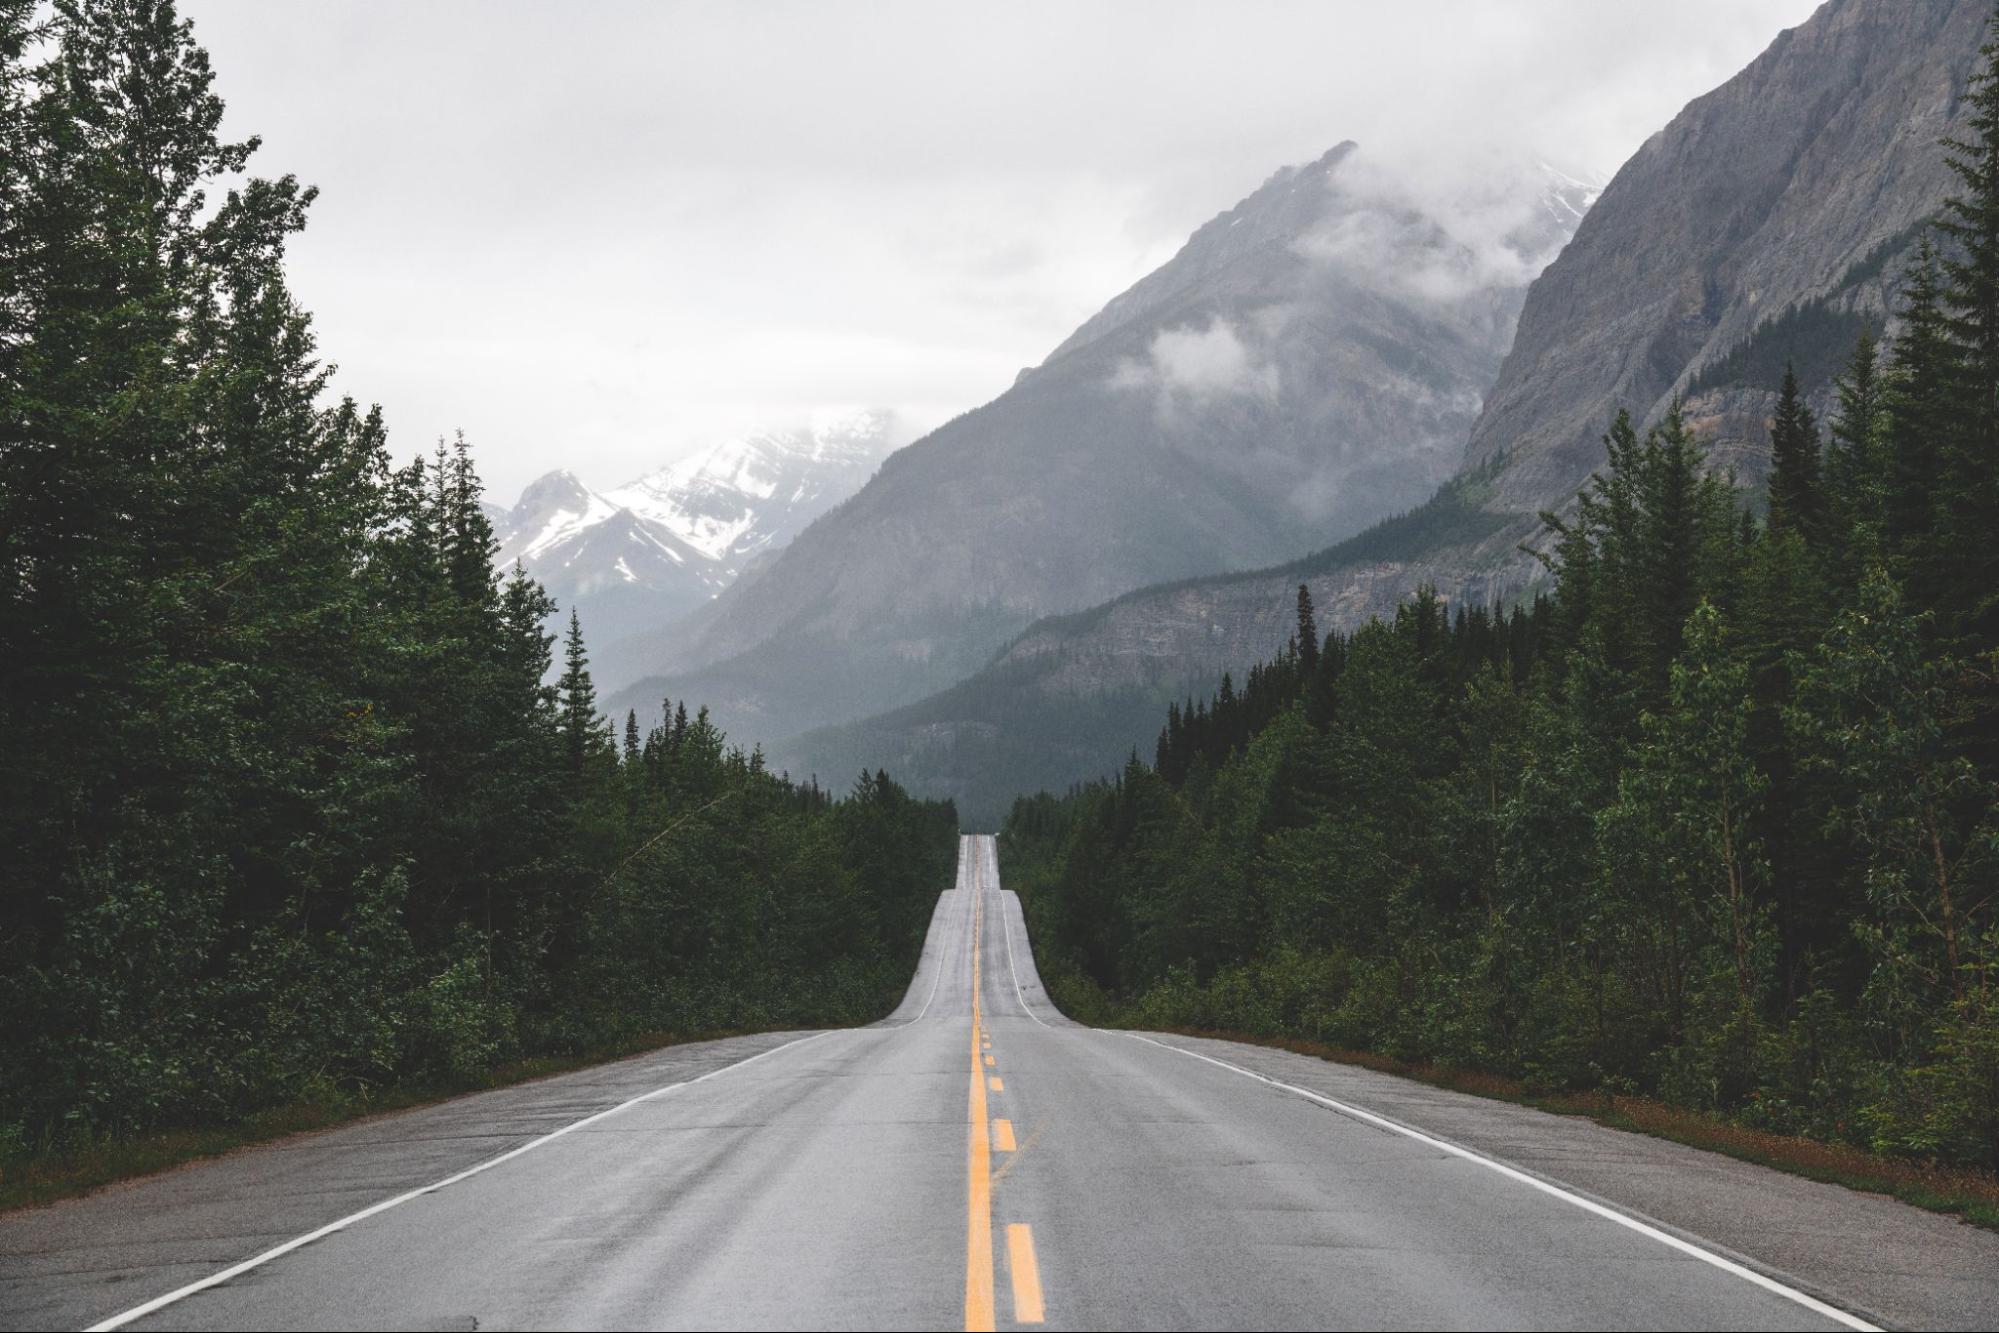
The second most important element in a retrowave artwork is the road. Here, we’ve chosen a landscape image of an empty road.
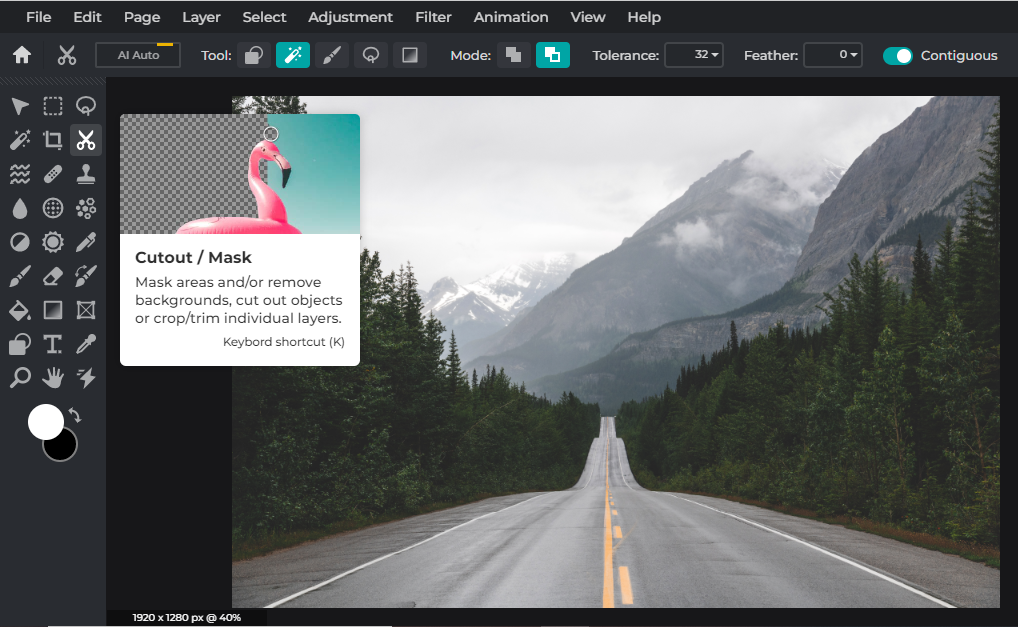
We’re going to use our favorite Cutout/Mask tool to remove the mountainous background from the image since we’re planning to only keep the road.
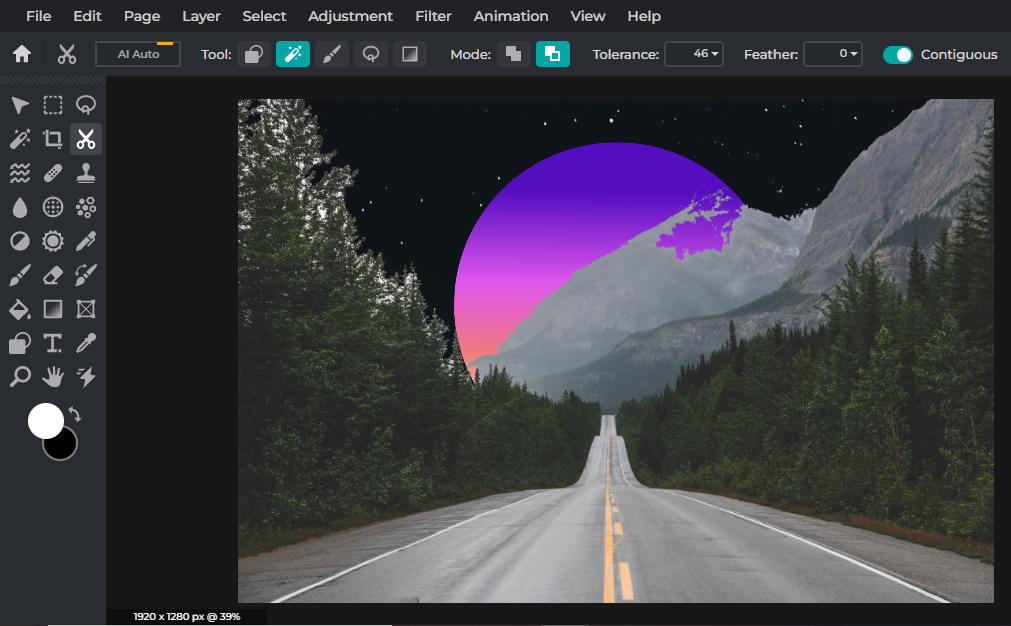
We’re using the Magic Mask with a 46 tolerance to remove large chunks of the mountain.
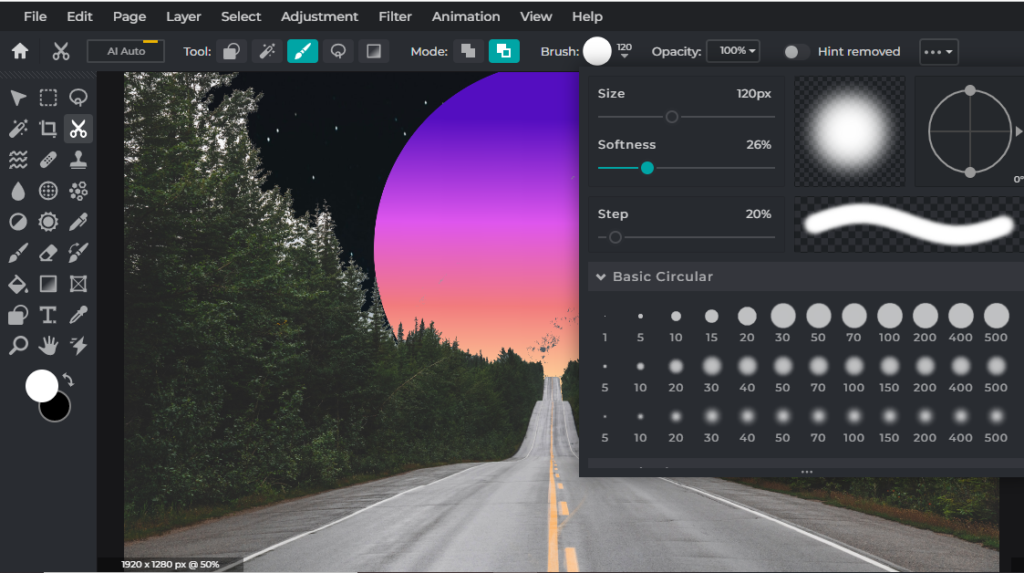
To make sure the cutouts are clean and refined, we’re using the Draw Mask with a soft brush to erase the remaining bits and pieces of the mountain.
4. Let’s go for a drive!
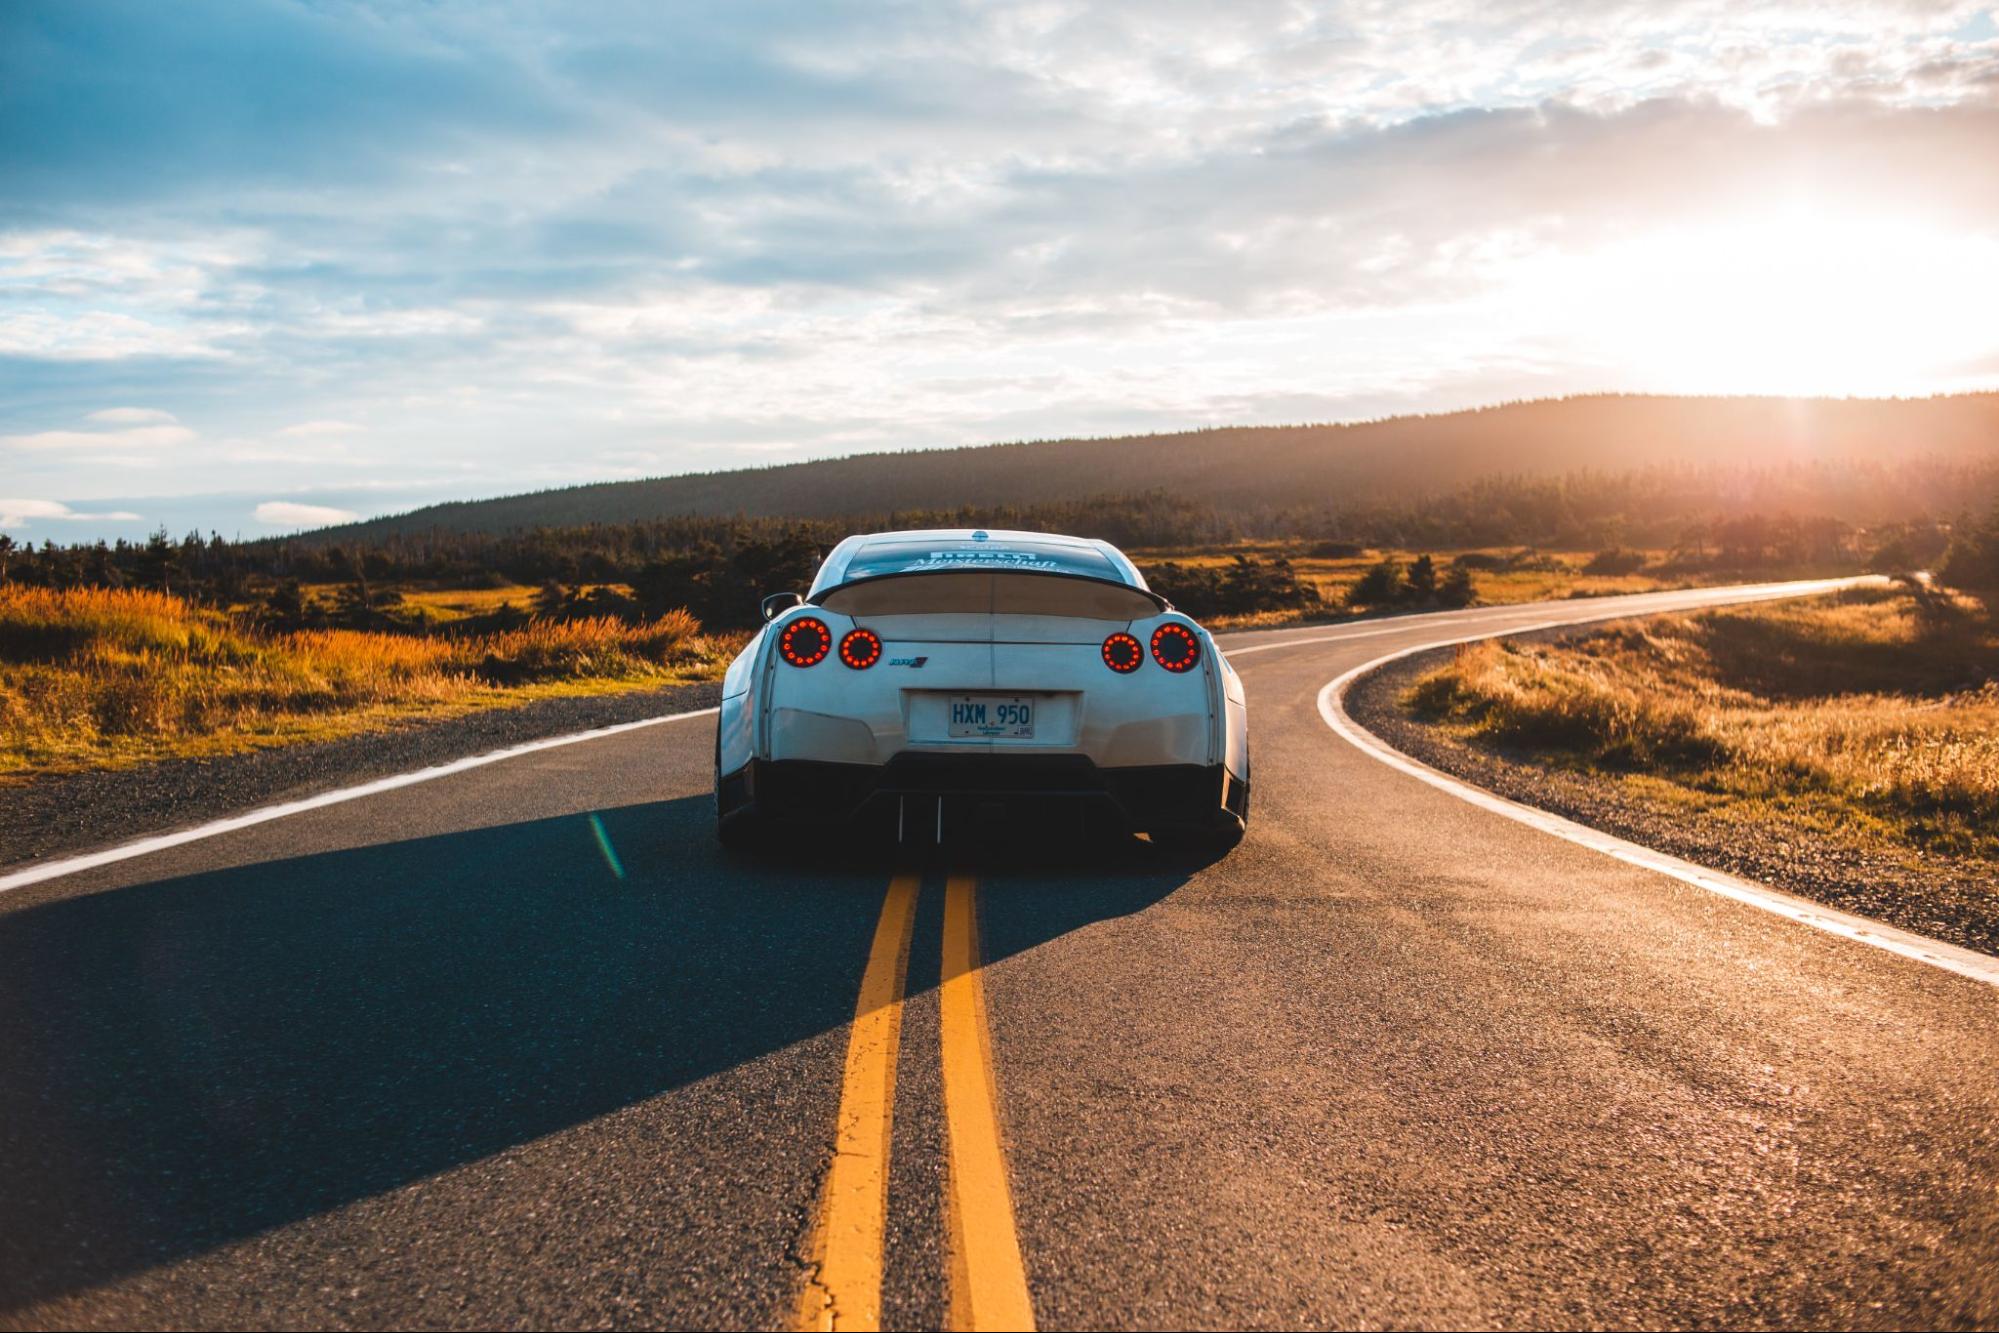
Now that we’ve got a road, we’d just need to add a car! Here, we’ve chosen a landscape image of a car speeding down an empty road.
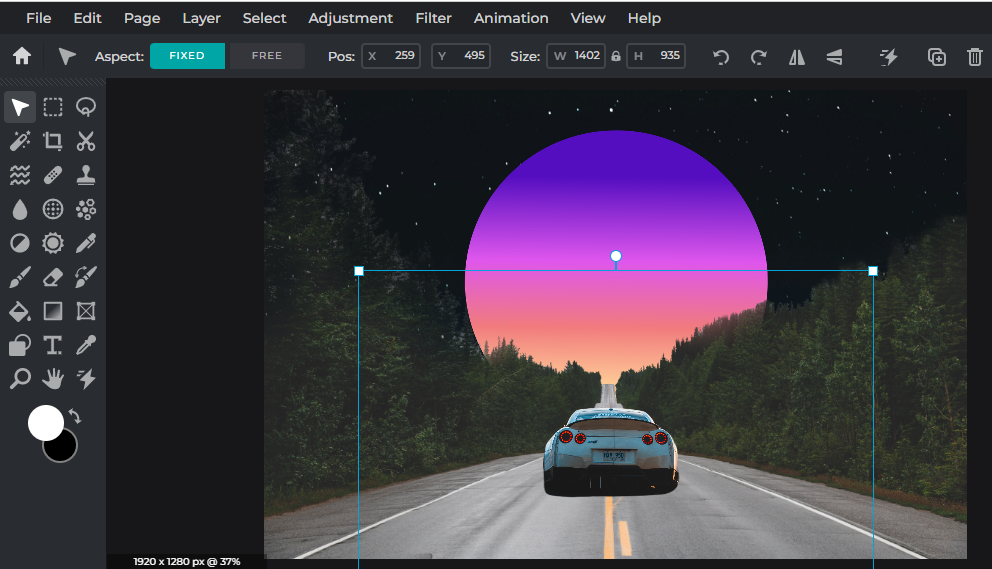
By using the Cutout/Mask tool, we’ve removed the background and retained the car itself. Remember to position the car and adjust its size in a way that makes sense.
5. Time to color grade!
Another quintessential aspect of a retrowave artwork is the color! So now, we’re going to do some simple color grading in order to achieve that classic synthwave look.
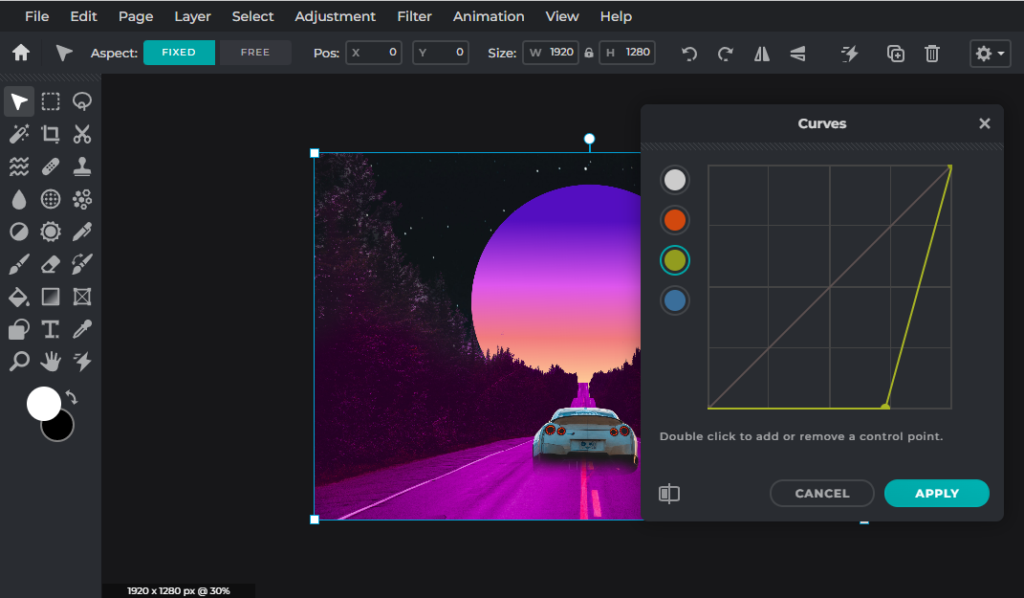
Go to Adjustment and click on Curves. Here, you’d want to click on the green circle and drag the green anchor point to the right. You’d start seeing a change of color – the road turning from ash gray to vivid purple.
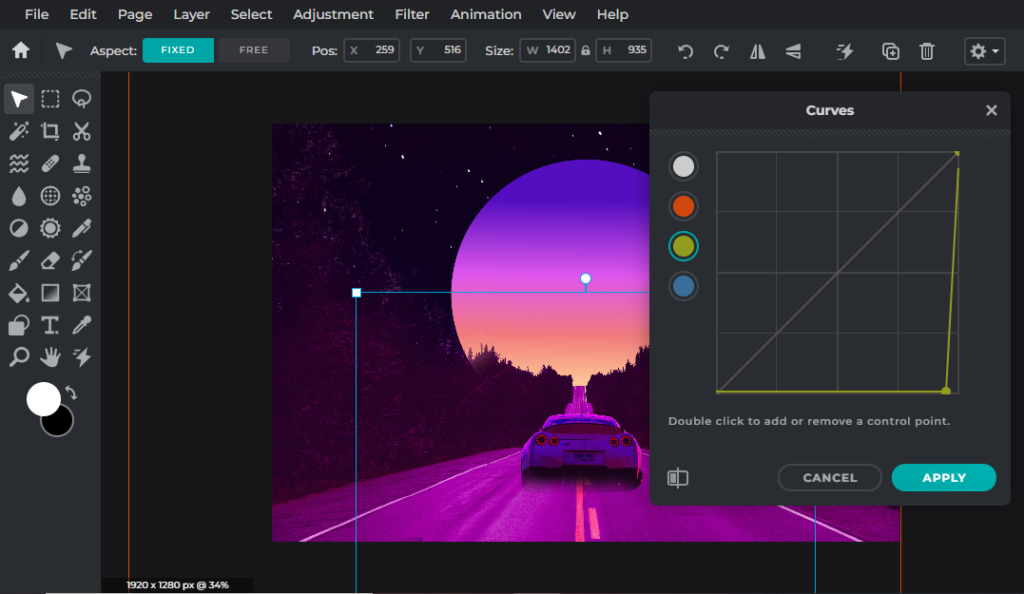
Now, apply the same method to the car so that it matches the color of the road.
6. A splash of neon
You can’t possibly have a retrowave artwork without neon signs or elements. Here, we’re going to show you how to create some cool retro-futuristic neon hoops!
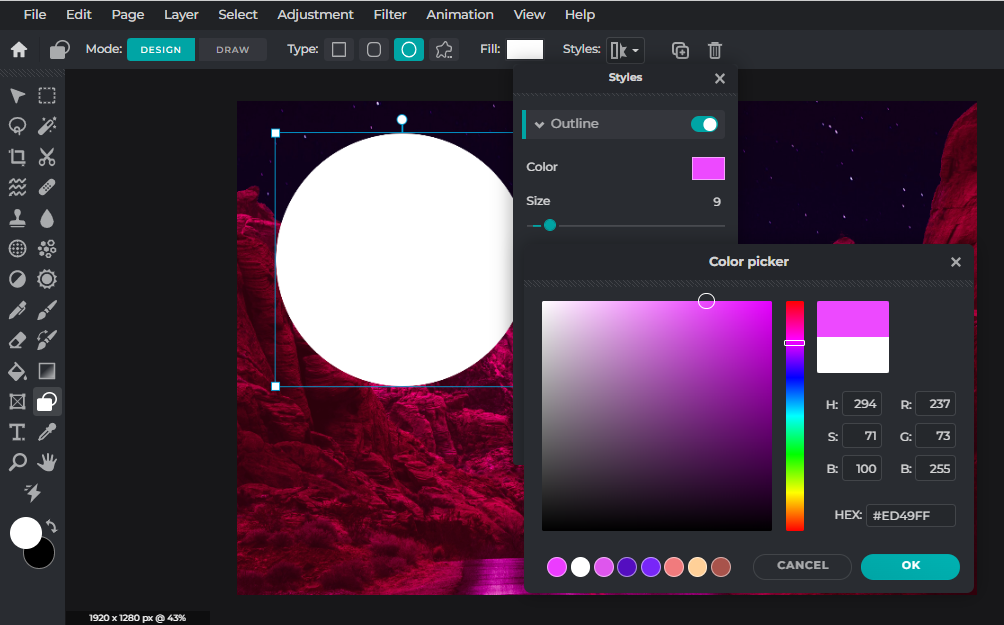
Click on Shape tool and pick a color for your outline. We’re going for a bright purple outline to match the rest of the artwork.
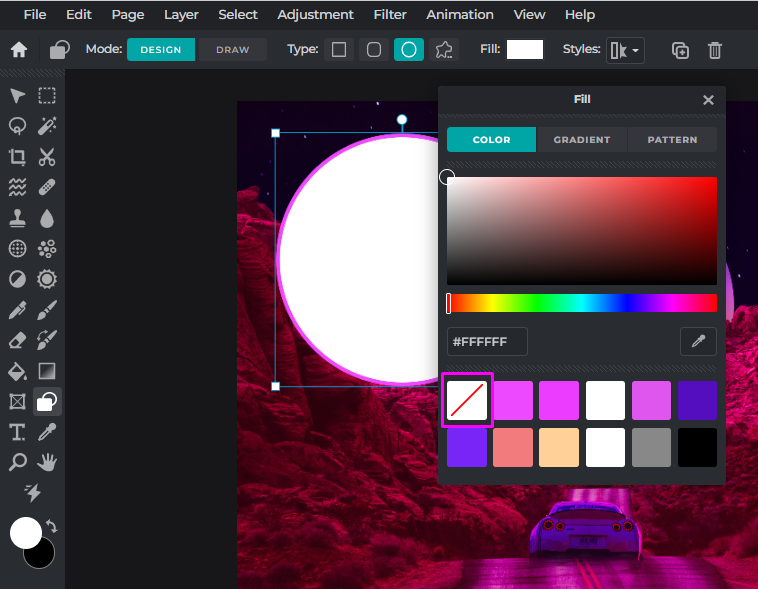
Now, go to Fill and click on the No Fill option – you’d get a hollowed circle with just the purple outline.
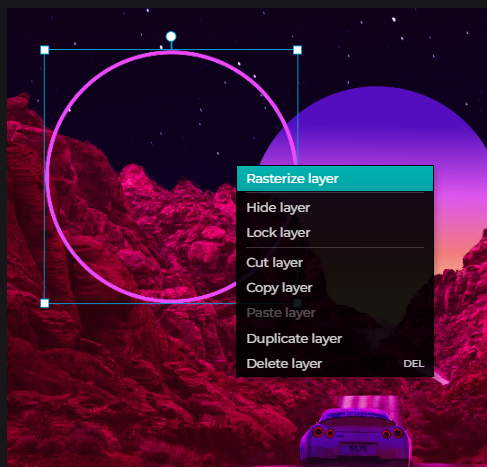
Right-click on the circle and choose Rasterize Layer.
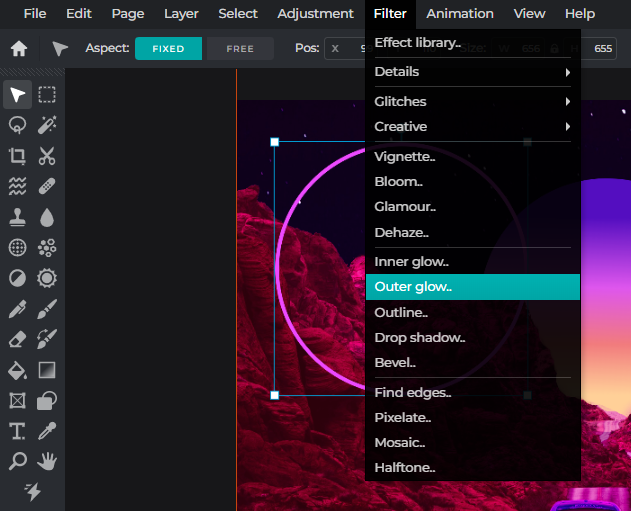
Now that you’ve turned your shape into a layer, you can go to Filter and click on Outer Glow.
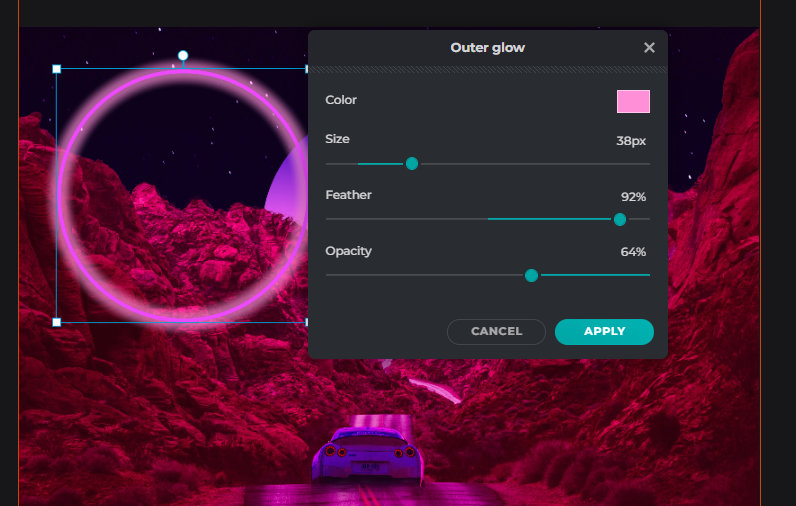
For the Outer Glow, we’re going for a fun and flirty pink color. Make sure you adjust the feather and opacity in order to achieve that beautiful neon glow.
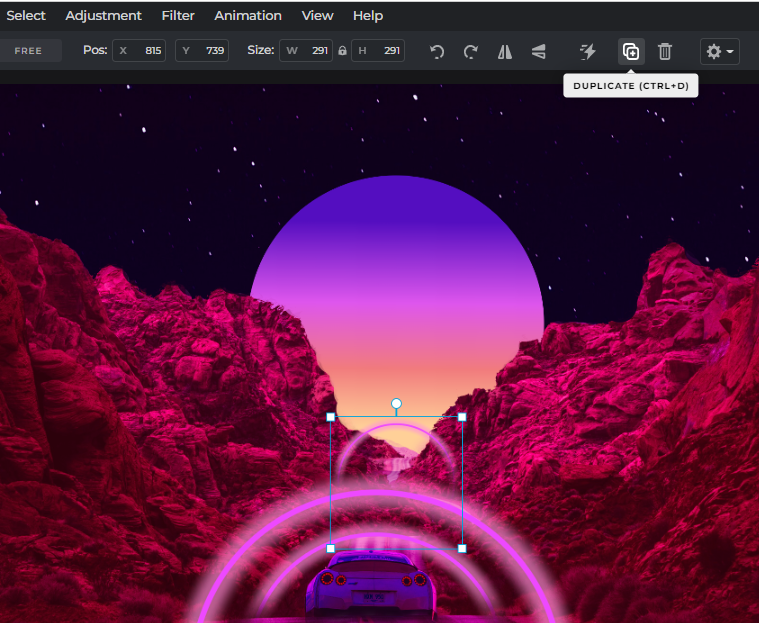
Now that you’ve got your pink neon hoops, you can easily duplicate them and arrange them along the empty road to create the illusion of your car zooming through a futuristic-looking tunnel.
7. Add some animation
Finally, time for the fun part – animating your artwork with our easy-to-use Animation tool.
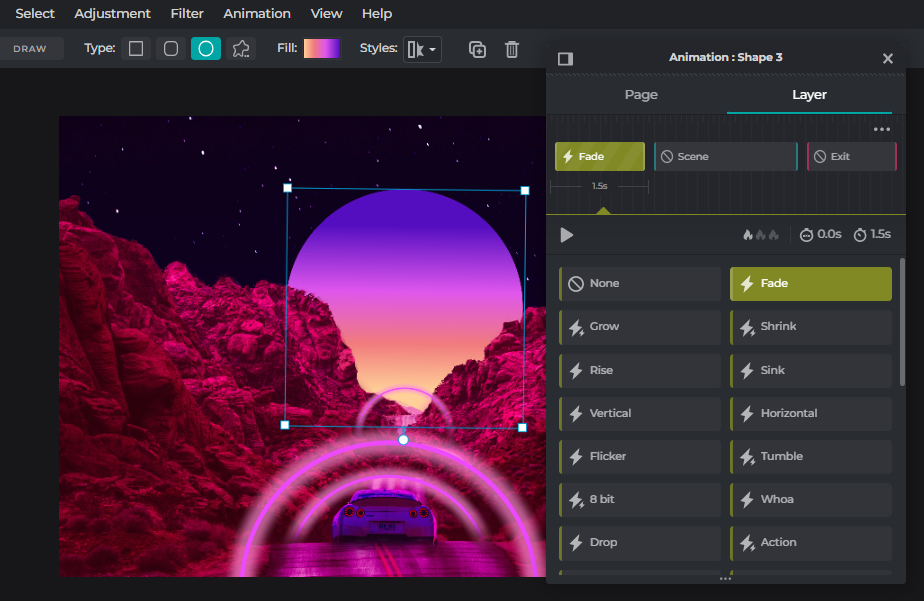
Click on the layer you want to animate and go to the Animation panel. Here, we want to add a simple Fade animation to our gradient sun. You can adjust the speed and duration of your animation.
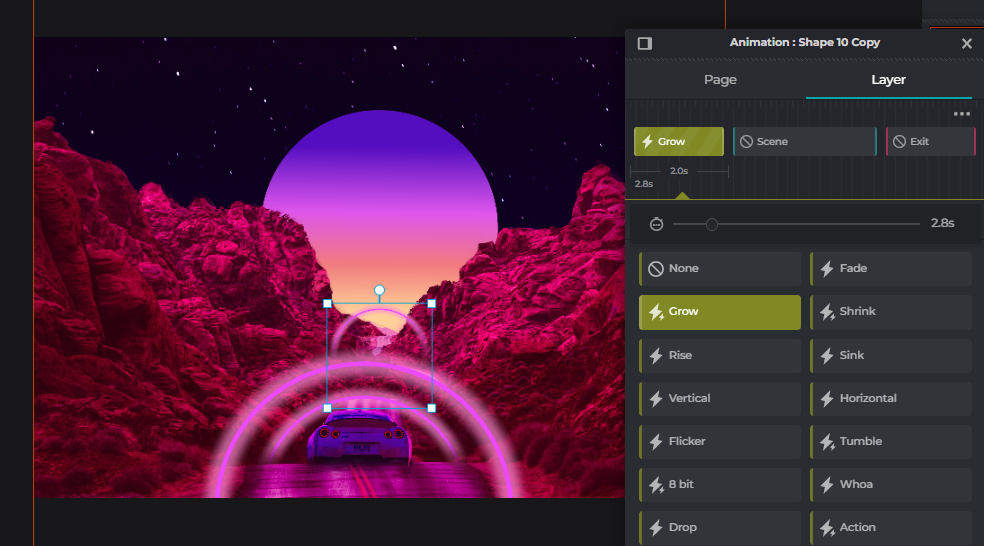
Here, we’re adding the Grow animation to our neon hoops and customizing the Delay periods of each hoop.
And voila – there you have it, the final artwork!
Start creating your retrowave artwork with Pixlr!
Now that we’ve shown you the necessary elements and steps to achieve a retrowave aesthetic, you can easily create your own retro-inspired animated piece and put your own spin on it by using Pixlr’s user-friendly tools and AI-driven features.

Don’t forget about our massive Black Fri-yay sale!
From today till November 28, 2022, you can subscribe to ANY yearly plan and save 66% with promo code PIXLR66BF! What are you waiting for? Get all the design tools you’ll need to create amazing campaigns for a whole year!
