
This post contains affiliate links. We may earn a commission if you click on them and make a purchase. It’s at no extra cost to you and helps us run this site. Thanks for your support!
With this series of seven online courses by Paadín, you can learn step-by-step how to create a detailed infographic map using Adobe Illustrator.
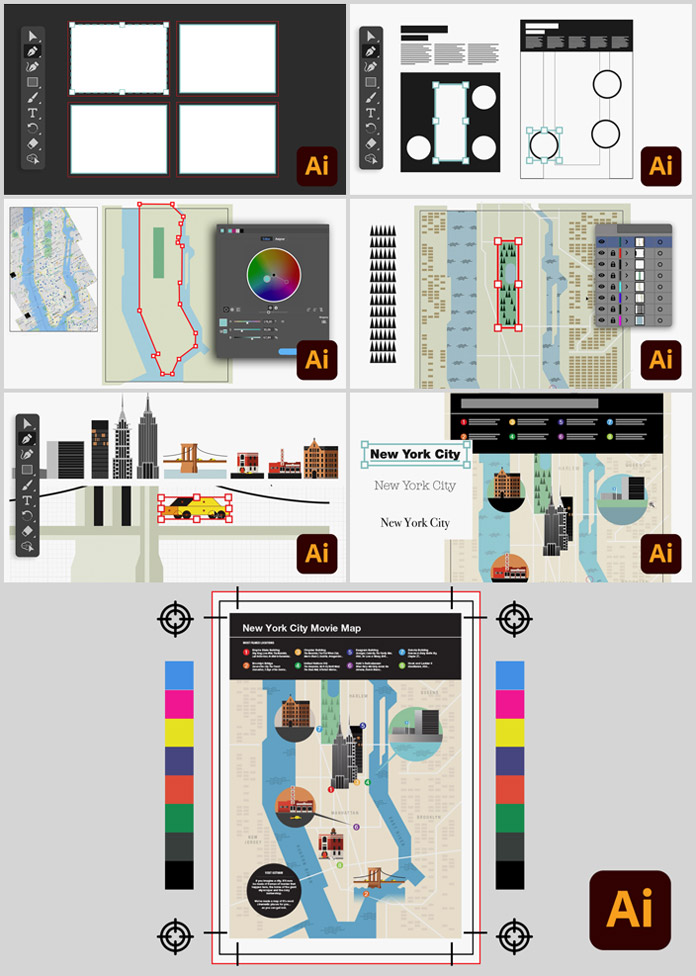
Thematic infographic maps are one of the most comprehensive types of infographics because they not only tell us where something is happening but also what and how. In other words, these maps illustrate stories in a truly unique way.
In these seven online courses by Paadín, you will learn how to utilize Adobe Illustrator in order to create infographic maps that are both full of information and visually appealing. Graphic designer, infographics creator, and teacher Paadín will show you how easy it is to transform your map into a poster that would make any room feel more complete.
In order to take this online class, you will need Adobe Illustrator. Some previous knowledge of the software is advised but not required. The latest version can be downloaded from the Adobe Creative Cloud website linked here for your convenience.
What topics will the courses cover?
Follow these steps to get started with Adobe Illustrator:
1. Open the software and take some time to familiarize yourself with the interface.
2. Inspect the tools available, including different action panels, and explore options and preferences
3. Create a work table by generating your first “blank sheet.”
Create some shapes and learn how to move, transform, and modify them. See how combining them can create more complex shapes, and prepare a sketch of your project.
The third course will teach you how to use a grid for your infographic map, and the importance of layers when tracing terrain limits. You will also learn about choosing an effective color palette and creating a background that pops.
Now it’s time to start using a brush and pencils to make your map look more unique. You can use patterns to create mountains or other geographical features, the Blend tool for different strokes, and various brushes for adding finer details.
After you have learned the basics, use them to create an illustrated layer in your infographic map. With the Pathfinder tool, you can take basic shapes and turn them into complex designs. Additionally, symbols are a great way to save time while working on your project.
In the next course, we’ll explore how to get the most out of Adobe Illustrator’s text editing tools. You’ll learn how to write titles and words, discover which typeface is best for your needs, and find out how to use text as a graphic element. By the end of this course, you will have a firm understanding of all that Adobe Illustrator has to offer in terms of text editing!
After you’ve decided on the purpose of your infographic map, choose the appropriate export format. In this last course, you’ll go over how to make a print-ready document, an image suitable for social media sharing, and how to convert it all into a PDF.
By the conclusion of this class, you will be well-versed in using Adobe Illustrator to create successful infographics and illustrations. This 7-course online class will provide an in-depth look at vector drawing tools. So you can apply your new knowledge and skills to reach a professional level of design work.
Don’t think twice about finding more recommended online courses on WE AND THE COLOR.
Subscribe to our newsletter!


