New to Affinity Photos: Tips to Get Started
Affinity Photo can be quite an overwhelming application if you’re using it for the first time, and while you may be used to many photo-editing suites, this might provide a learning curve for you like no other. Just like all software, it will take some time to learn, but once mastered, the results you can create are unparalleled.
To help you get started with Affinity Photo and to ensure you have the best experience possible while using the software, today we check out the very best tips you need to know about.
Navigating the Main Interface
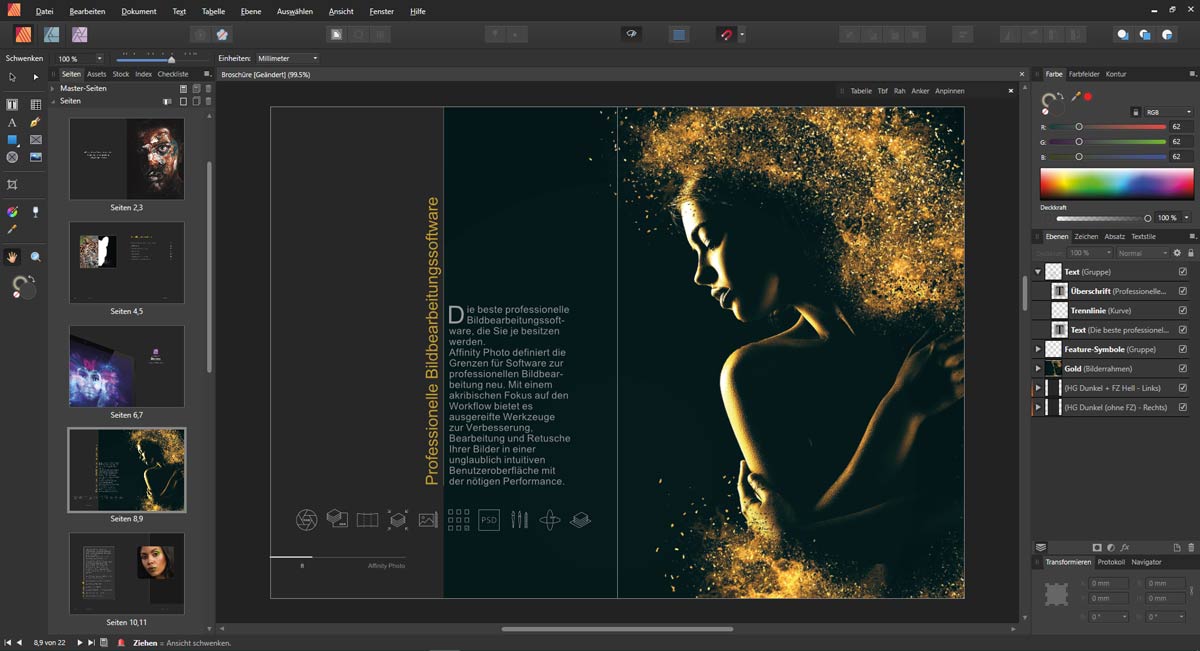
There’s no denying that the first thing you need to do with any kind of software, Affinity Photo included, is ensuring you can make your way around the software the interface it provides. With Affinity, you get four different user interfaces that carry out specific tasks.
These are as follows;
The Photo Persona – Your main interface, which is used for image editing, applying any adjustments you want to use, adding filters, burning, dodging, and all that kind of work.
The Liquify Persona – An interface used for distorting or warping your images and any these kinds of alterations to your photo work.
The Tone Mapping Persona – As the title suggests, if you need to carry out any tone mapping work, this is the interface for you.
The Develop Persona – If you’re working with RAW files, this is the interface you want to be using. You need to adjust your exposure settings in here, and there are also features for control lens correction tasks.
The Export Persona – Of course, once all your work has been carried out, you’ll need to export your work in various file formats, all of which can be controlled here.
Working with these personas is an excellent way of working because you won’t have to navigate all the features at the same time, just what you need when you need it. Get familiar with these interfaces, and you’ll be able to do your work so much faster.
How to Remove Unwanted Spots or Objects
We’ve all been in a position where we’re looking at a great photo, but there are a few areas which just don’t look right. Perhaps you have a powerful image that you want to make stronger by removing areas of the photos that may distract their attention. This is known as spot removal, in which you can remove spots and objects, and is done using the inpainting tool.
Simply select the tool from the sidebar, and literally just paint over the area you want to hide and remove. This is one of the highlight tools of Affinity, and there’s no denying you can achieve so much so easily. The results are great, and there are multiple brush sizes so you can work whatever way you like.
Make Use of Layers
If you’ve been an avid user of PhotoShop, then you’ll already be familiar with layers concept, but if you’re new to Affinity and most photo-editing software solutions, then layers are something you’re going to want to learn early on.
With layers, you can apply edits, additions, and filters, etc., all without actually adjusting the image itself or messing with any of the other edits you’ve made. This is a great way to experiment with techniques and features to see what results you can produce, as well as making sure you don’t ruin your hard work and have to go all the way back to square one.
Imagine working for hours on an edit and then realising you’ve made a mistake you can’t undo. This is why layers is so important.
“Just like Photoshop, make sure you get into the habit of using separate layers for all your important edits. This way, you can accurately adjust your image in the best possible way, and have a good overview of your project, ensuring the best result is the best it can possibly be,” shares Lisa Berry, a journalist at OXEssays and Stateofwriting.
Consider Your Export Format
Affinity Photo allows you export in a large variety of file formats which is an absolutely fantastic feature that means you can use your photos and final edits anywhere you need them. All you need to do once you’ve finished your edit is hit the File > Export option, and then just choose the file format you wish to use.
Some of supported files include .png, .psd, .tiff, .jpg, and all your favourites.
Resize Images Like A Pro
Of course, one key feature you’ll need to master and know how to do like the back of your hand is resizing your images, and thankfully Affinity has made this easier than ever before. All you need to do is load up an image of your choice, click Document > Resize Document, and you’ll find all your settings here.
You can change the height and width individually or set a link, so everything stays with the original ratios to prevent warping.
Mastering the History Panel
“The history panel is a fantastic feature that allows you to go back in time when you make a mistake or want to revert back to a previous edition of your work before an edit has been made. It’s like an Undo button or a backspace for your photo editing, but everything comes with a handy milestone system so you can reverse a major edit in no time at all,” explains Mary Harper, a tech writer at Essayroo and Austrsalianhelp.
Setting Up Auto-Save
The final tip you need to know when using Affinity Photo is the auto-save feature. Again, you don’t want to spend hours working on a piece, only for your computer to crash and you’ve then ended up losing everything.
Head on over to the Preferences setting and click Performance. Here, you’ll find an option titled File Recovery Interval, which is default set to auto-save every 600 seconds. Adjust this; however, you want to ensure that your work is always saved, and you always have a backup to fall back on.
If you are an affinity photo software user, download these 24 free affinity photo presets now.
Beatrix Potter is a writer at Academic Writing Service and Essay Services. She writes about creative marketing. She also is a manager at BoomEssays website and loves helping photographers discover new ways of working to truly unlock their full potential.
Leave a Reply