Making geometric patterns in Adobe Illustrator is always a fun creative project. You can follow the same basic technique each time but experiment with different shapes and colours to create endless pattern styles. Follow along with today’s Adobe Illustrator tutorial to create a colourful geometric pattern based on a series of triangle shapes. I’ll show you how developing a simple rule to follow can transform a basic pattern into a much more complex layout with less repetition.
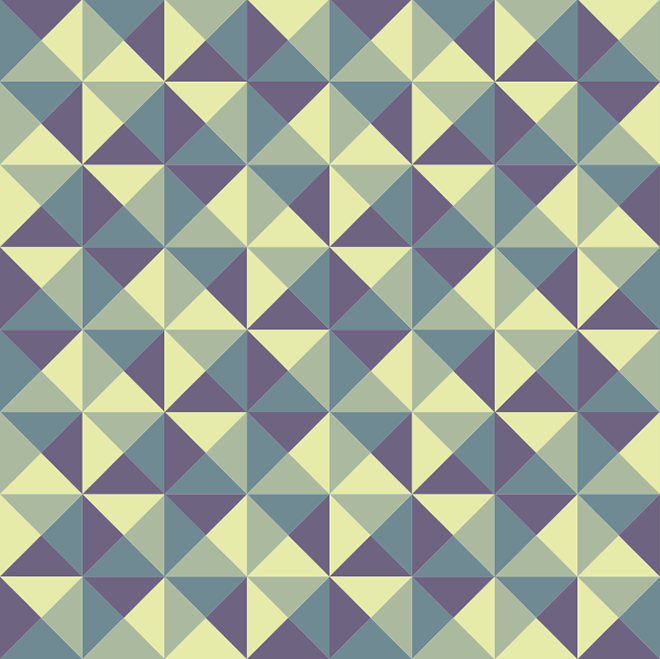
The pattern I will be creating in this tutorial is made using a simple triangle shape, which tessellates to cover an infinite area. A colour palette of four swatches helps mix up the pattern with a scattering of hues, which initially appears to be random, but actually follows a basic rule that gives the pattern design some uniformity.
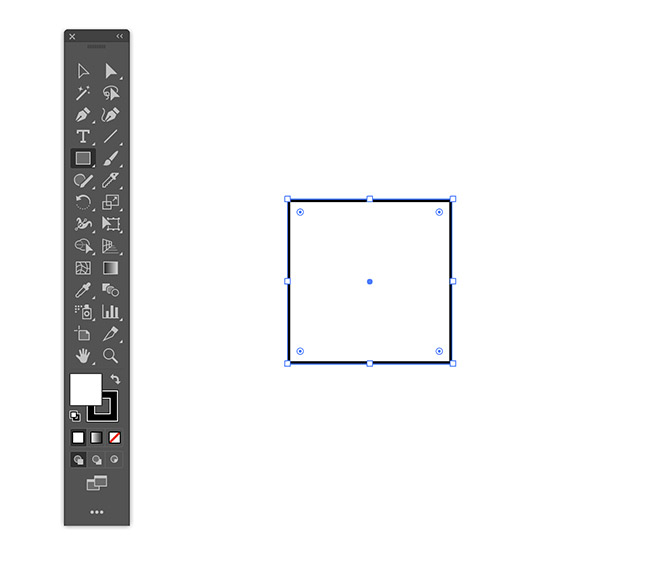
Create a new document in Adobe Illustrator to begin. Since we’re making vector art, the artboard size doesn’t really matter, since the pattern can be scaled to any size later. Select the Rectangle tool and hold the Shift key while drawing the shape for form a square.
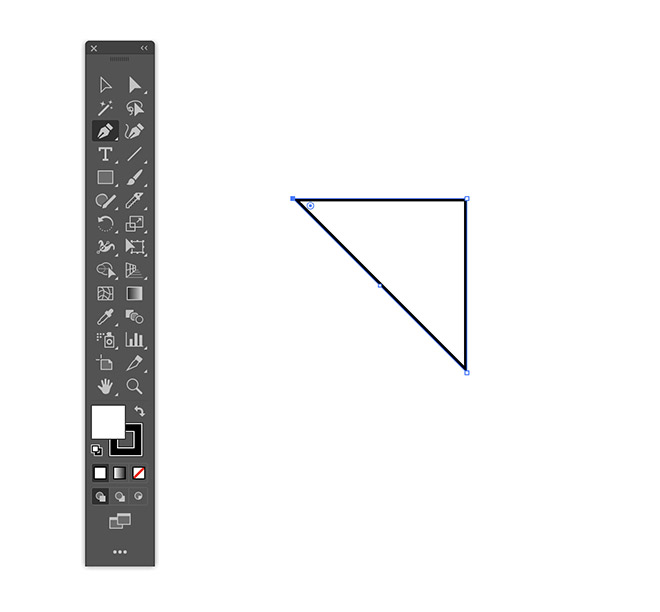
Select the Pen tool, then click a corner point to delete it to make a triangle shape.
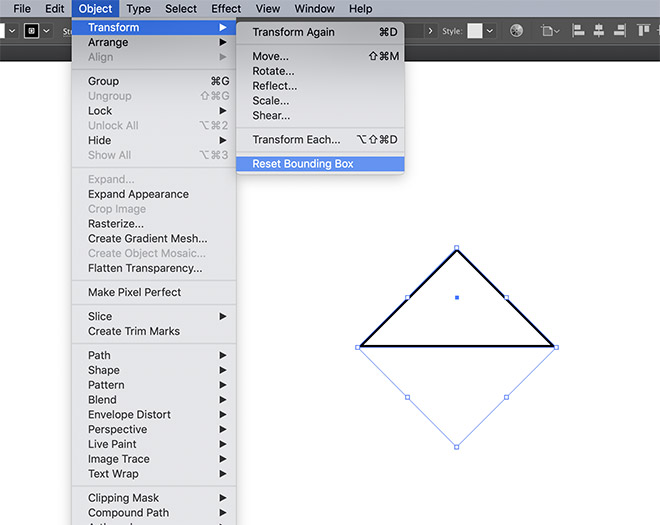
With the Selection tool active, click and drag to rotate the shape. Hold Shift to constrain the angle to 45 degrees. It can help to go to Object > Transform > Reset Bounding Box to trim the outline back down to the size of the object.
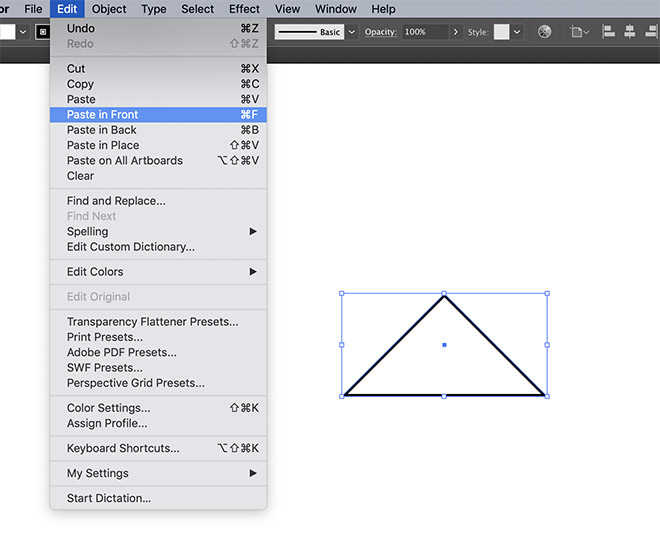
Go to Edit > Copy followed by Edit > Paste in Front to make a duplicate of the shape.
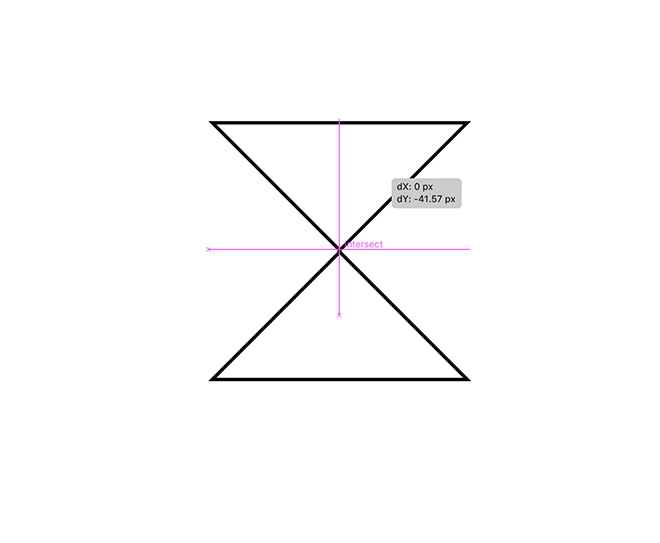
Rotate this copy by 180 degrees, then drag the shape upwards until the two tips connect. Ensuring Smart Guides are enabled under the View menu makes it easy to snap the points together.
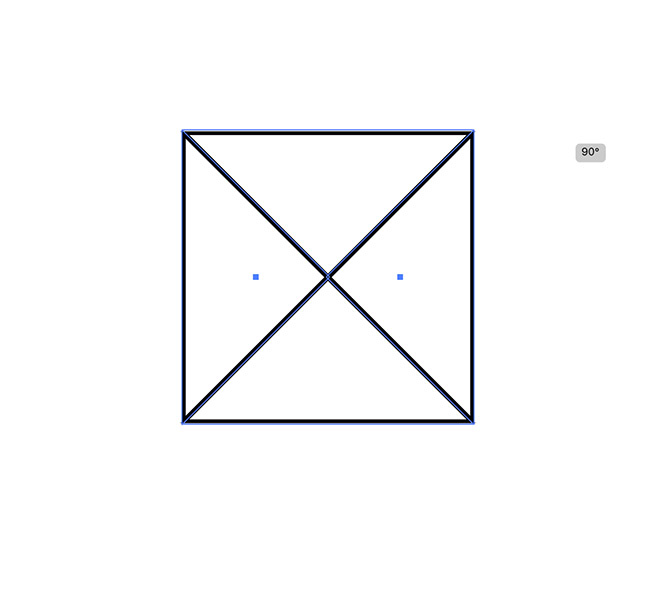
Hold Shift and select both shapes, then Copy and Paste in Front duplicates of them. Rotate these shapes by 90 degrees to create a layout of 4 triangles.
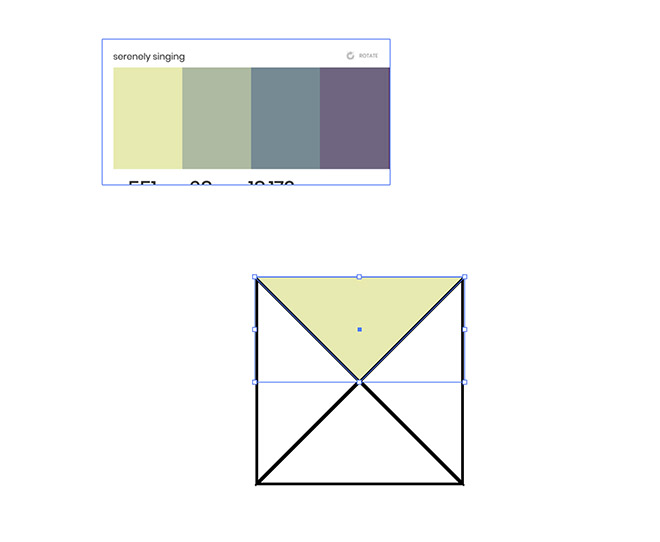
Find a colour scheme to use for your pattern. I’m using this palette named Serenely Singing. An easy way to import a palette is to simply paste in a screenshot. Select one of the triangles and eyedrop a colour from the image, which will also clear the default stroke.
Add the other hues to each of the remaining triangles. A basic pattern has already been created, check it out by going to Object > Pattern > Make. A more complex pattern of colours would look much nicer though, so hit Cancel to continue editing.
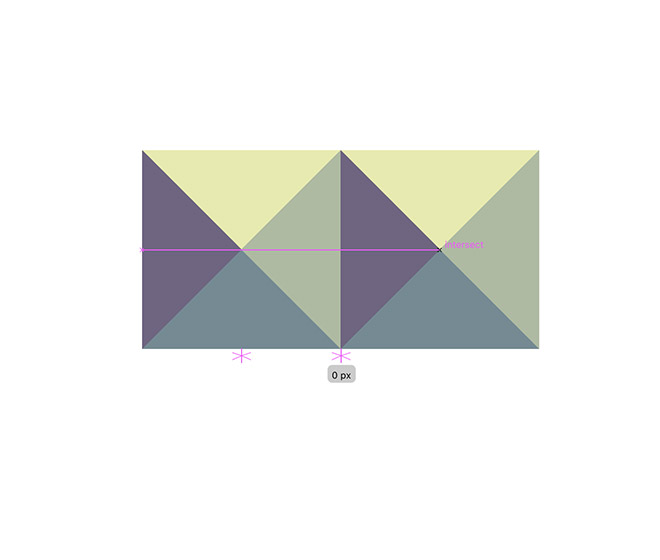
With the Selection tool active, draw across all four shapes to select them all. Hold the ALT key and drag a copy of the shapes so they snap directly next to the originals.
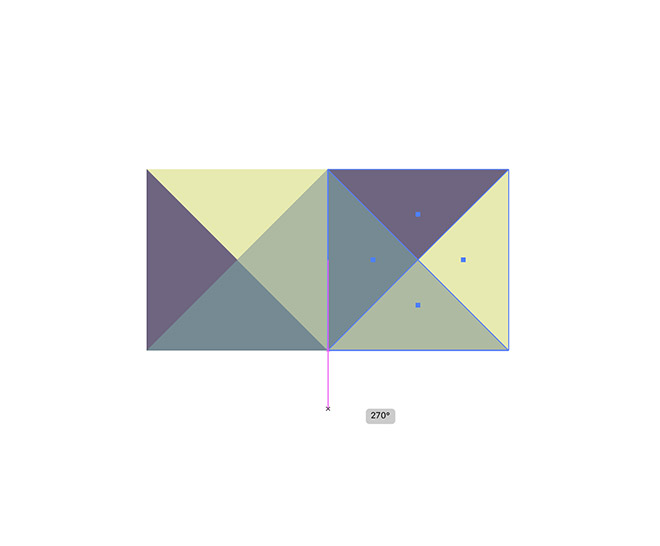
Rotate this new copy of the triangle shapes by 90 degrees to alternate the colours.
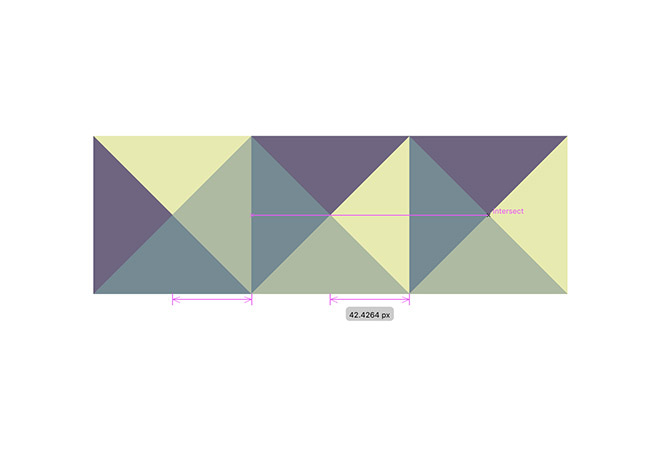
Alt+Drag another copy of the shapes, snapping them next to the previous shapes to extend the row. Rotate these shapes another 90 degrees in the same direction.
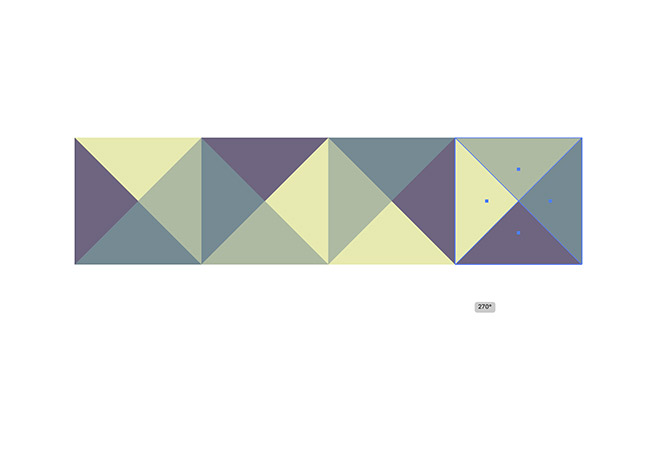
Add a fourth copy of the shapes and rotate again, so each group of triangles features the same colours, but in a different orientation.
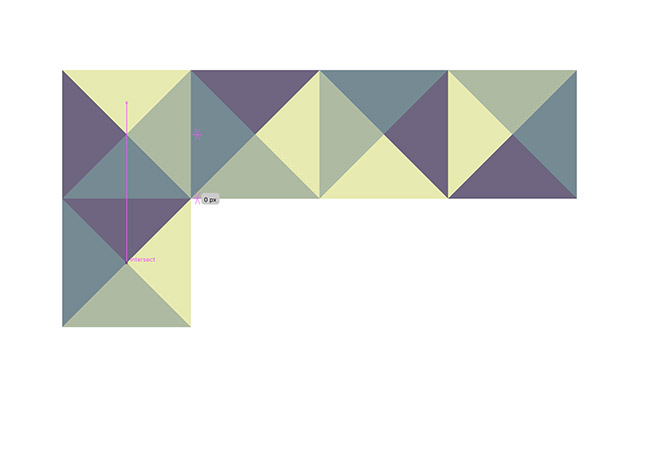
Repeat the process, but extending the duplicate shapes vertically. Rotate each one to follow the same simple rule.
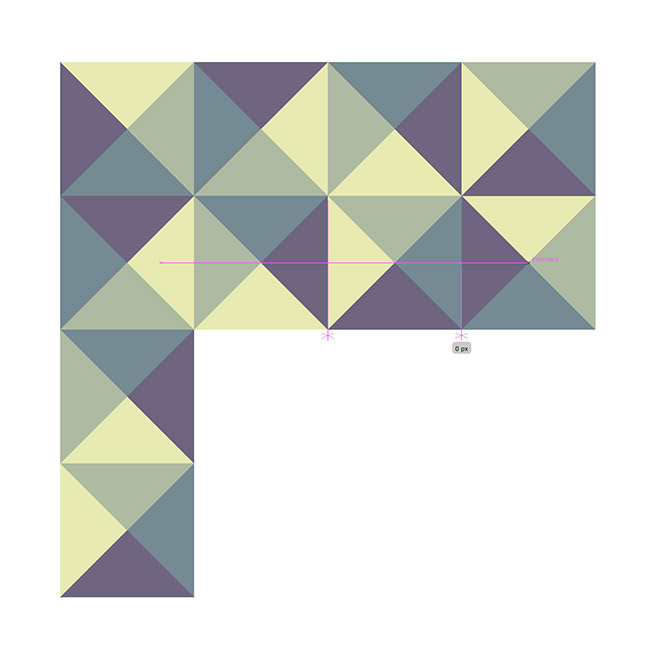
Continue filling out the pattern by cycling through the arrangement of colours. We have already made every necessary orientation, so now it’s just a case of duplicating the shapes we need and moving them into place.
It helps to pick out a single hue, such as purple in my example, and follow it around the pattern to ensure the colours have been positioned in the correct place.
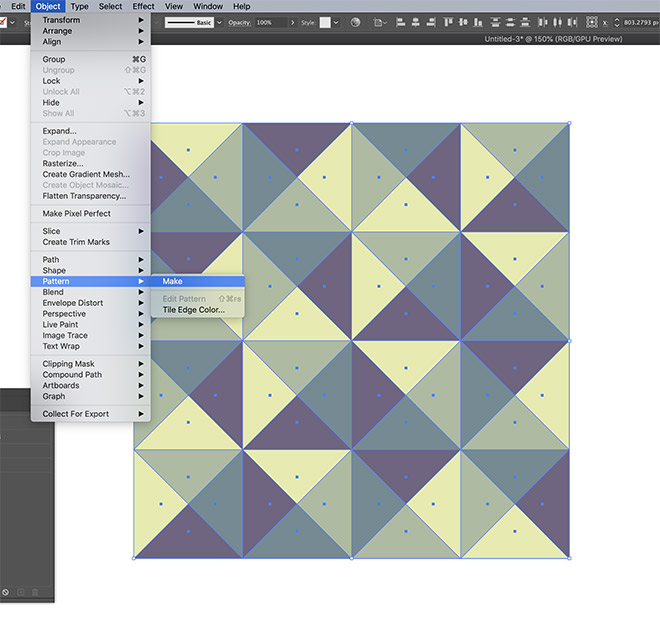
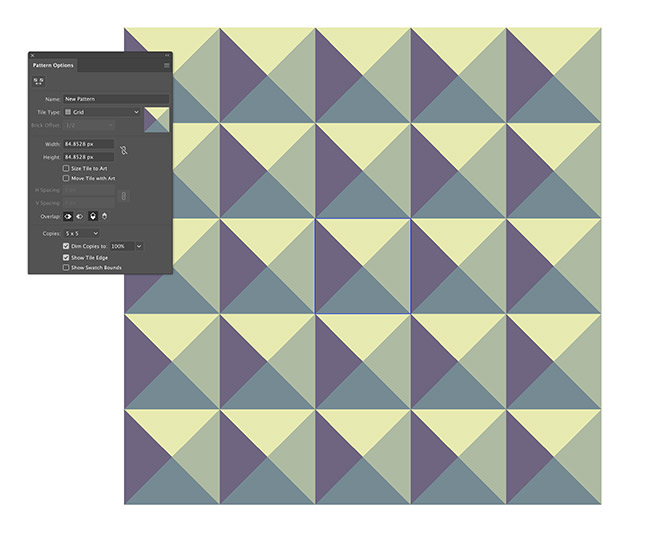
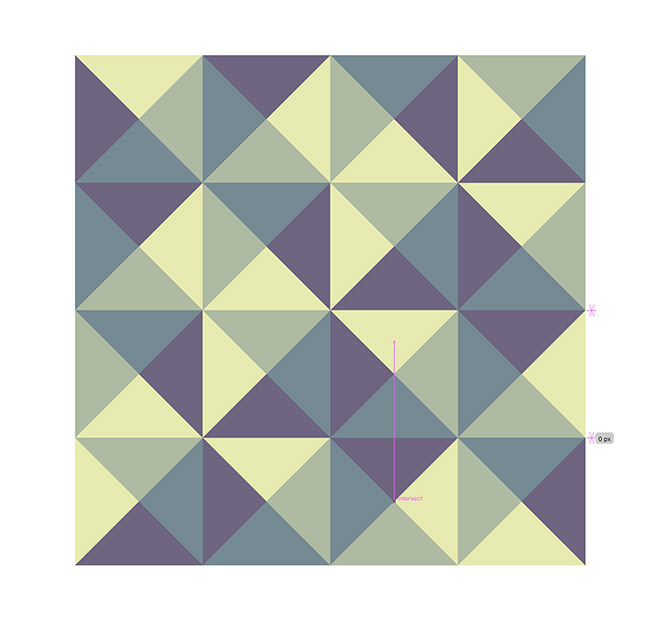
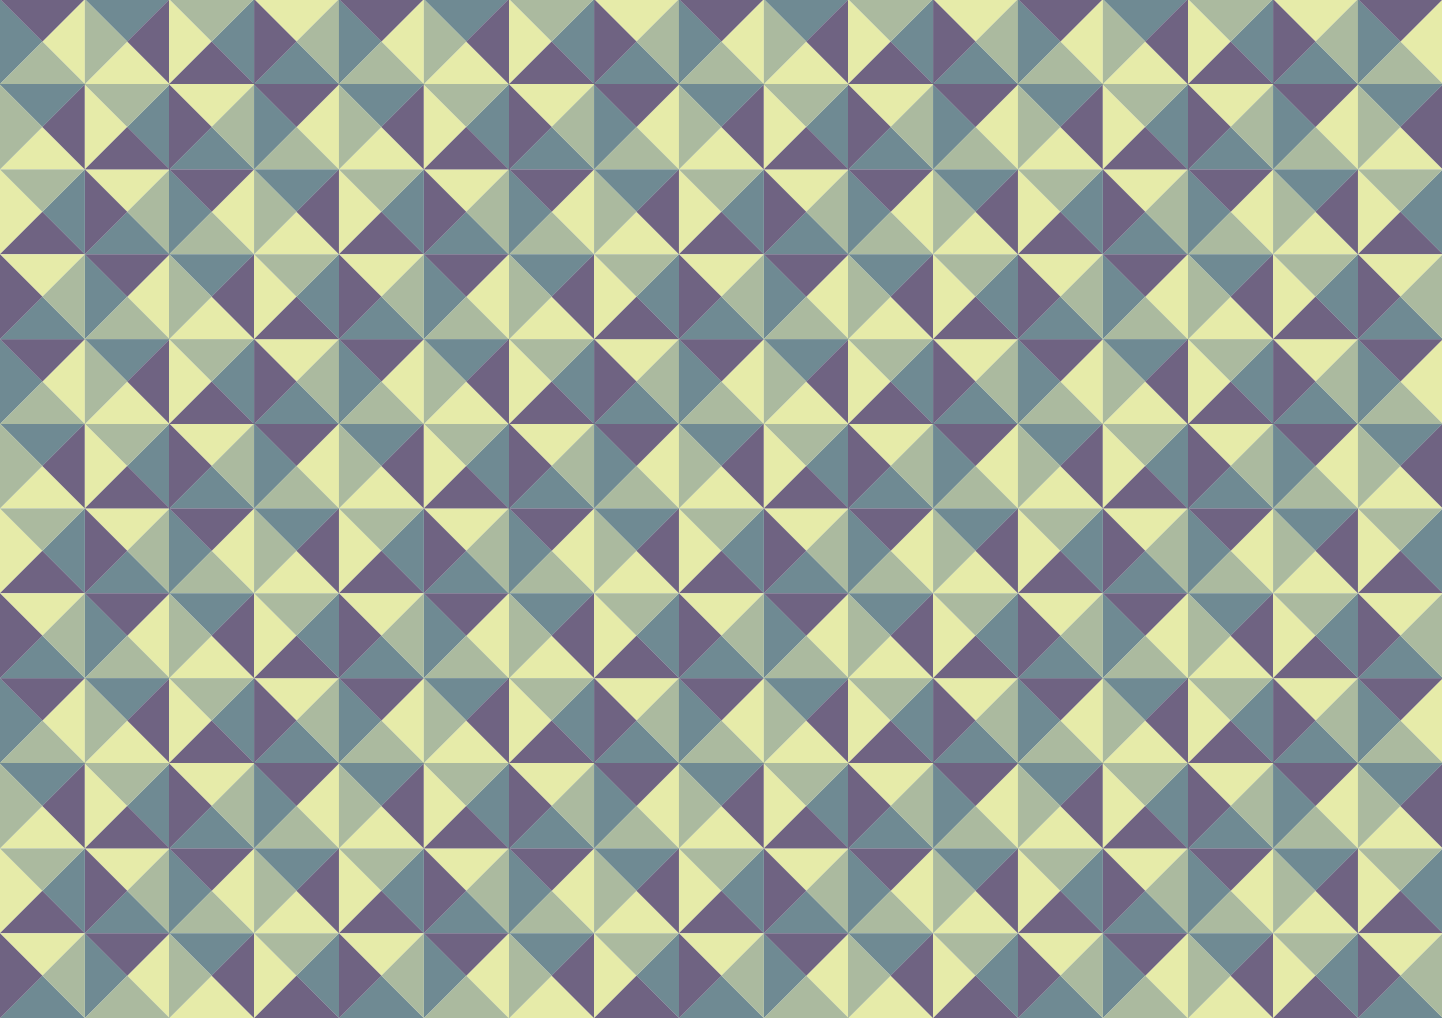
Draw a selection around all the shapes, then go to Object > Pattern > Make, which is an easy way to convert the pattern into a Swatch.
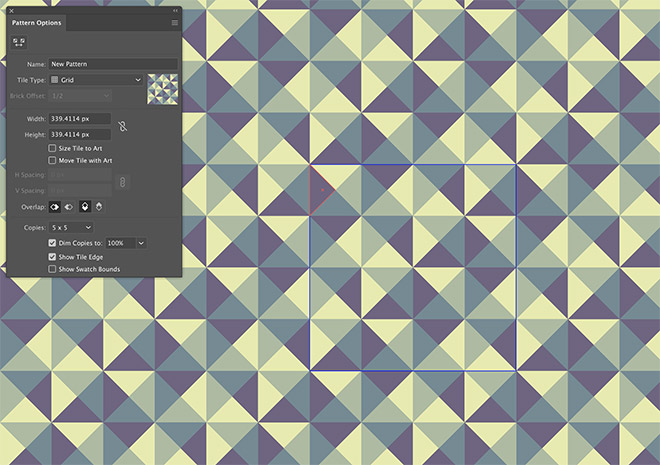
At first glance, the pattern seems to be a random spread of colours, but the methodic rotation of the shapes allows some interesting pattern effects to emerge within the overall pattern design.
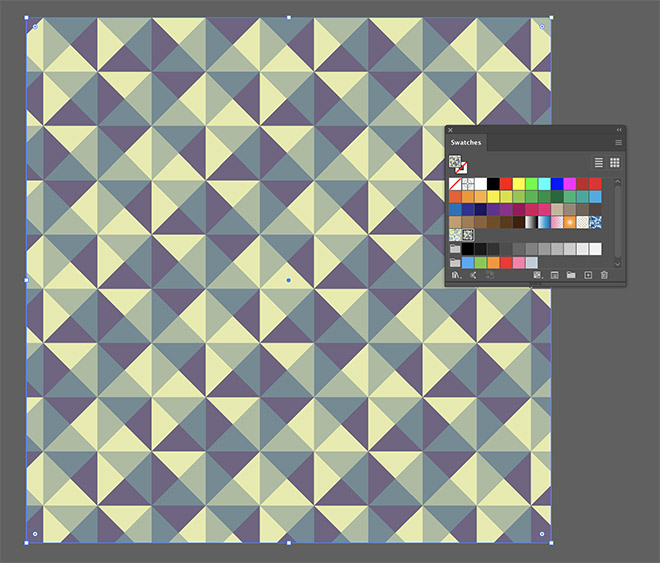
Click Done in the pattern maker interface to save the design as a Swatch. This swatch can be applied as a fill to any shape to seamlessly apply the pattern across an infinite area.
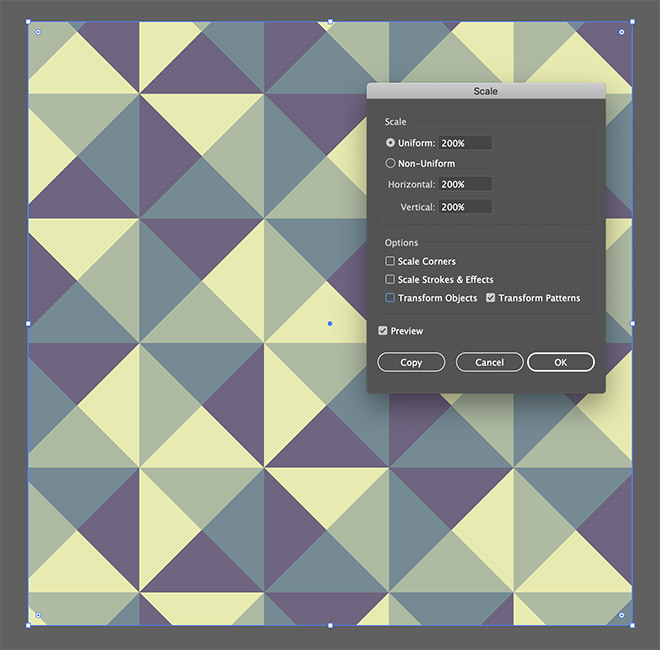
To alter the scaling of the pattern design, go to Object > Transform > Scale. Uncheck Transform Objects to simultaneously check Transform Patterns, to allow the Scale value to affect only the size of the pattern fill inside the element.
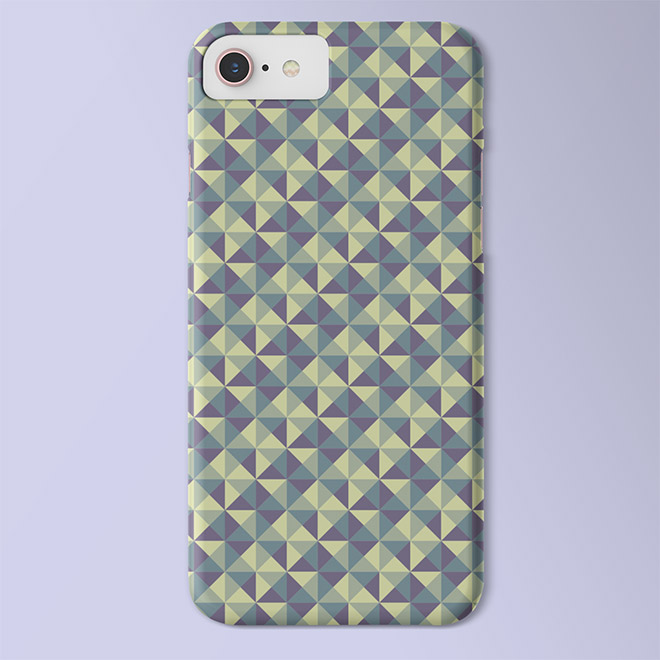
Patterns are versatile design assets that can be used within all kinds of projects. I used this iPhone case mockup from Placeit to show how this vector artwork could be printed to produce a trendy product!


Far out! This is easy-looking! Thanks!
Chris, thank you for yet another useful tutorial.
Nice touch to make the color scheme more interesting by alternation.
Wow, it will help me too to create banners for my post. Thank you so much for sharing this amazing article.
Hi Team,
Thank you for the Spoongraphics team for the creative colourful and geometric pattern article on illustrator. great work over there, step by step thank you once again. keep posting.
you guys are great i always check you