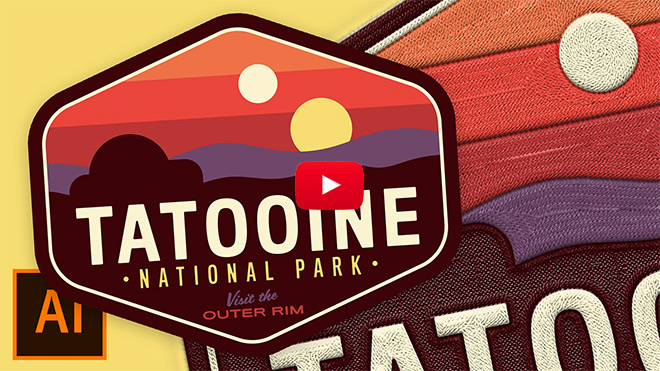
How to Create an Embroidered Patch Design in Illustrator
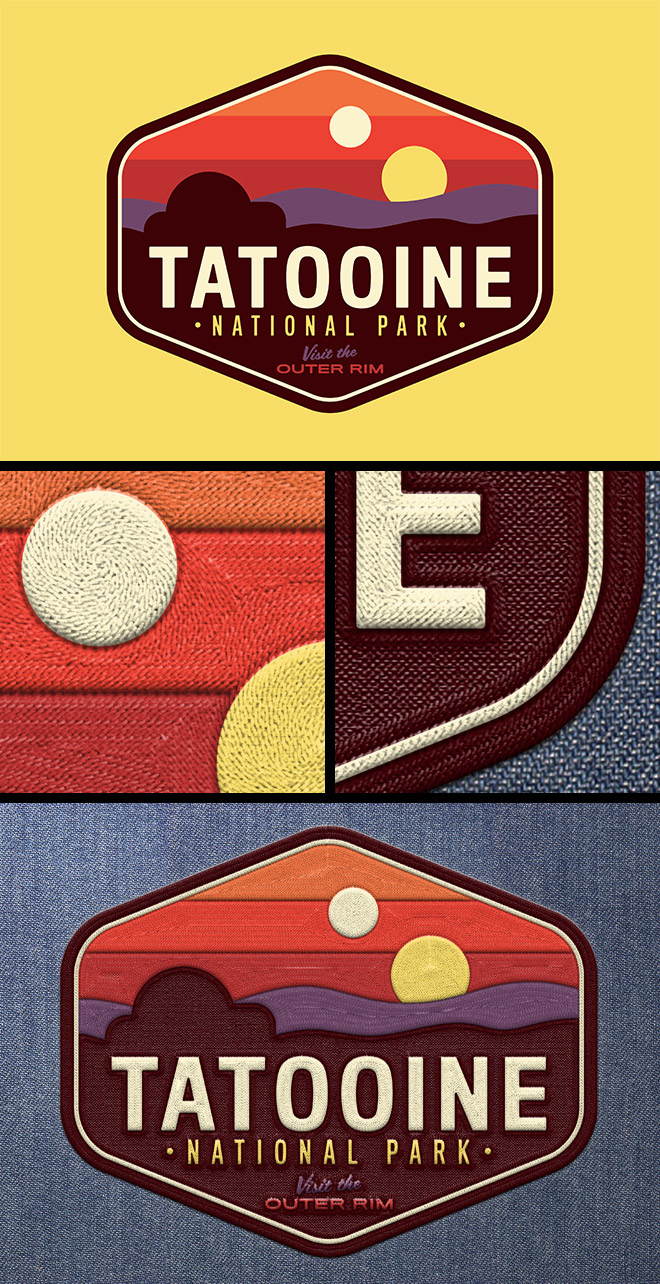
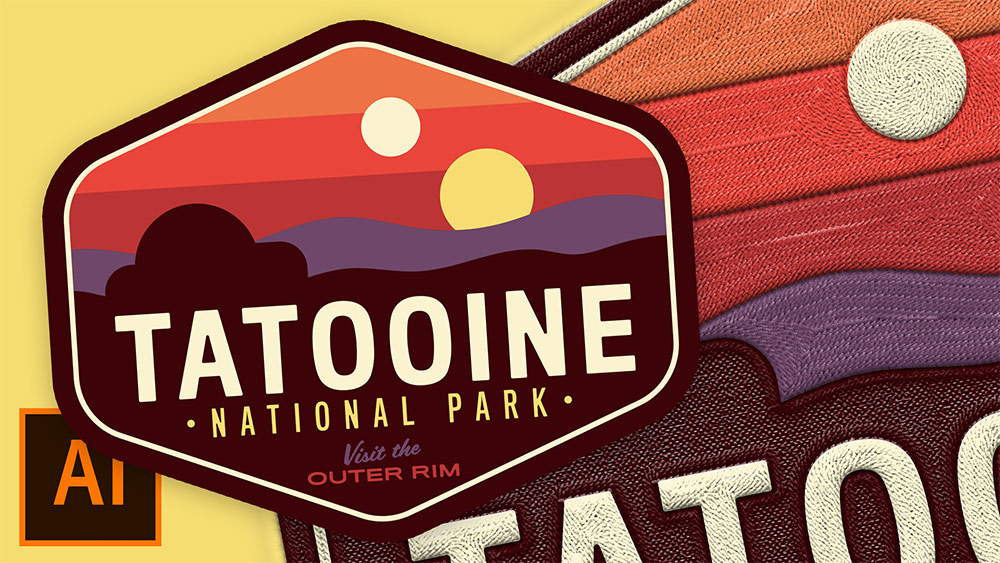
In today’s Adobe Illustrator tutorial I’m going to take you through the process of creating a colourful embroidered patch, based on the kinds of designs associated with National Parks. The artwork will incorporate a landscape scene at sunset, which helps to keep the design simple with a silhouette graphic and a warm colour palette. Stick around until the end of this tutorial to discover an easy way to make your digital design look real with stitching and embroidery effects.
► Showcase of Embroidered Patch Designs – http://spoon.graphics/2FjAuDo
► Tatooine Color Palette – https://spoon.graphics/34Goup3
► Activate the Titling Gothic Font Family – https://spoon.graphics/3ssN4X6
► Activate the Scriptorama Font – https://spoon.graphics/3N7awT9
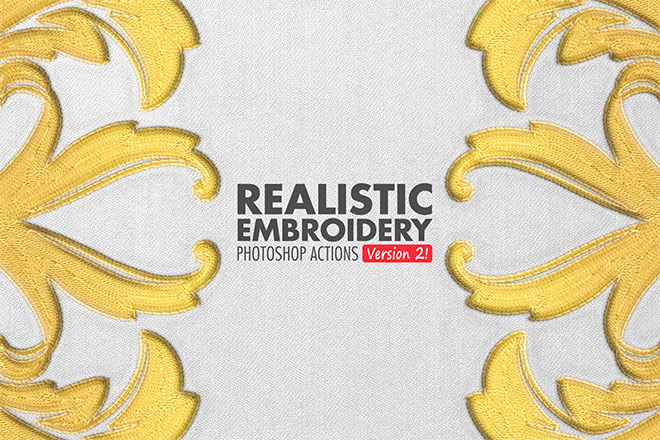
► Get the Realistic Embroidery Photoshop Action at Envato Elements – https://spoon.graphics/2VhOm7H or individually for $8 – https://spoon.graphics/3afKTKM


Thanks for the tutorial. Small point: A ‘Titling’ weight of a typeface is designed for making titles… – and pronounced title-ing, not tittling!
Haha what an idiot! I’ve always read it as “Tilting” Gothic so I had to do a double-take when I realised it was “Titling”. The word Title never even occurred to me!
I love “How to Create an Embroidered Patch Design in Illustrator” tutorial. In this tutorial, you share the easy tips and explain all the points deeply.
Thanks for sharing such a fantastic tutorial.
How cool! Thank you!