How to Edit a Portrait Like a Pro without Photoshop: Step by Step Guide
Summary: This is a guide on how to edit a portrait like a pro. You'll learn how to use a Photoshop alternative to retouch your self-portraits with a step-by-step tutorial.
These days it is on-trend to make your portraits pop so they stand out in the sea of a visually dominant world, but how to edit a portrait like a pro without Photoshop? There are a million sites that promise to help you edit photos like a pro, so how to pick one?
Having tried most of them myself, I can assure you: you can get a pro-looking photo edition just by having a keen eye and making sure you follow the hacks that professional editors use.
For this, first and foremost you have to get your mind around what’s the “mood” you want to express with your portrait and go from there.

1. Building The Aesthetics Through A Mood-Board
There are a thousand ways to achieve this, like using props, building a set, lighting, poses, make-up, customs, effects, etc… but my favorite one is by creating a mood-board and work over it.
A mood-board involves pretty much all of the elements mentioned before by unifying them to show a coherent message through aesthetics.
- The Color of Light
You can even use nothing but light and your camera, do some after-edition and still get a strong sense of statement projection through your pictures.
All you have to do is selecting a color-palette that goes according to the feel you want to create. Go from there and search images that have elements similar to what you would like and there you have it!
The most important thing is to follow a line that integrates all the components in a way that is harmonious between them all, that’s when it gets interesting.
Here is a very simple example:
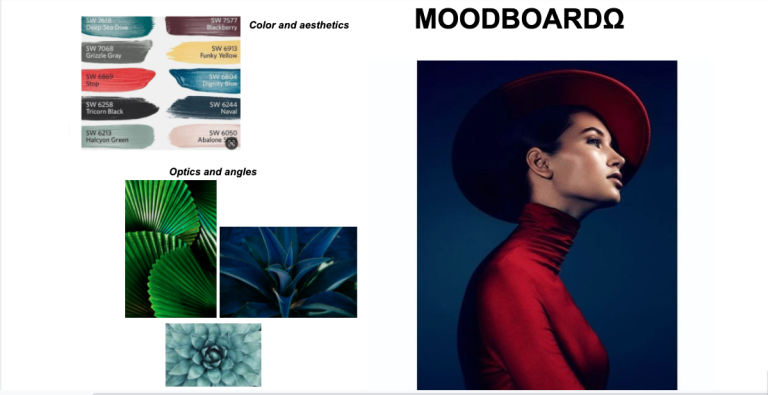
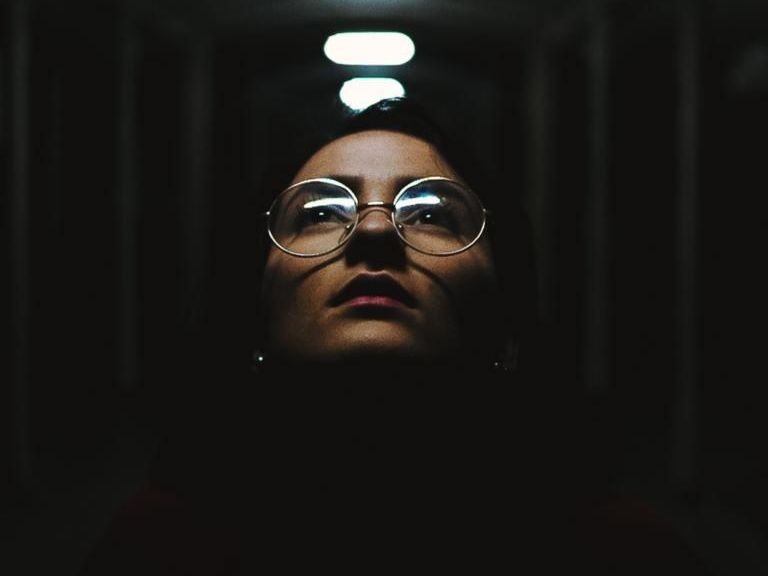
For this session, I proposed a mix of warm with cold colors to get an elegant feel through contrast: very deep blues/purples with dark reds and hints of neutrals to do it nice and kind of funky, and at the same time using dramatic zenith and high angles as well as low angles to keep the theatrical taste.
2. As Seen Through The Glass: What Kind Of Optics Are Best to Do Portrait Photography Like A Pro?
Regarding the optics, you should always keep in mind that a prime lens like 50mm is the closest to “real life” optics, similar to what you eyes can see, so it is the most used when you want to have a faithful image of the subject, like with product lifestyle portraits.
On the other side, if you want to add an artistic or fictional look to your portraits, wide-angle lenses are the way to go, since they deform the image more or less like fish-eye depending on how short the focal length is.
These kinds of lenses also have a shallower depth of field which is nice when you want to give an intimate look to your image and focus solely on the subject, like when you are doing outdoor portraits or an eyes detail photo for example.
They are also great for night portraits since the higher aperture of the diaphragm allows more light inside the sensor, so you don’t get a blurry photo.
Classic focal length for portraits, especially for fashion, is in the range of 80–135 mm since such a field of view provides a flattering perspective distortion by making the traits of the subject narrower whilst keeping the length when you do full body shots.
All of this also varies according to the distance of the camera in relation to the subject, so just take into account whether you want to exhibit the surroundings to add to the atmosphere or merely focus the subject.
- Adjust The Light
Think of a photo as a clay sculpture: first you have to create the structure and make sure everything is looking exactly like you want it; this step is mostly achieved by taking a great picture from the start, so you won’t have to invest too much time in the after edition, and knowing how to pull off some good lighting is key for this.
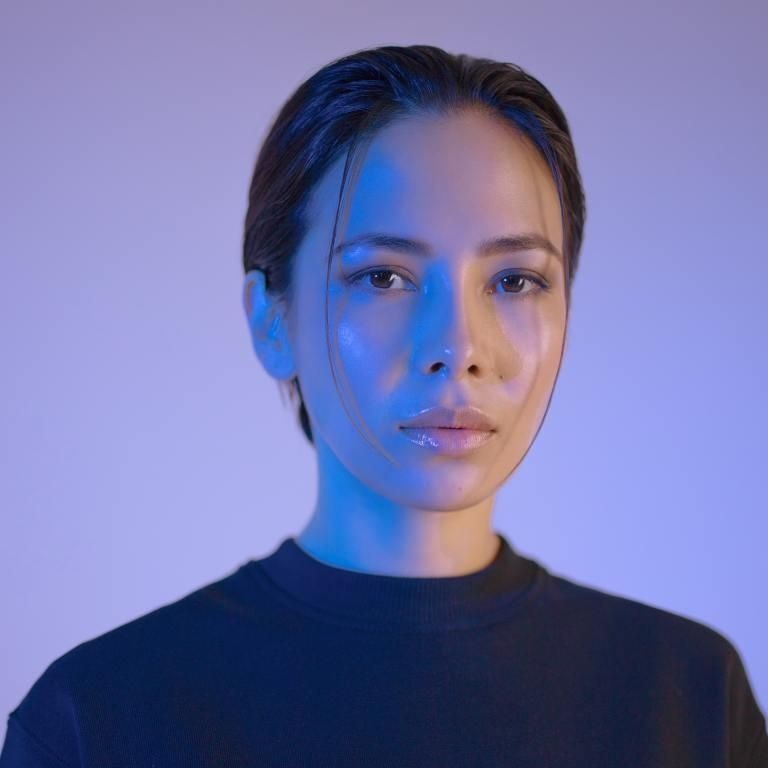
Plus, you can pull-off some mind-blowing effects like this neon portrait:
3. Back To Photo Editing Basics
But for now, let’s get back to edition. No worries, if you are the kind of person who loves spontaneous shots or you don’t have fancy equipment, you can still make the most of it through edition platforms like Fotor, which is easy to use and features pretty much all of the advanced tools you can find in professional software such as Lightroom or Photoshop without any previous experience or paying too much.
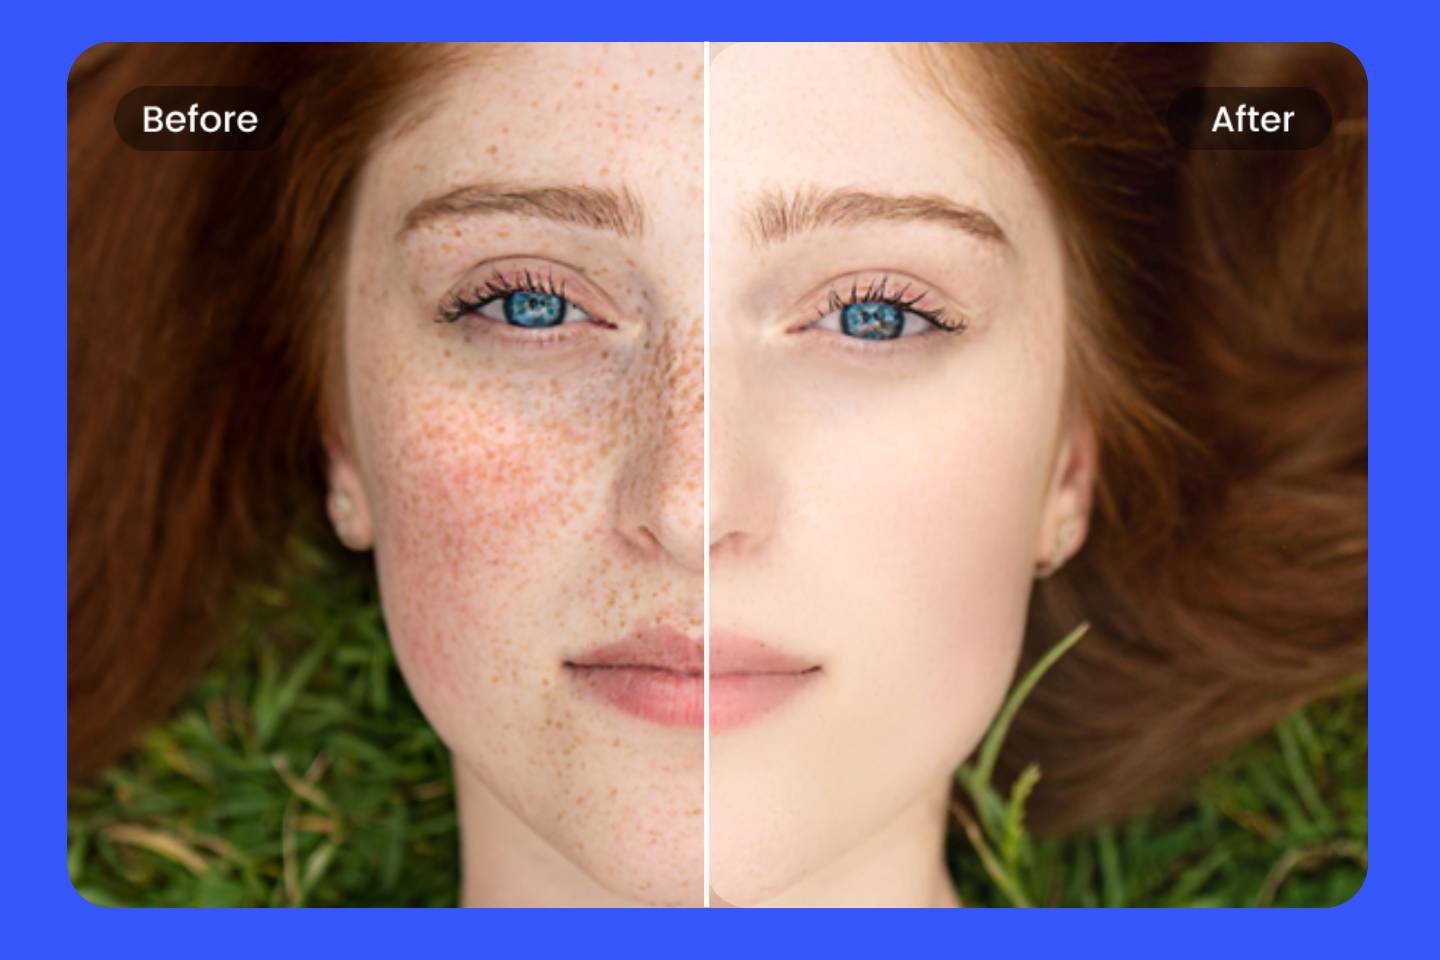
With a range of photo touchup tools to transform your portraits and photos, Fotor's Beauty feature can bring out the radiant 'you' and give your photos makeup and a makeover regardless of picture quality.
- Basic editing
First things first: adjust brightness, color, saturation, curves, fix red eyes, etc. Anything that has to do with the light which is ultimately the “material” used to “construct” the photography. You can also do some adjustments to the position and crop if needed.
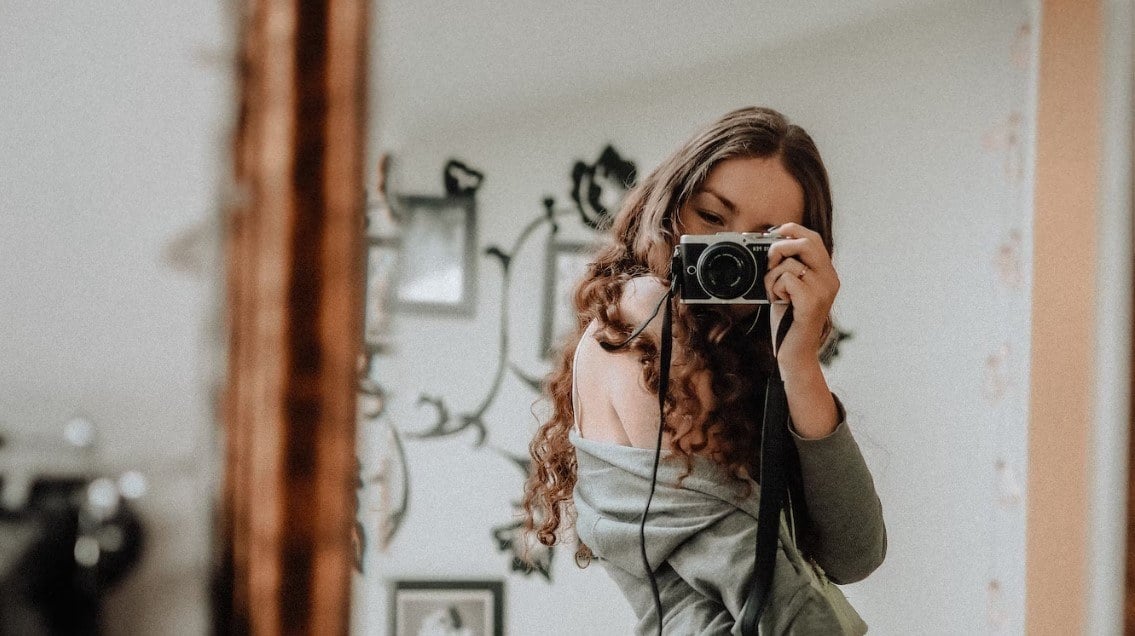
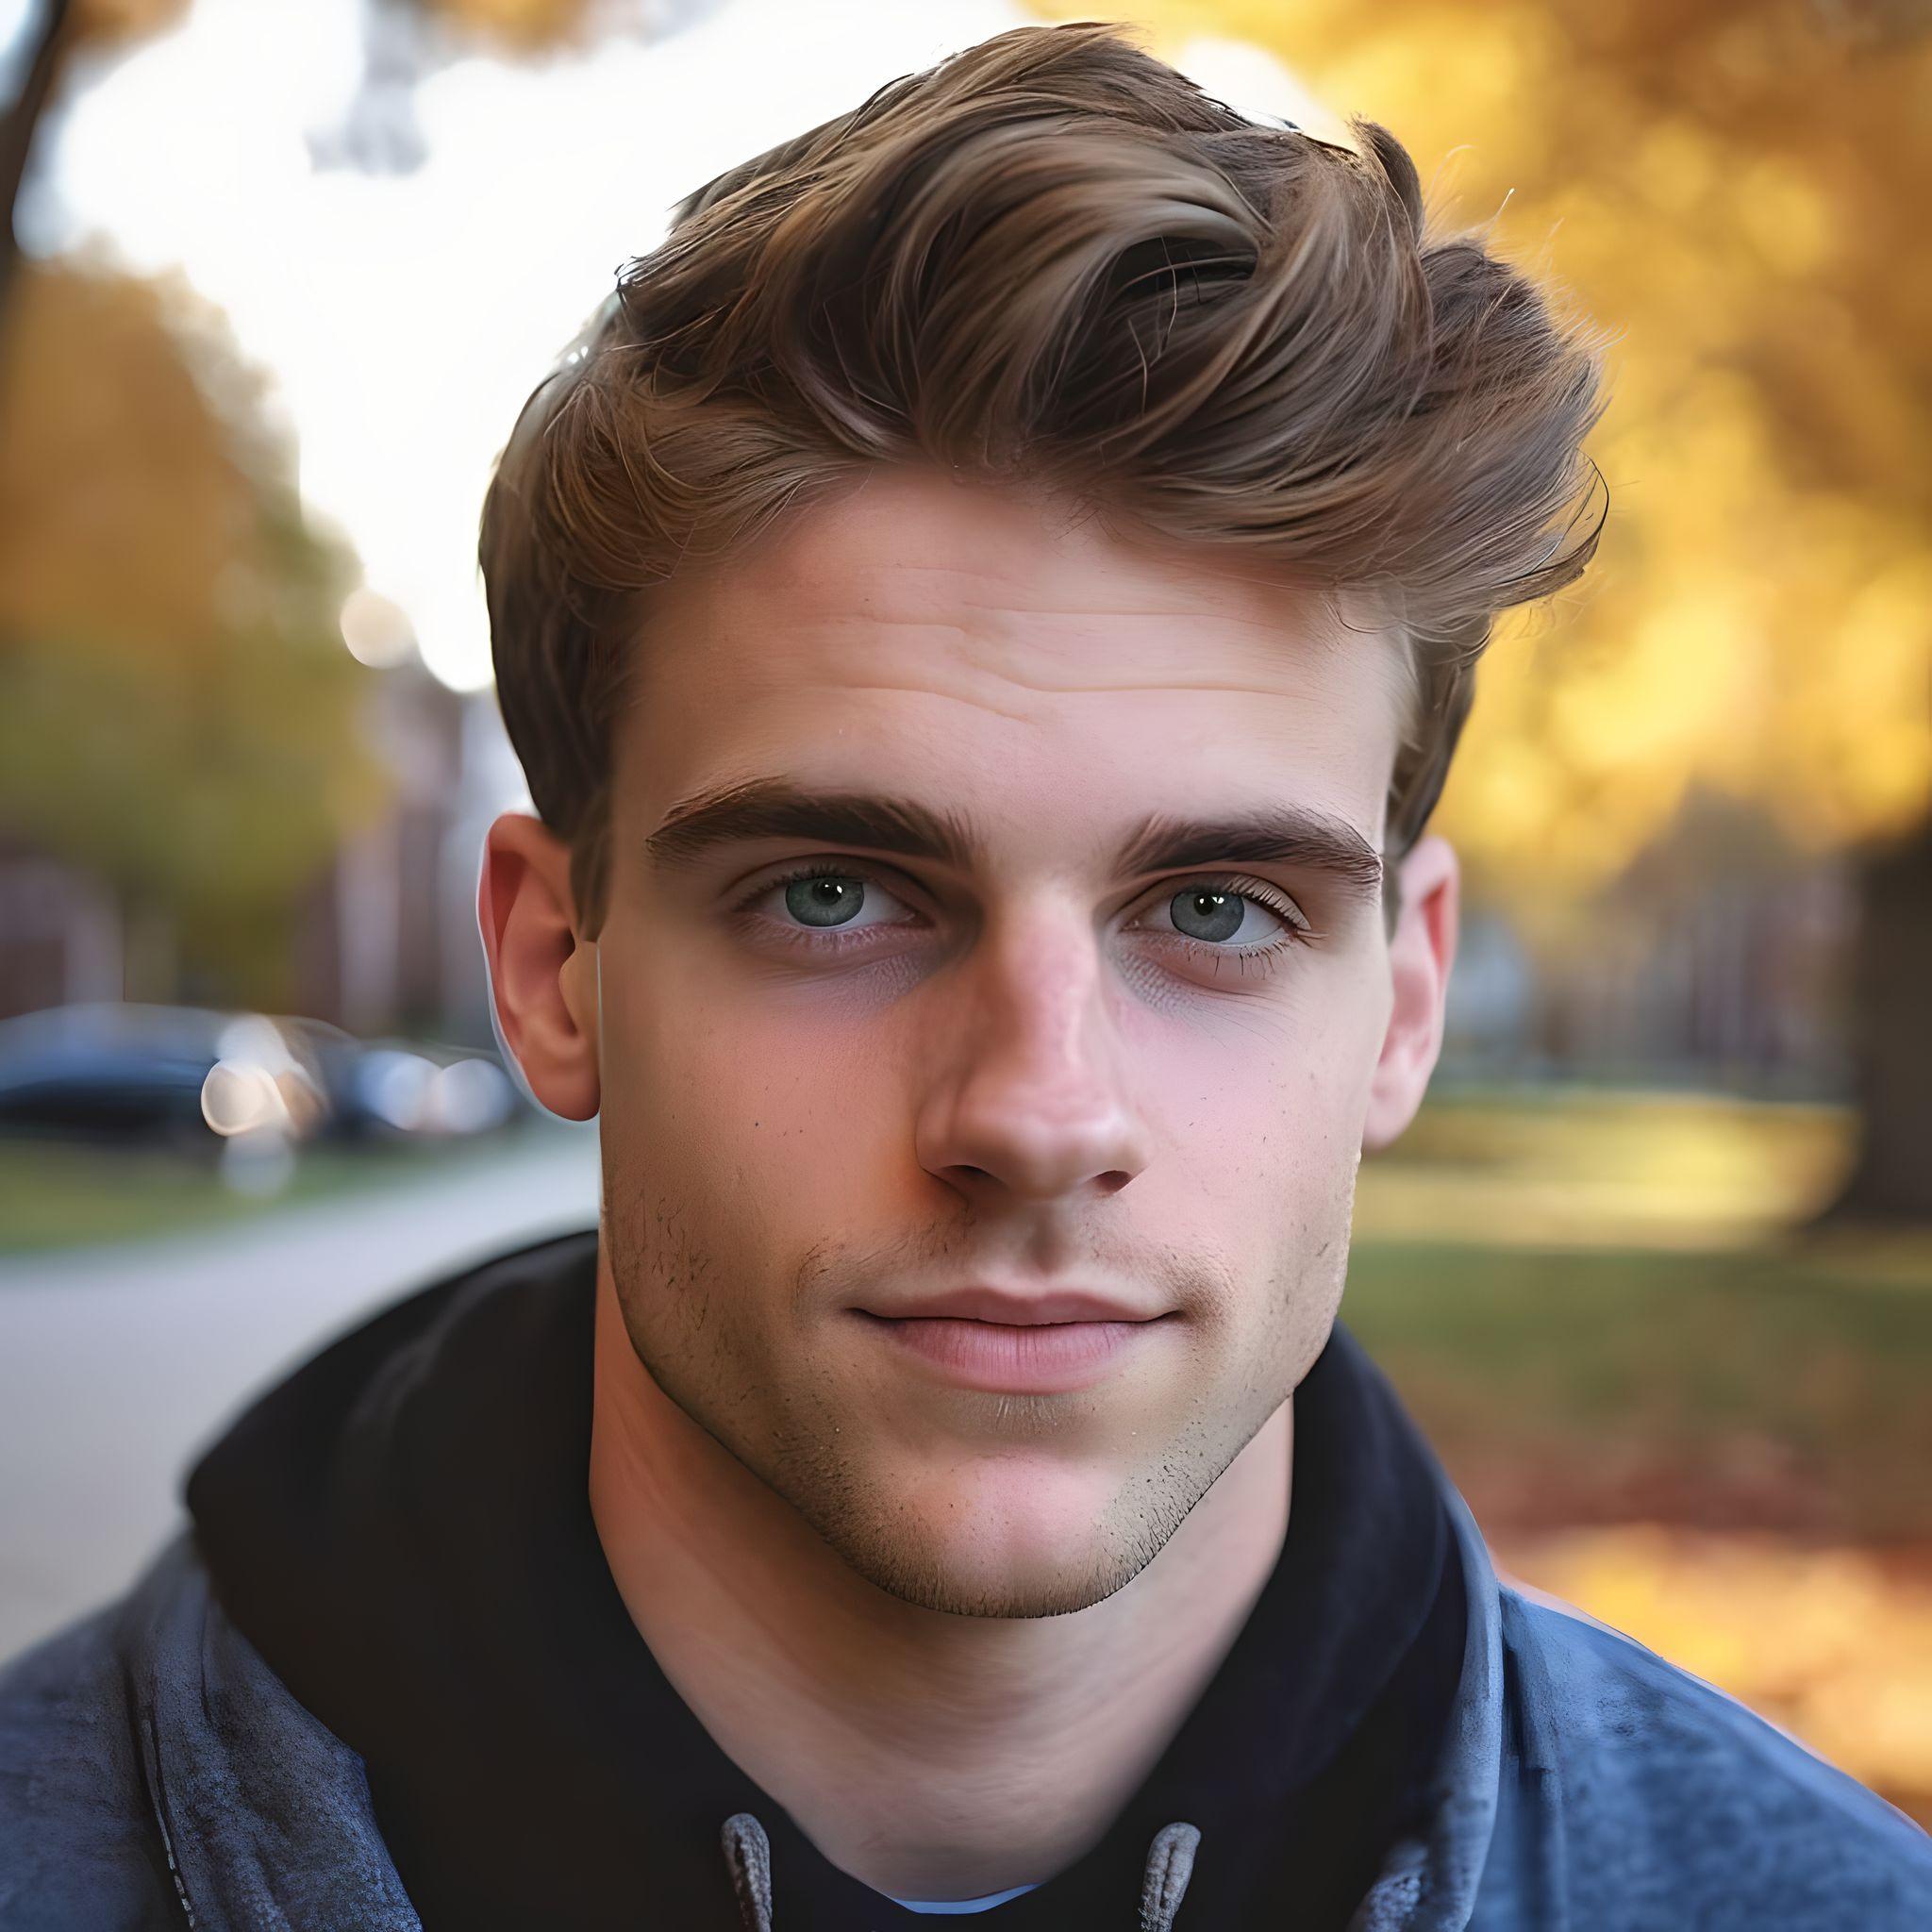
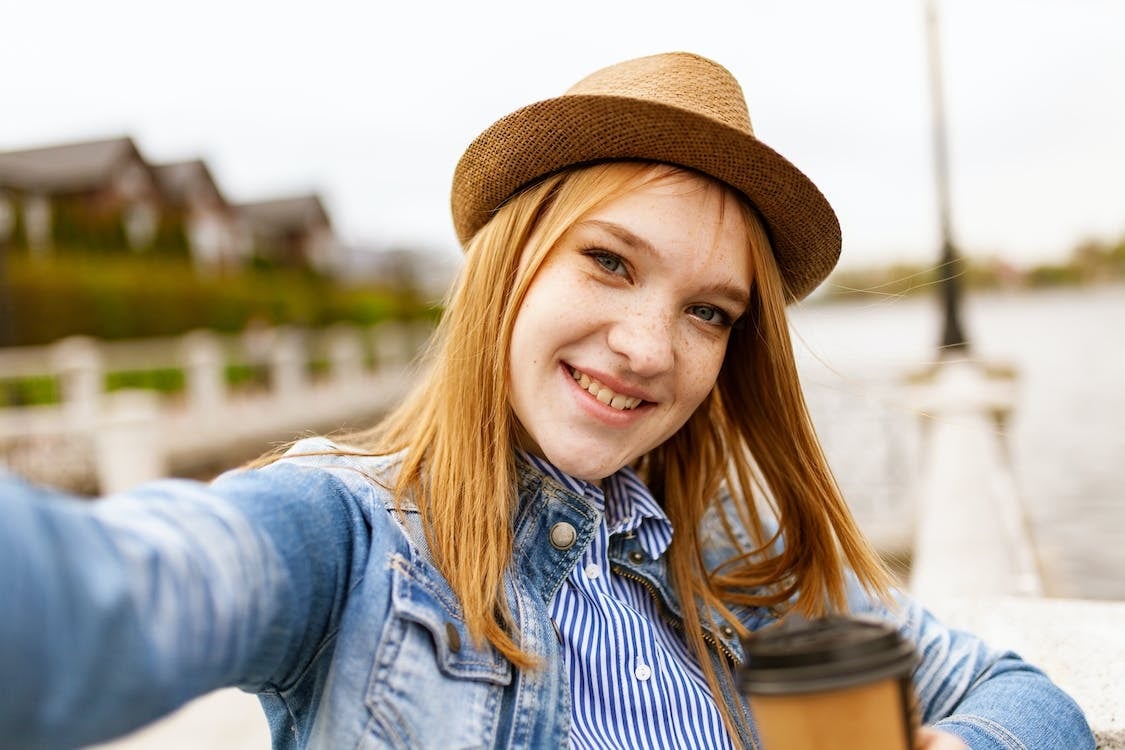
For this headshot, in particular, I am going to edit it in a more minimalistic but dreamy way, let’s start with the basic tools.
I want to make it softer and etheric while keeping the texture of the shadows to add into the dramatic look, so I will bring down the brightness and increase the contrast, so the shadows have a light chiaroscuro feeling.
But we don’t want it to look too rough, so I will also bring down the saturation and the sharpness.
You can play with the parameters depending on the look you want to achieve!
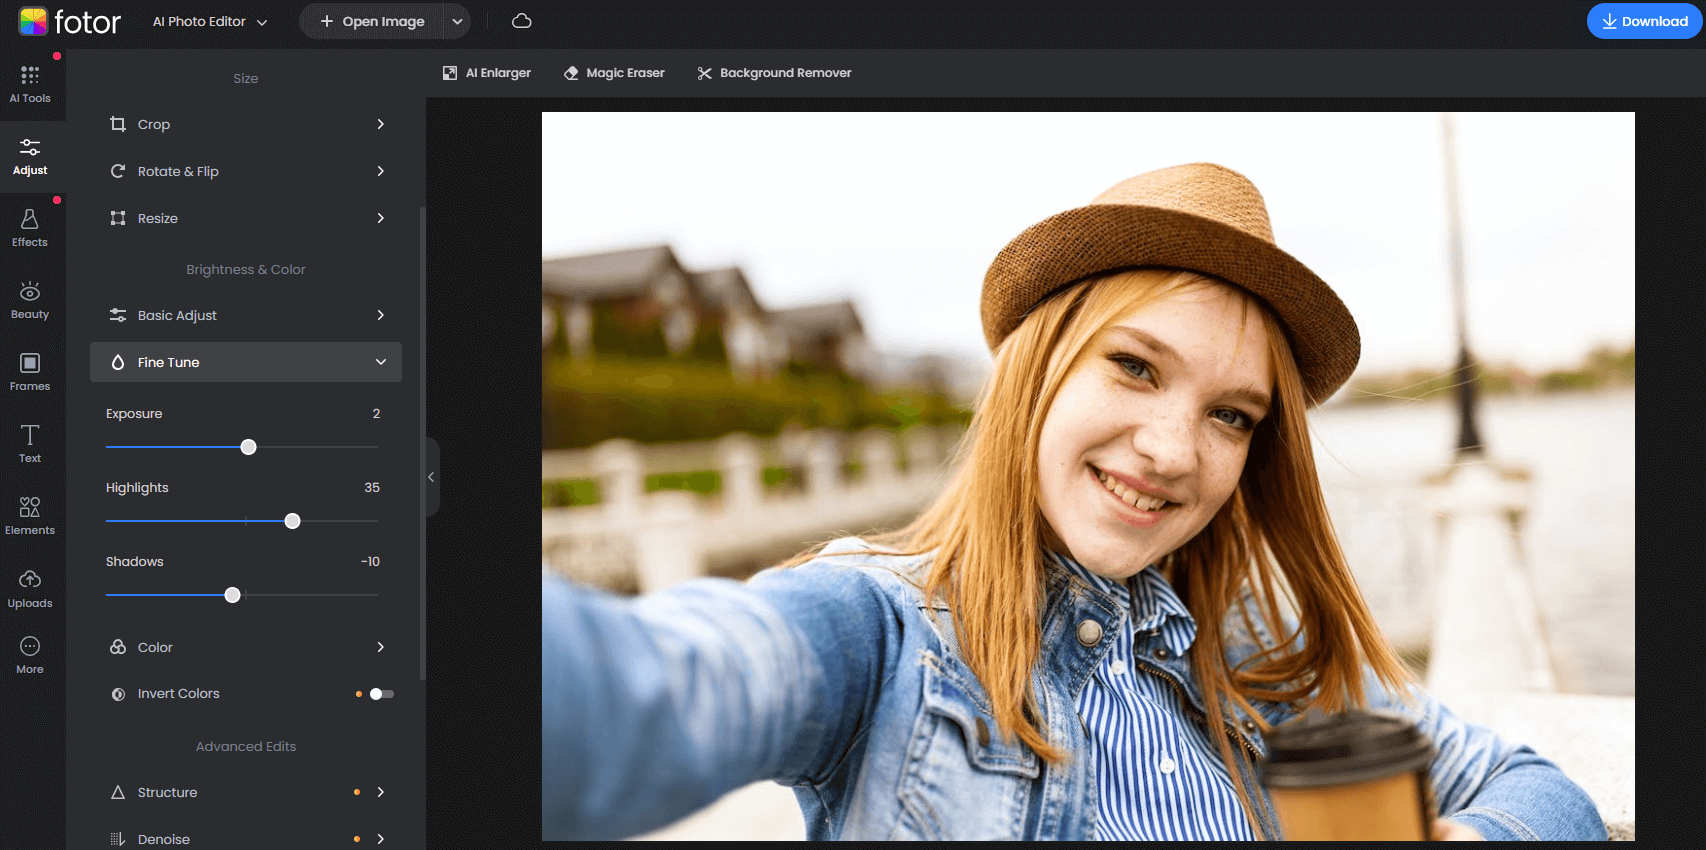
- Let’S Do Some Fine-Tuning
I recommend you to not touch the exposition parameter too much unless you are working with a really dark photo.
It is better to work with that from the beginning while taking the picture because unless you have a RAW file, highlights will look blown out or noise might appear.
I am using the highlights tool this time which is much more low-key, but still makes the picture brighter.
Let’s add more shadow (just slightly), so the contrast between highlights and shadows is more apparent and we create our own kind of chiaroscuro effect:
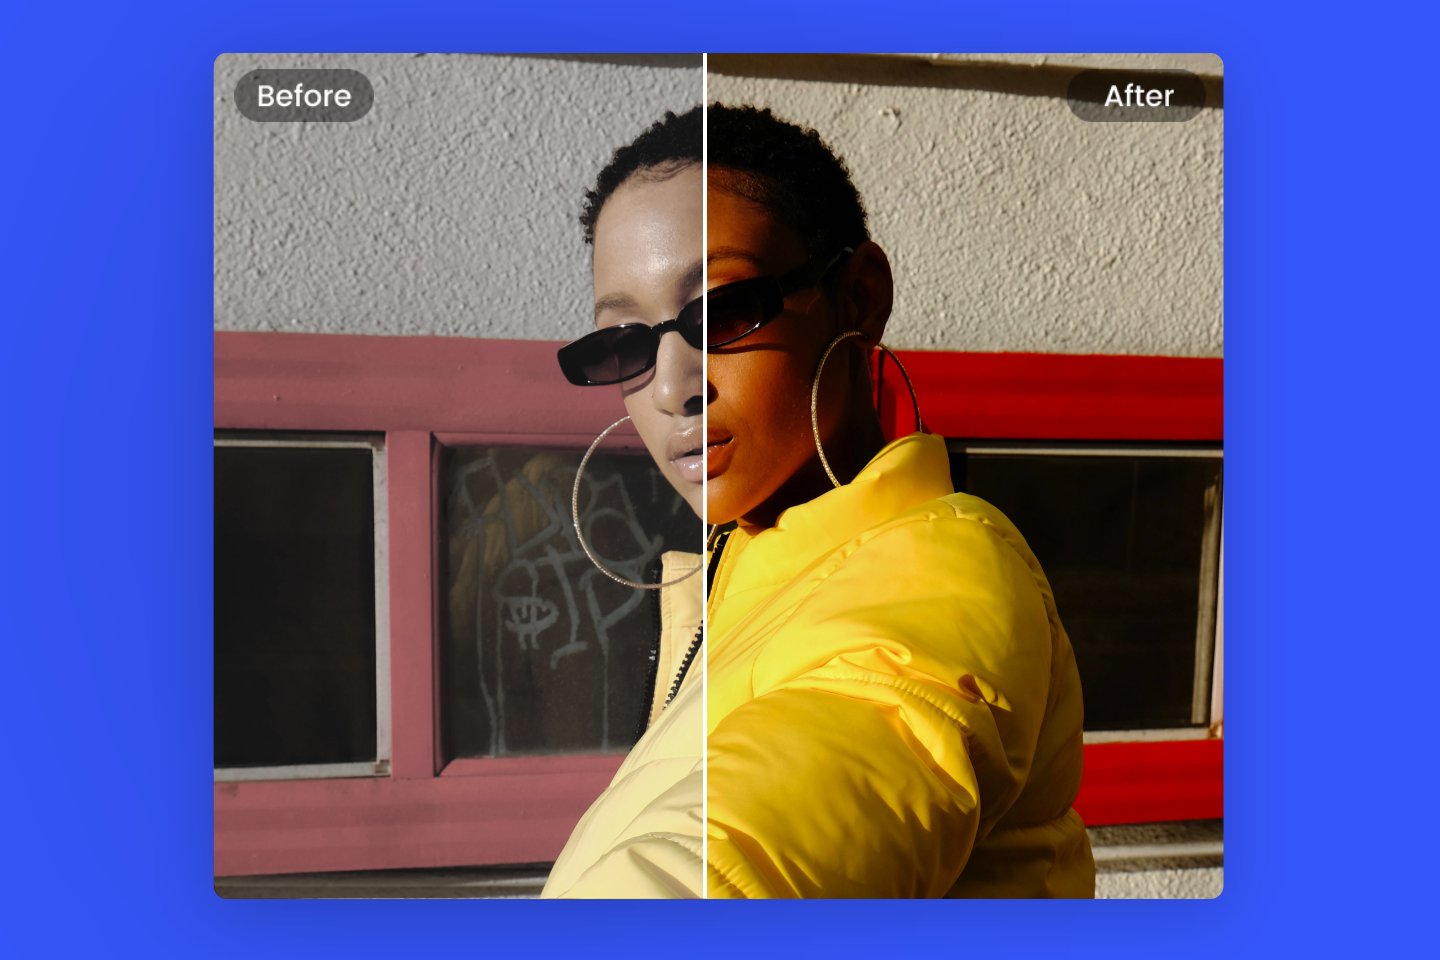
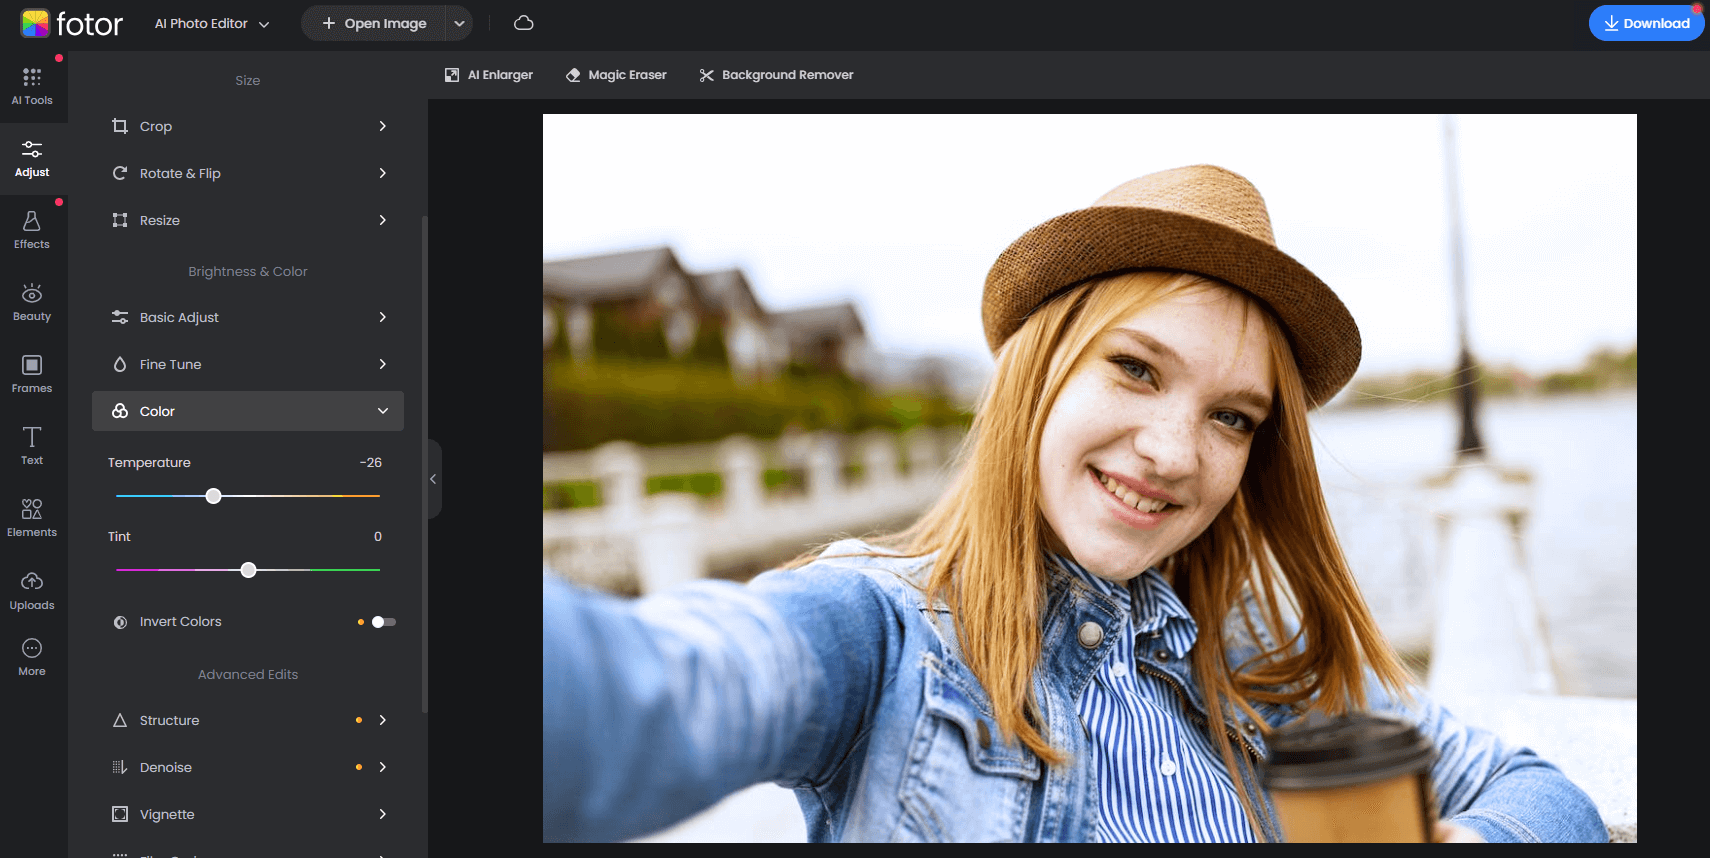
Now, since I want to get a cleaner look, let’s get rid of the warm tones on her face and wall so we can make the colors whiter and make the greens pop so it is more unified with her blouse.
I will do this toning down the temperature to a “colder” one.
Bonus
You can also manipulate this in your camera or mobile by setting the “white balance” of your camera:
If you want to display a warm, cozy and candid mood, aim for 2000k-3000k color temperature.
For a bright and vibrant white which is closer to pure white, use temperatures going from 3100k to 5000k.
Depending on the type of lighting you are using, these parameters might change, but digital cameras and smartphones usually have automatic modes for this.
Lastly, use temperatures as high as 6500k for blueish, invigorating, cold looking looks.
- Add Some Curves
To make a more professional looking headshot, I always use curves. They are a nice way to make contrast and color look great in a more balanced way.
Plus, you can also select either channel of the RGB light spectrum to only manipulate the areas you are aiming for.
For example, if I wanted to fuse the color of this image all together to add some theatricality, I would go and handle the blue and green channel since those are the most prominent colors here:
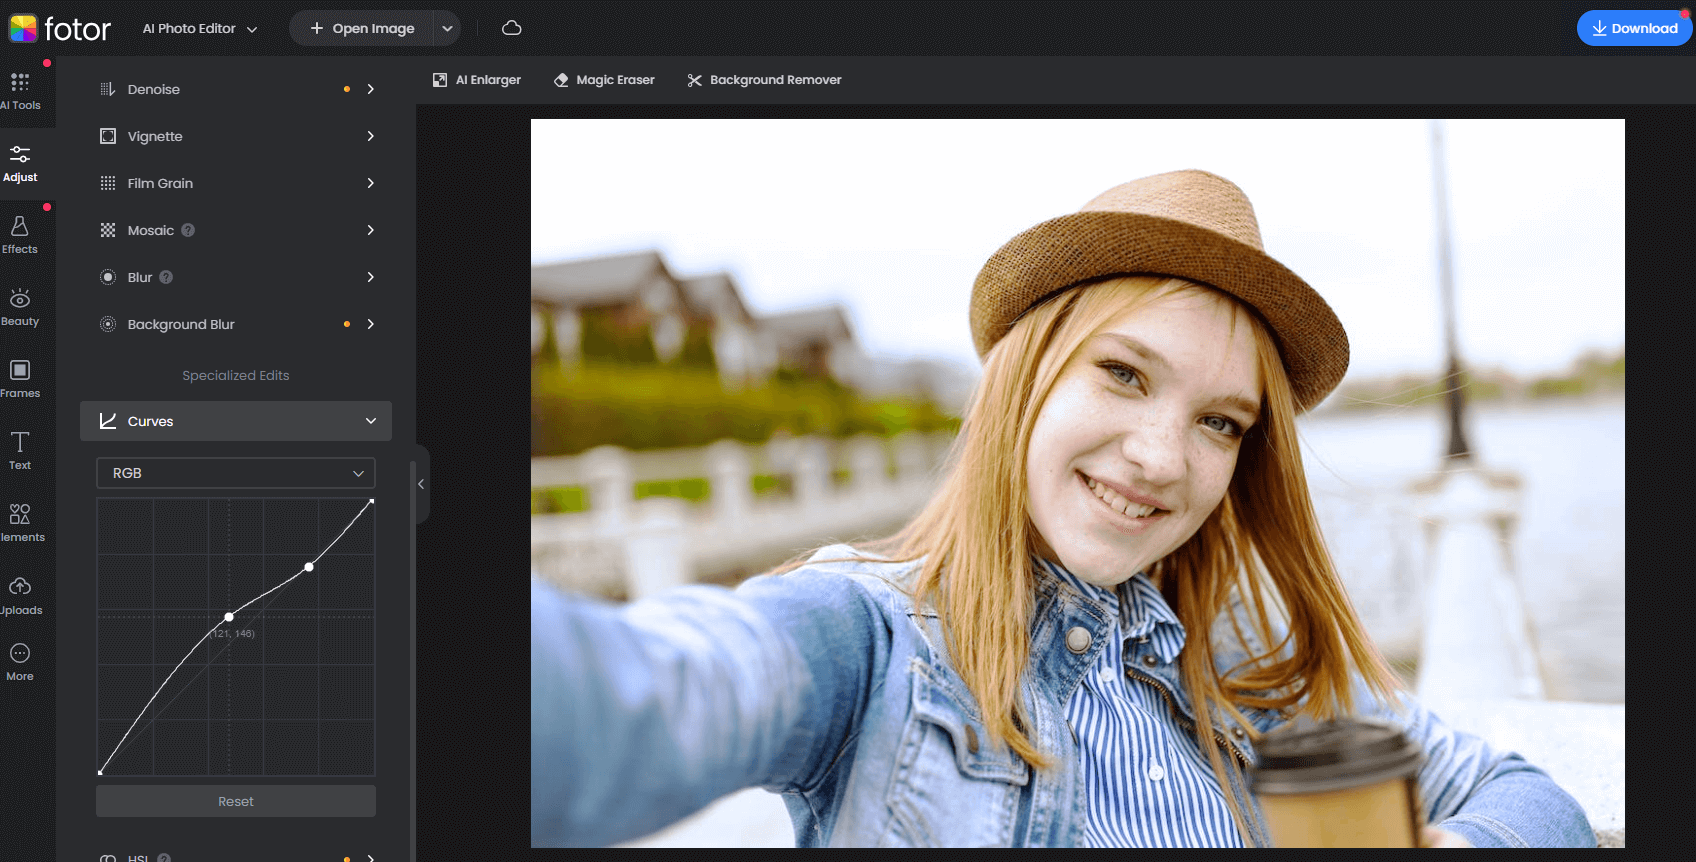
Pretty much create an “S” looking wave; at the same time consider the superior right zone will make the photo brighter, and the inferior left will make it darker.
By doing this, you will make the contrast a lot more natural and harmonious.
- Work Some Magic Effects
On the bright side, if all this seems too confusing for a start, you can always use some effects.
There is a wide variety of ready-to-use, high-quality filters that will make your portrait look lit and ready to be posted on your favorite social media platform since they already handle the parameters we are working on in a pro way.
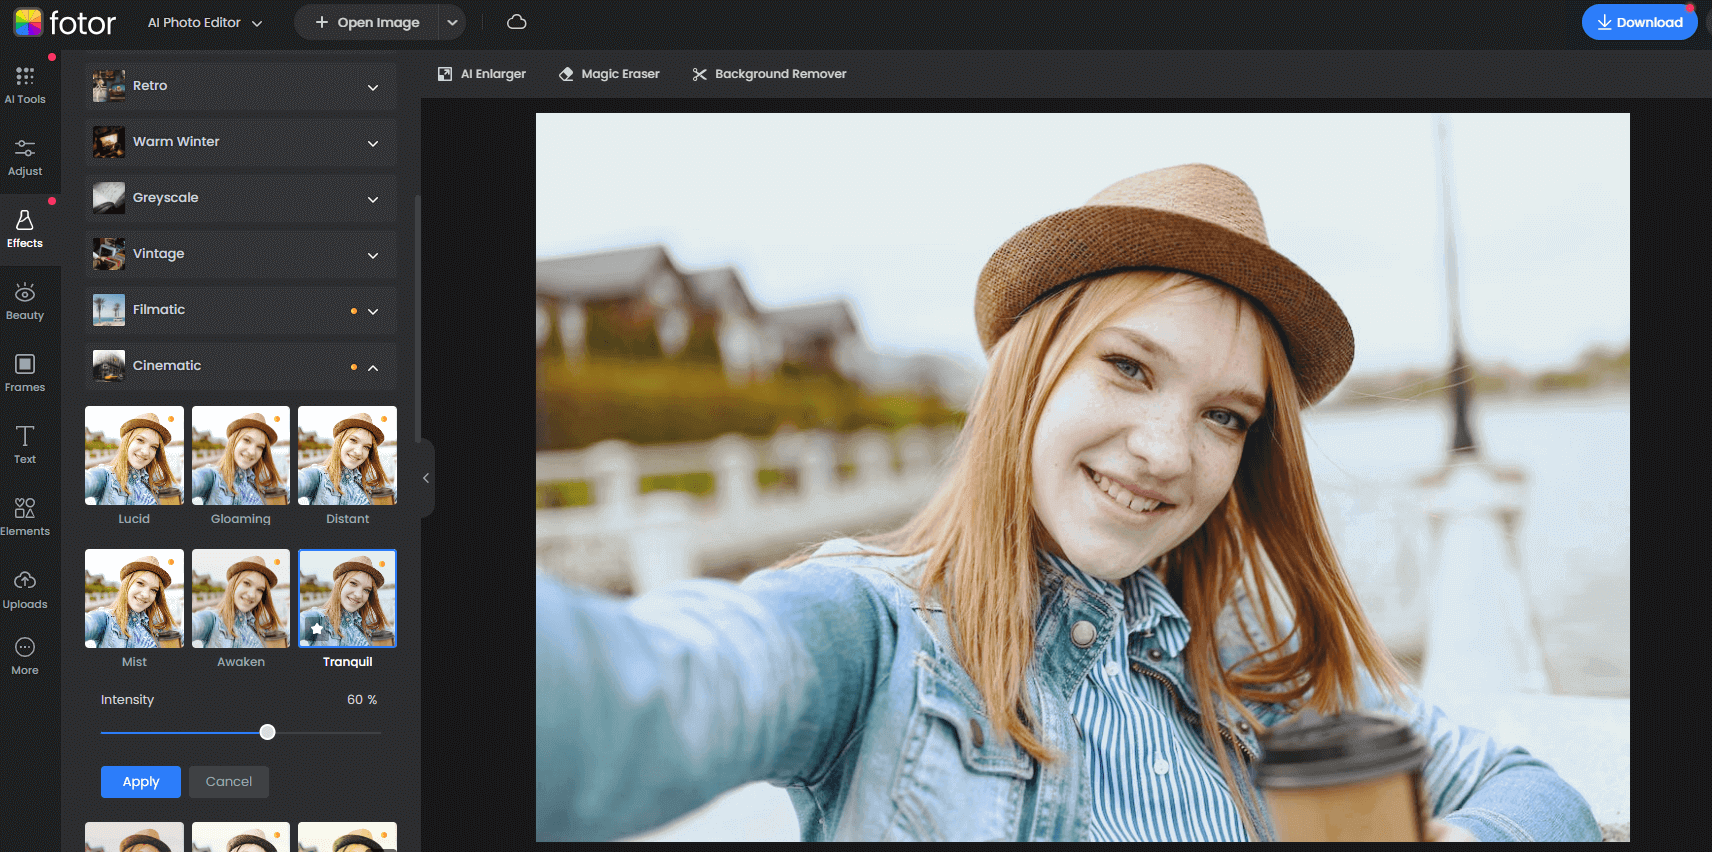
Also, these are created according to certain looks and feels, like the cinematic “misty” effect I applied here, which already looks a lot like what I am trying to attain, so no wonder about the name.
But let’s continue merely for educational purposes.
- Remove The Flaws And Touch Up The Shape
Now we can start removing blemishes & reshape whatever is needed!
The reason why we have to adjust the light first is mainly because we might lose some blemishes if the image isn’t properly tightened, plus the editor will work better with it.
Remember: just think of light as the clay of your headshot “sculpture”: you want to make it as sharp and aesthetic as possible before you go and “paint it”.
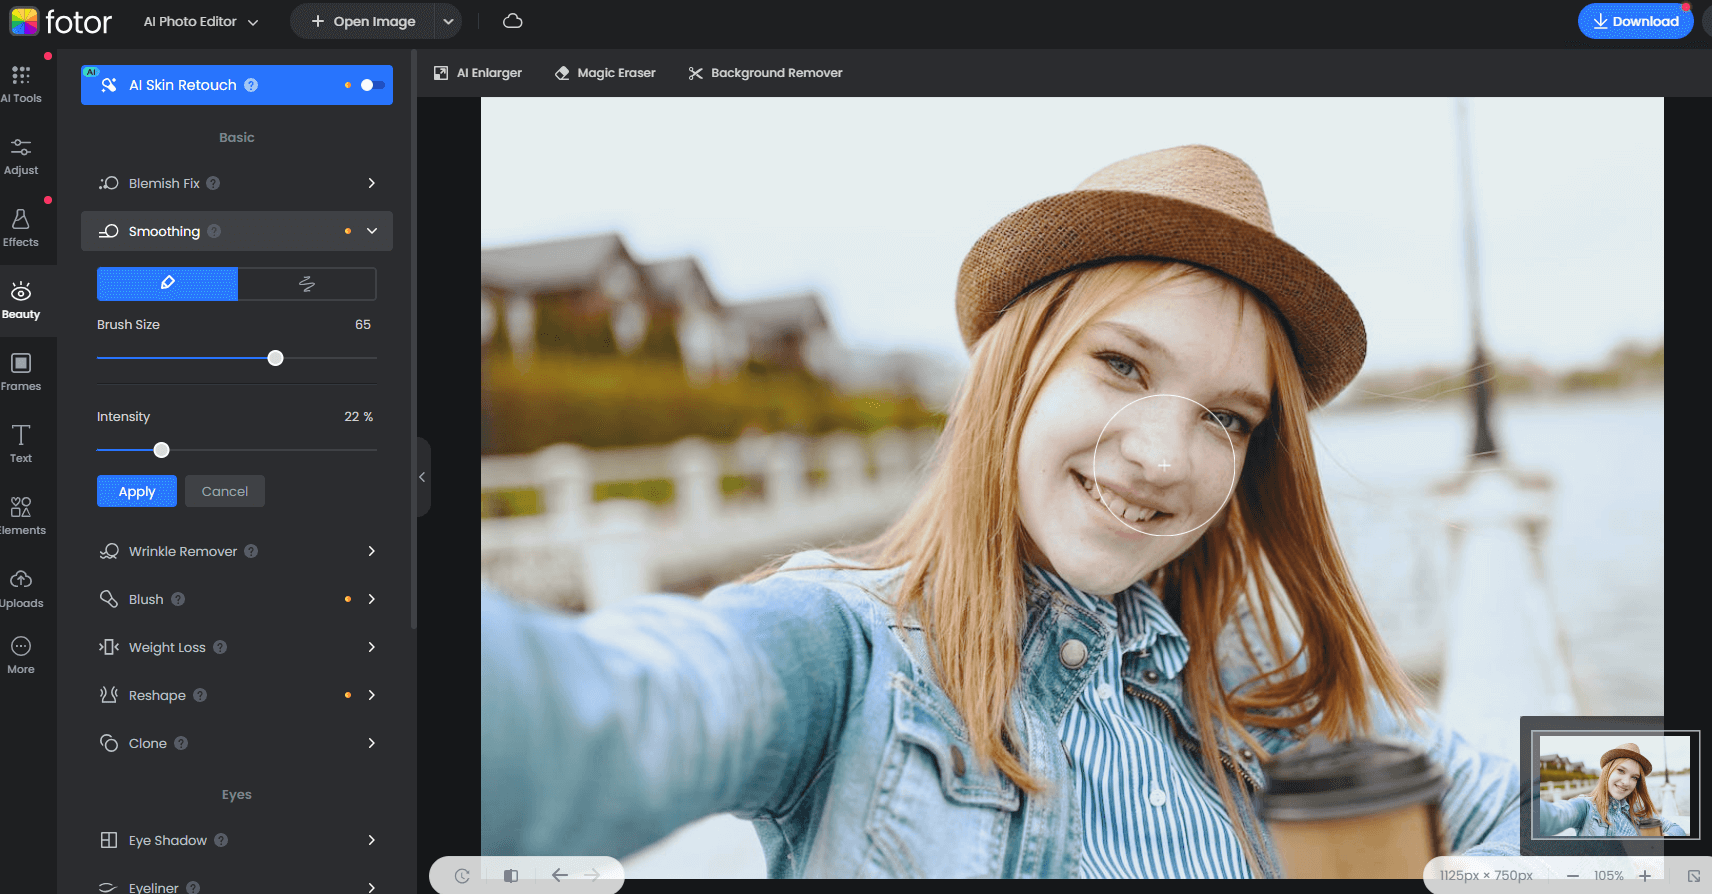
As you can see, Fotor platform intuitively displays these tools for you already.
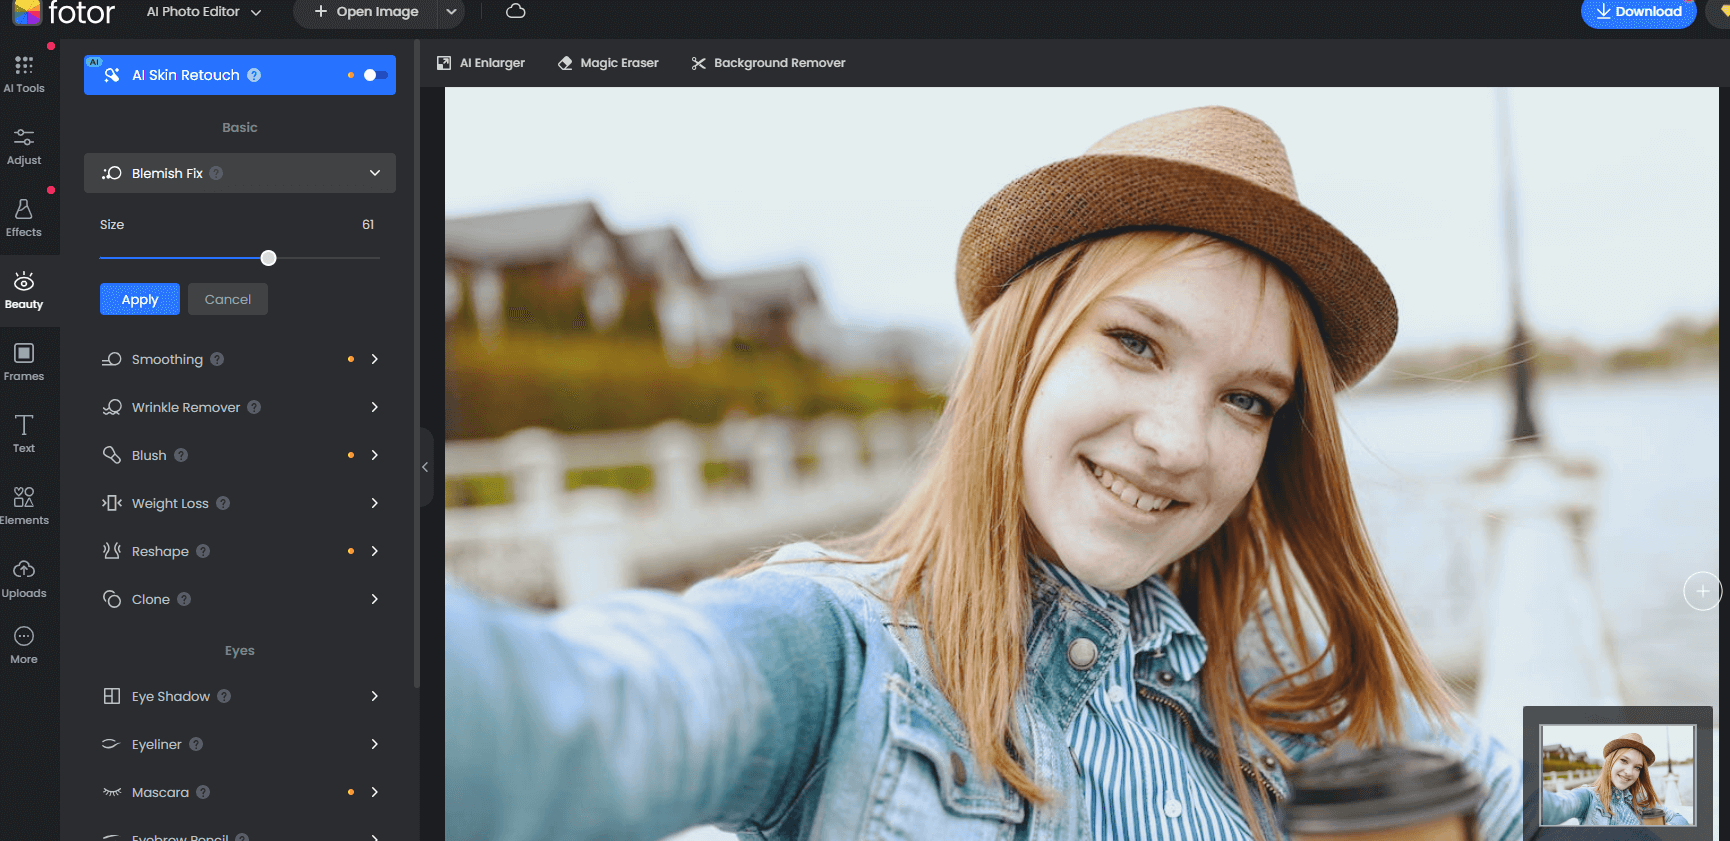
Use a small brush and decreased intensity to remove the blemishes and wrinkles so it looks as natural as possible, keep in mind to follow the direction of the skin, especially in the case of wrinkles.
This requires a lot of patience if you want to get a professional retouch for your portrait, so keep calm and remove those imperfections.
Note: less is more! don’t overdo it.
Especially with marks like wrinkles, too much will make it look fake, in real life we all have some kind of imperfections, especially those that imply facial expressions, so unless you are doing high-end fashion and editorial looks (not even then since the trends are going back to “real”), keep it nice and delicate.
The point with retouching is just to make blemishes less apparent, not totally disappearing them.
I love the clone tool as well: use it to heal bigger areas or other objects you might want to get rid of more accurately.
You can go the other way around and clone the hair so it appears fuller, for example.
Let’s eliminate some frizzy hairs to see how clone tool works: just choose an area as a sample and then paint in the area that you want to fix, easy!
You can always erase if you don’t like the result without having to do it all over again.
Acknowledge the intensity and fade; I would go all the way with the fade to keep it seamless a go from there. Adjust the intensity, see what works for you!
- Smooth Skin & Add Make-Up
When you finally get to “paint” your portrait, you can work on smoothing skin, makeup, and all the beautifying features.
Do not forget to follow the direction of the skin while doing this, just as you do when you apply the makeup in real life or paint something.
Keep it subtle when you smooth skin and keep toning down the intensity, adjust it so the smoothing isn’t too outstanding.
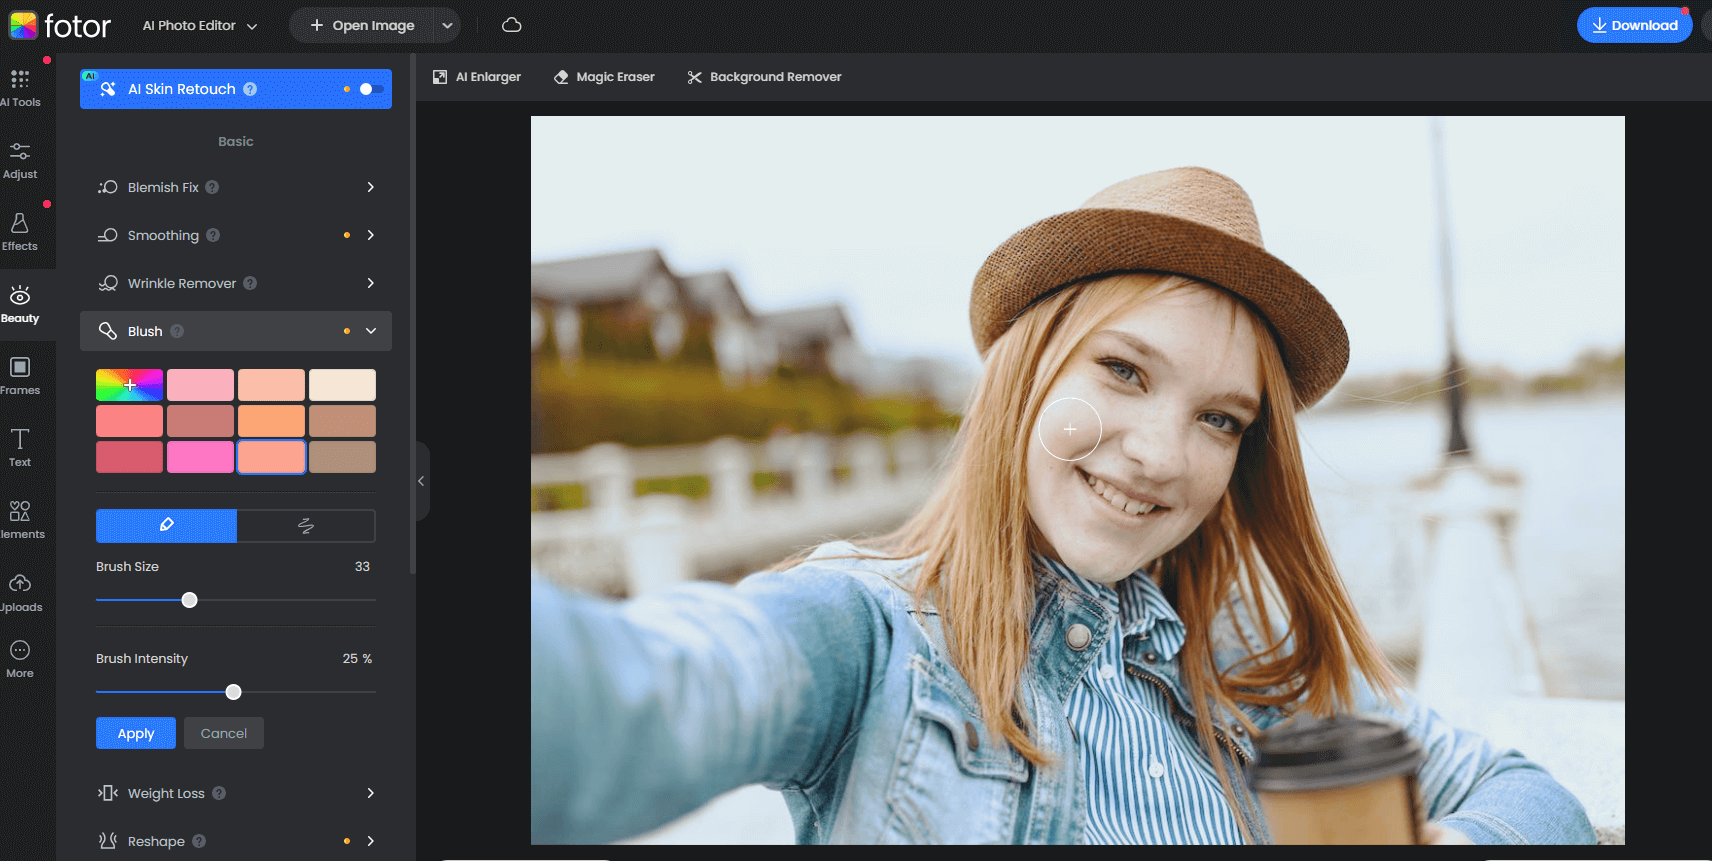
Let’s add some blush just to get rid of the whiteness on her cheeks:
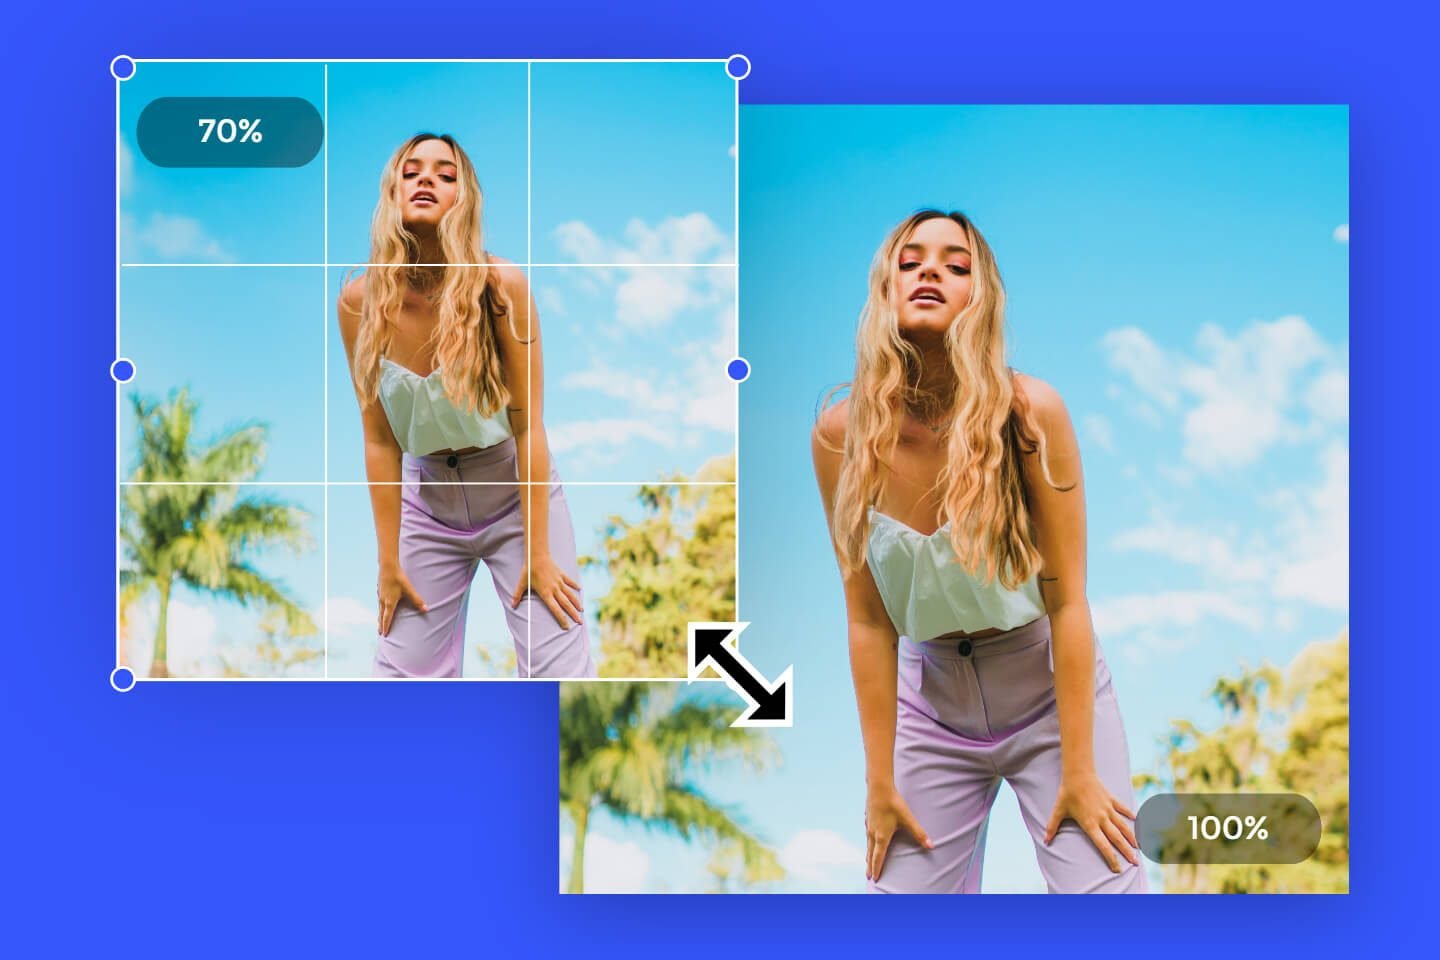
And then a touch of weight loss effect to stylize:
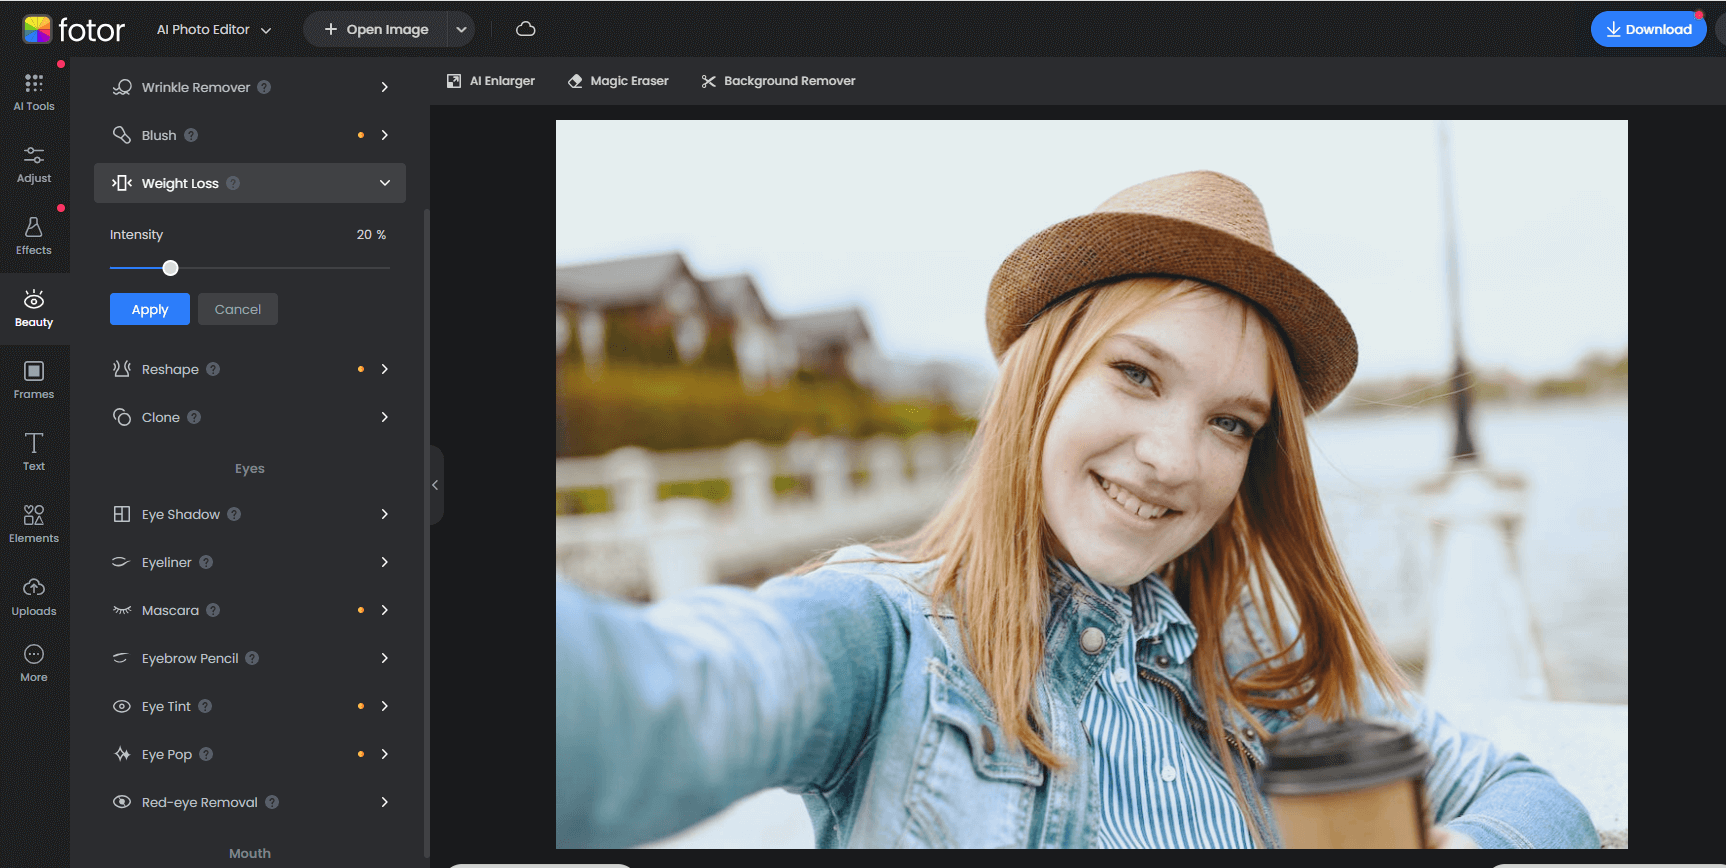
Afterward, we will reshape the neck, chins, and forehead to make it appear longer, not too much, just a touch is needed all in all.
And just for the sake of it, I will try the eye shadow function, but we shall not use it this time since we want to obtain a more natural feel and look.
This looks really nice tough:

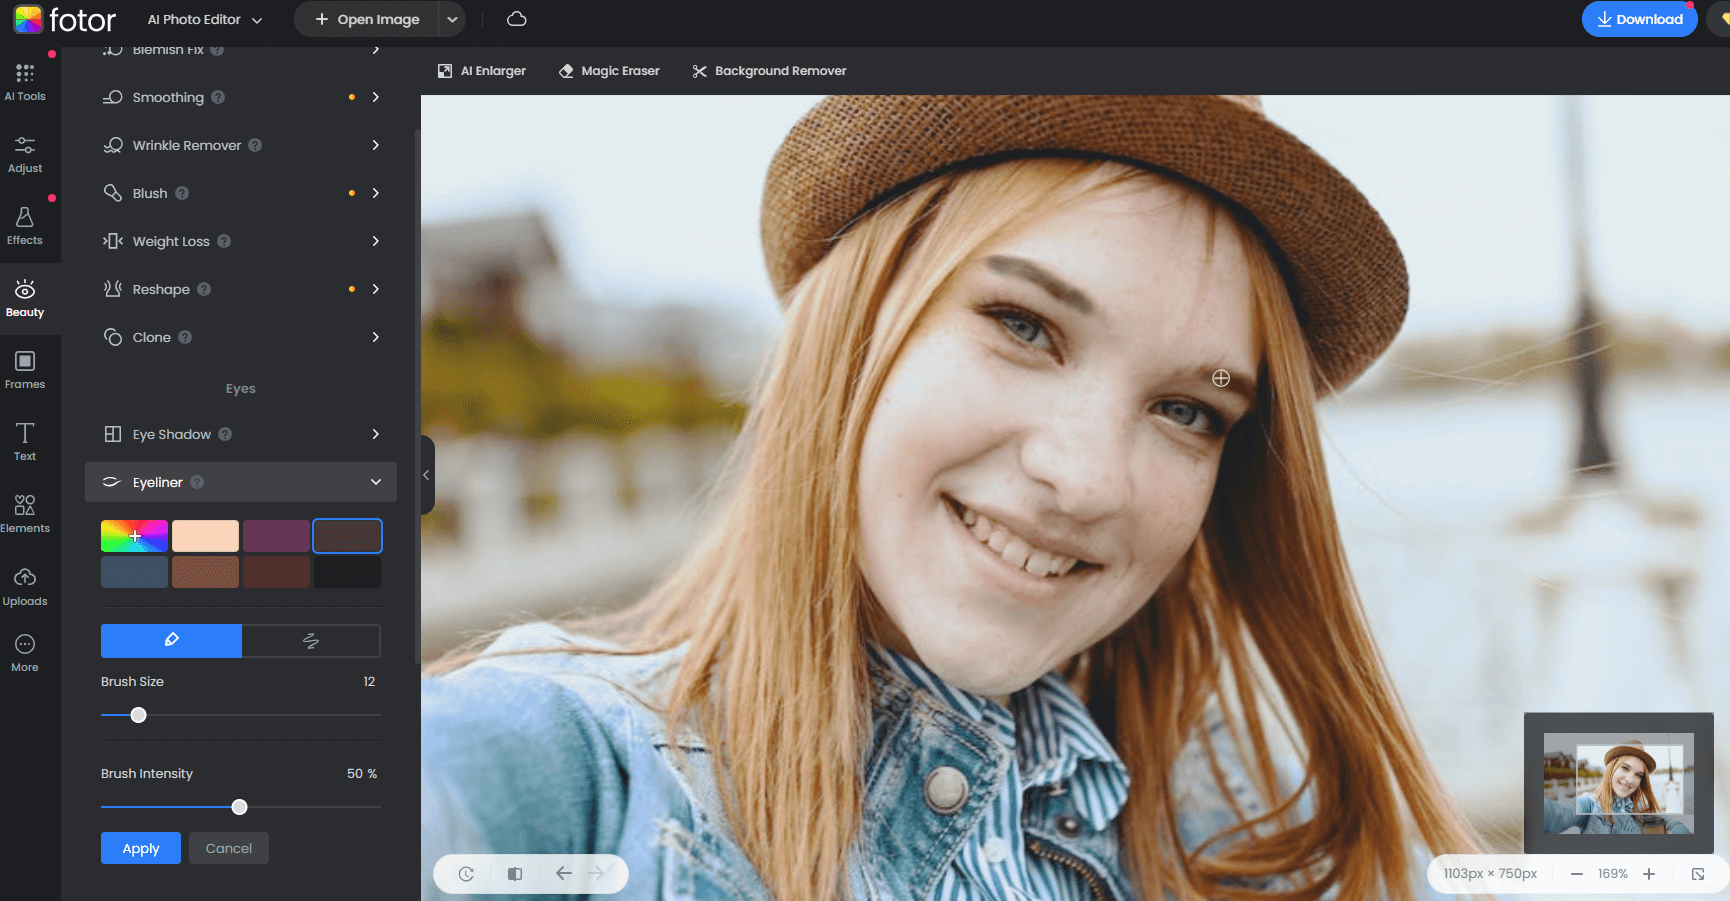
Instead, let’s do some discreet eyeliner to frame the eyes.
I used a graphic tablet through all this process, so I would suggest using one for this kind of retouching, a digital pen for your smartphone will also do!
If you’re really into editing professional portraits, it will really help in the process and will make your strokes way more precise and clean.
Just like in real life, the eyeliner is tricky! at least for me…
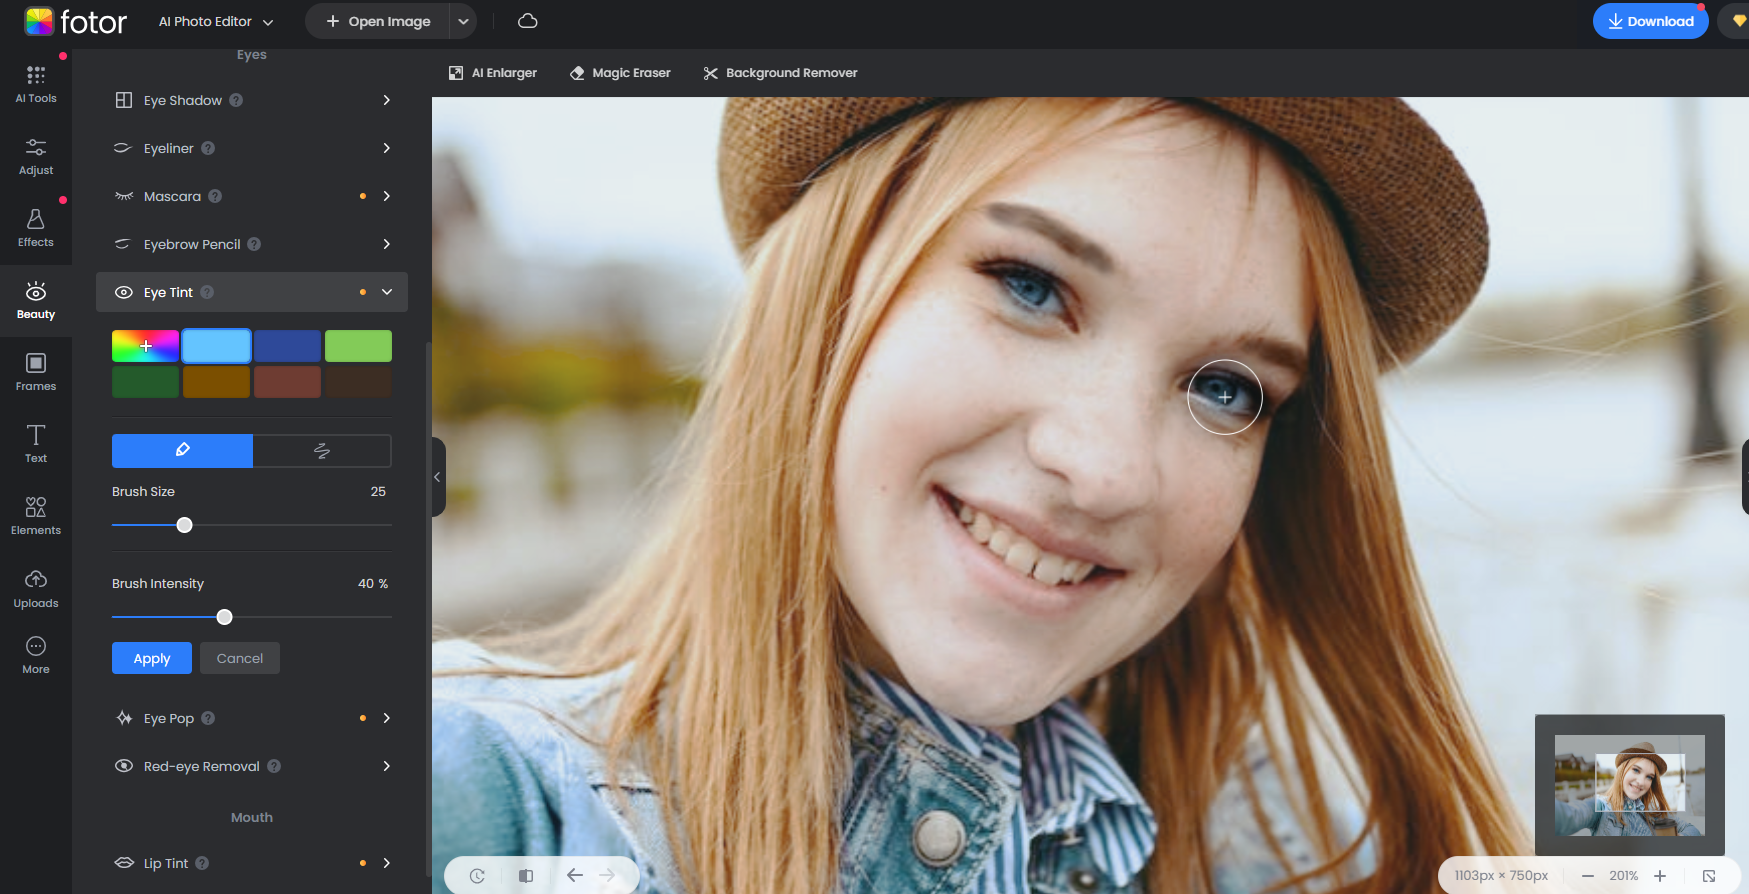
And what goes after the eyeliner? Yes! mascara.
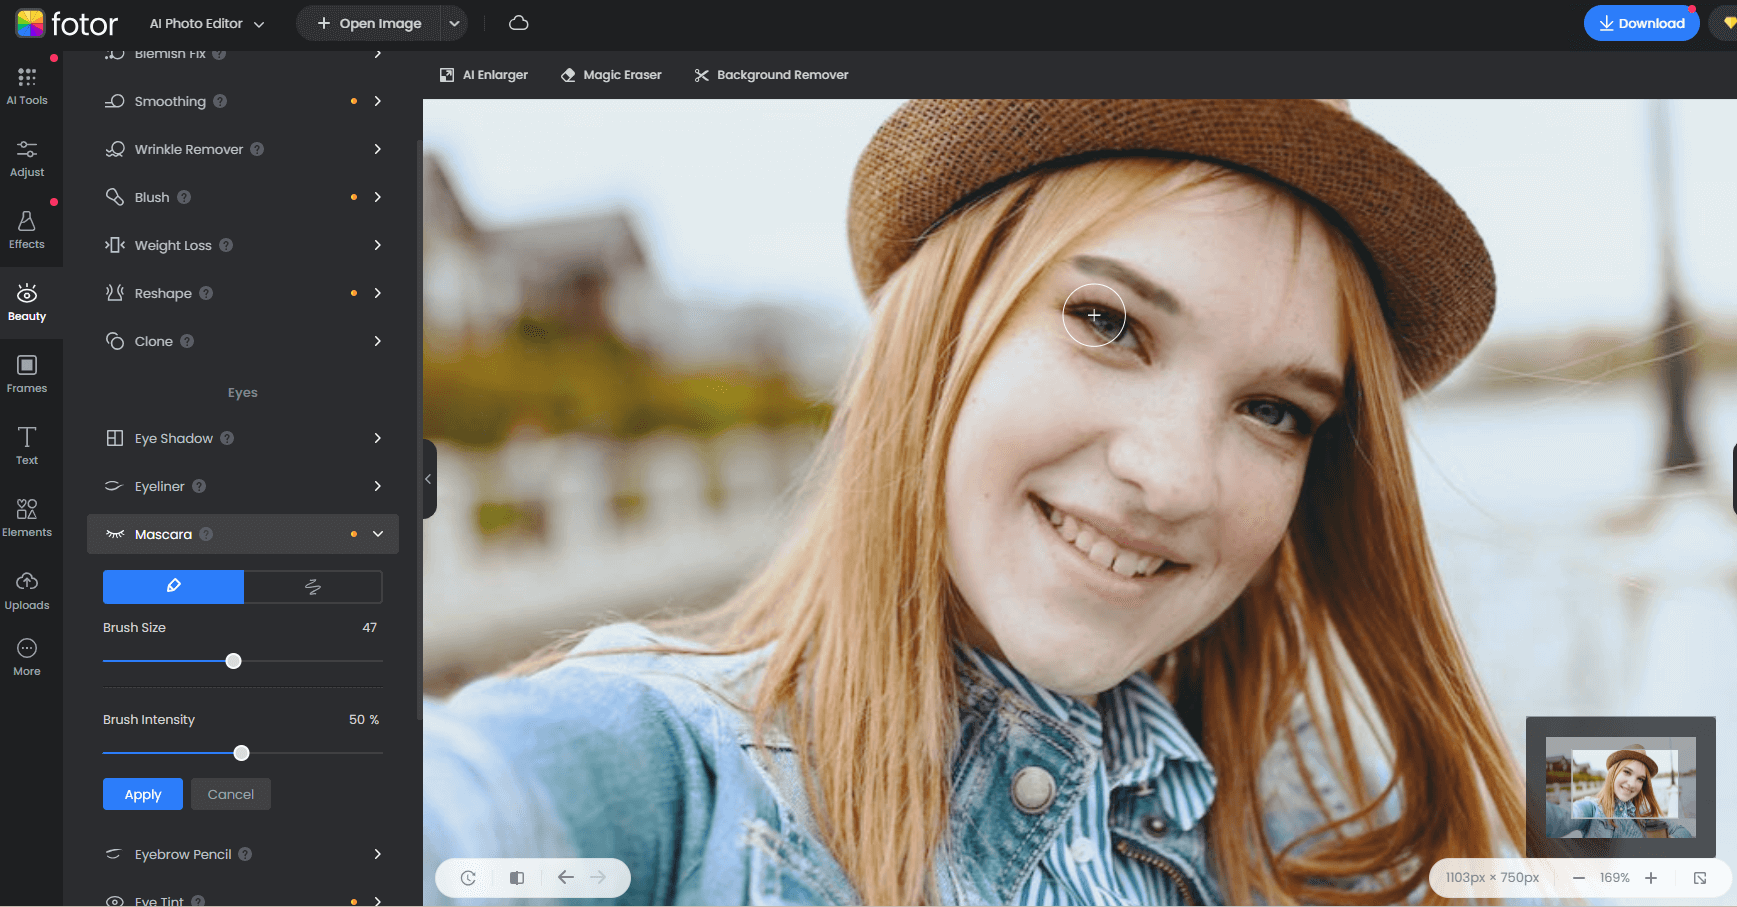
Let’s make those blue eyes pop so it emphasizes the overall green look of this portrait, because that’s what the moody portrait is made of, right?
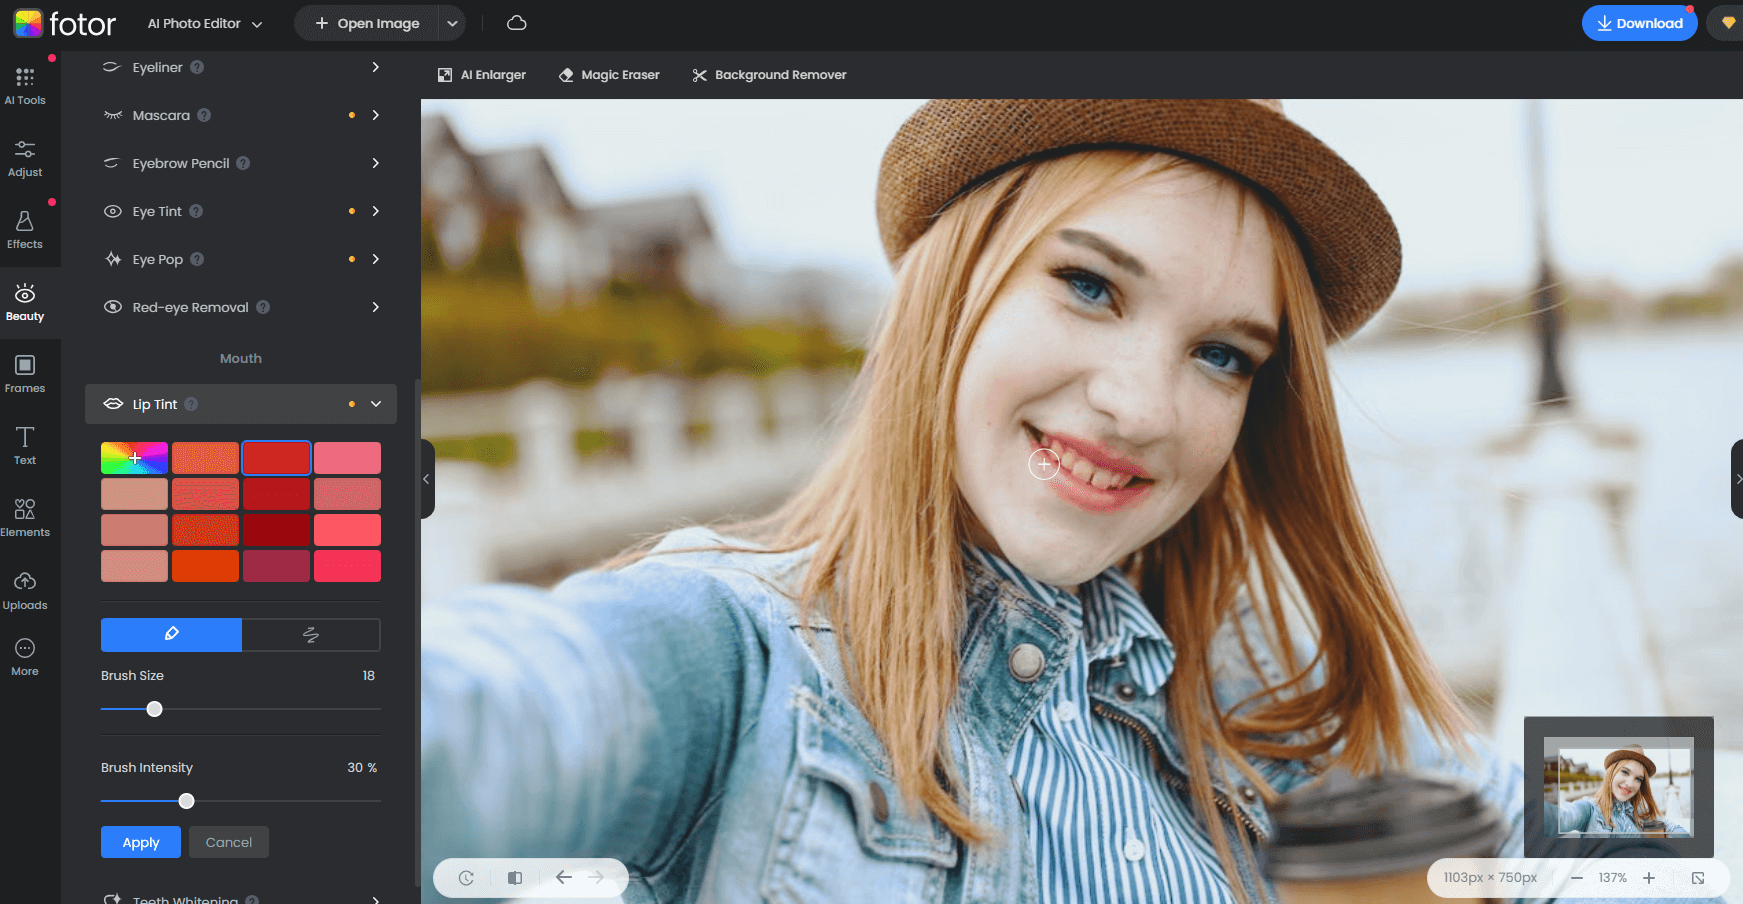
Now let’s add some color the mouth with this digital lipstick:
Finally, you can use the teeth brightening tool to whiten your teeth.
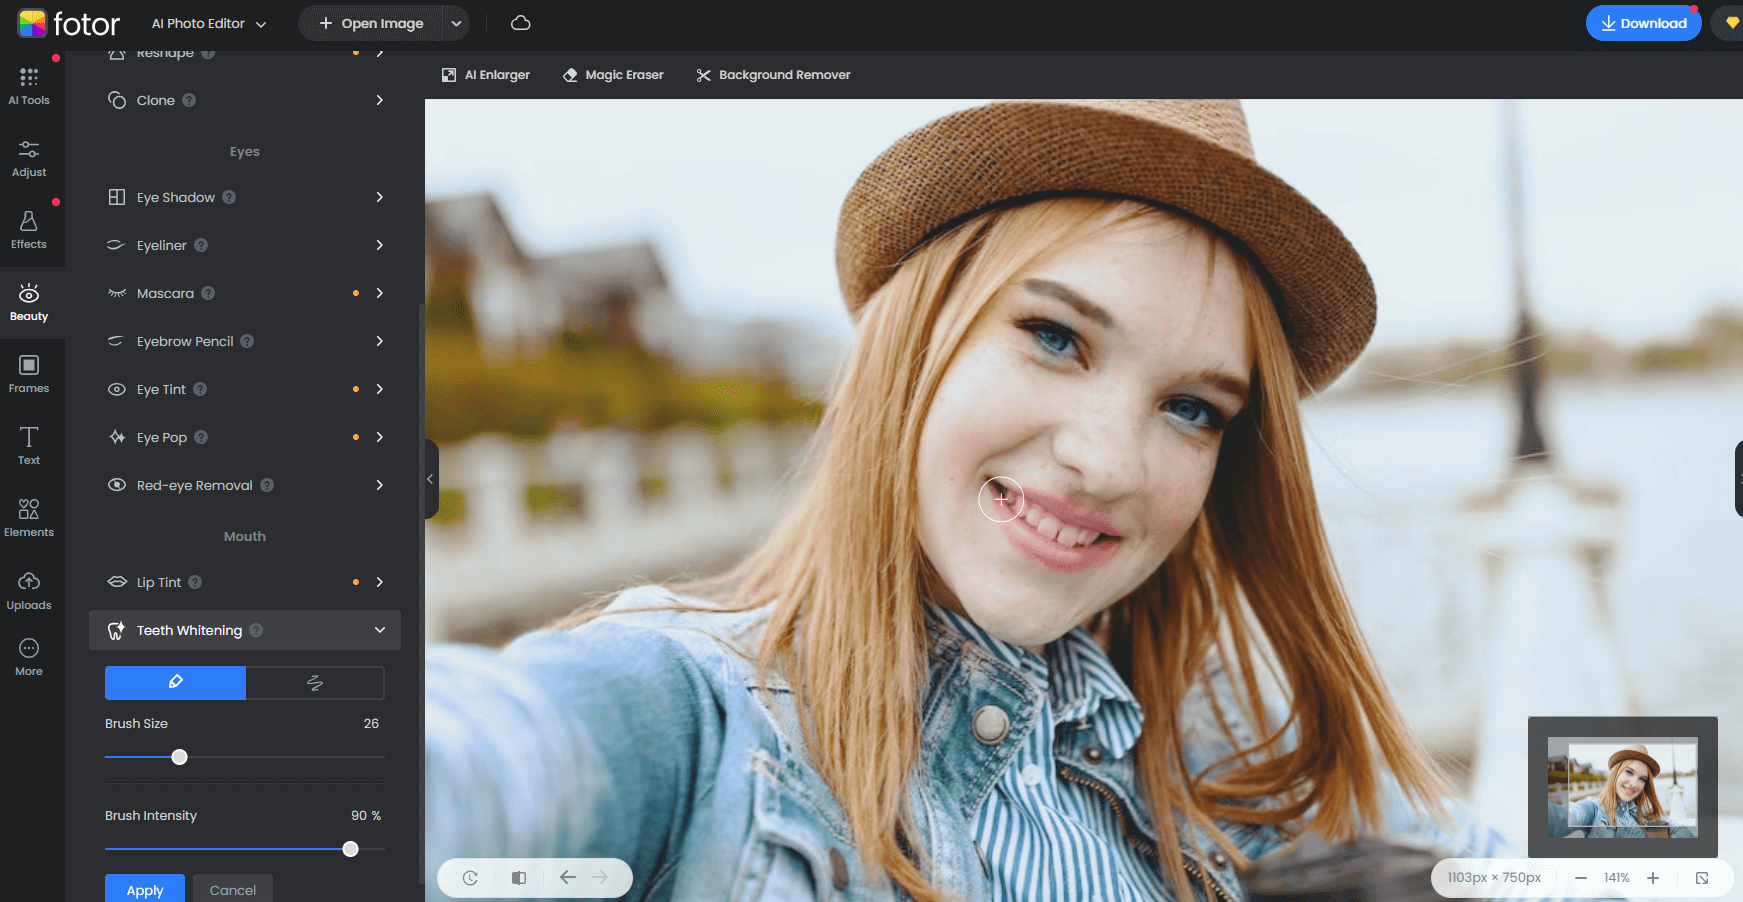
And check this out, this whitening tool is really awesome, never made easier!
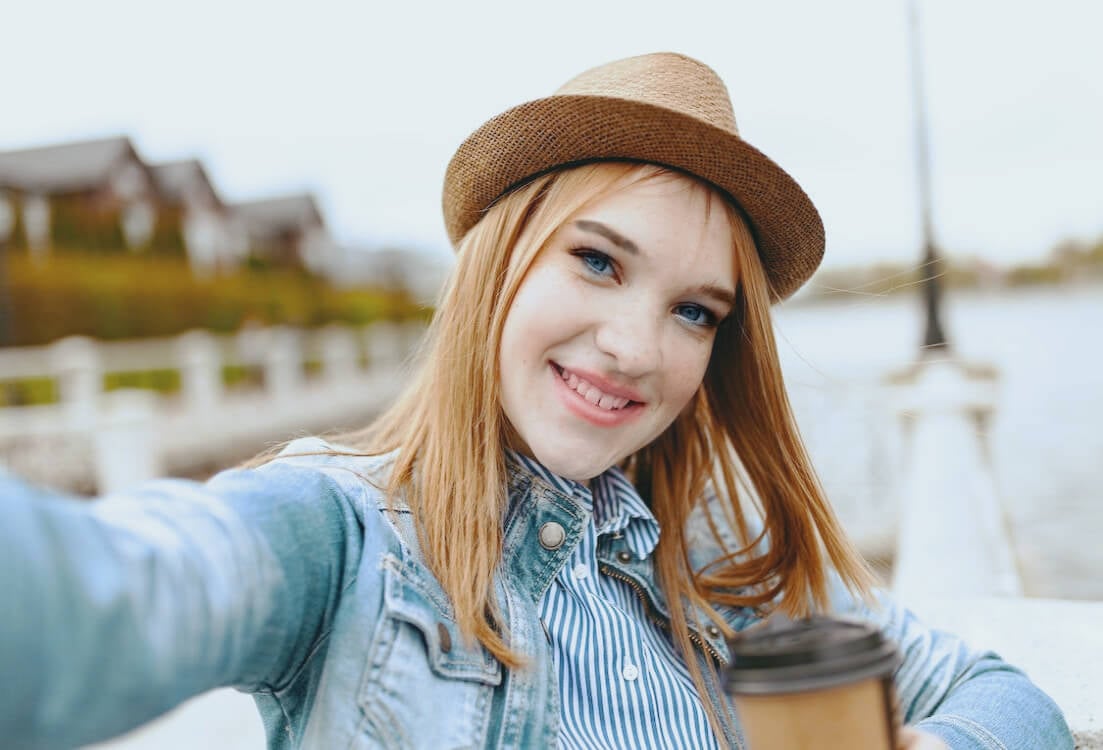
Last but not least, here’s my result after the retouch; this app really works magic without much trouble, what do you think?
So Now You Know!
You can always work some magic on your portraits even if you don’t have time and/or money to learn how to use professional hardware/software. You just need some creativity and taste for it. Look back on the steps on how to edit a portrait like a pro without Photoshop and you cannot go wrong! Set your camera, get some models, or even take some selfies and get your hands on the edit. I am SURE you will be delighted!