

Creating a Twitch banner design can sometimes prove to be a tedious and difficult task, especially if you’ve never really dabbled with graphic design tools before. But what if I told you that there’s an easy solution that can help you create a beautiful digital banner in a matter of seconds using Placeit's online banner maker? Well, if that sounds interesting, then follow me in this quick tutorial as I will walk you through the entire process.
Follow along with us over on our Envato Tuts+ YouTube channel:
What You'll Learn
1. What Is Placeit?
Before we begin, I want to take a couple of moments and quickly talk about what Placeit is and how it can help you.
If you aren’t a designer yourself, that probably means that you won’t have access to the tools that designers usually use, such as Adobe Illustrator, Adobe Photoshop, Sketch, etc.
But what if sometimes you actually need to create something yourself, but don’t feel like spending a lot of money on a graphics suite that you probably won’t use all that often?
Well, when that happens, Placeit can be a better fit, since it comes with a set of online tools that help you create digital gaming banners, anime Twitch banners, mockups, logos, etc. using just a couple of clicks.
That being said, we’re going to see how easy it is to create your very own Twitch banner using Placeit's online banner generator.


2. How to Access the Twitch Banner Maker
Before we can start working on the actual banner design, we first need to navigate to the correct section of the website that houses the Twitch Banner Maker.
Step 1
If you take a quick look at the horizontal navigation menu found next to the logo, you’ll notice that you have a category in our Twitch banner maker called Designs.


Step 2
As soon as you hover or click on the link, it will bring up a horizontal submenu, to the right of which you’ll find a tool called Twitch Banner Maker. If your browser’s window isn’t fully occupying the width of your screen, you can either scroll through the menu using the little right-facing arrow or you can find the link within the page’s left-sided Design Templates menu. Of course, you can always use the search function, which should bring up all the available banner templates.


Step 3
Here, you have a library of 85 different available Twitch banner templates (at the moment of this tutorial), from which you can choose the design that fits your needs. There are tons of Twitch banner ideas for you to choose from.


3. How to Make a Banner Using the Twitch Banner Maker
At this point, let’s say that we’ve found a design that we really like from the Twitch banner creator, and we want to gradually customize it in order to make it our own.
For example, from all the Twitch banner ideas I saw, I’ve decided to go with this gaming one, which gives you the option of adding your social links as well as adjusting the look and position of its elements using interactive editing. That's the great thing about Twitch banner makers—they offer lots of customization options.
No matter whether you pick a cute Twitch banner or a streaming design, the editing layout will always be the same. On the left side of the Twitch banner creator, you’ll have all your text-related controls, while on the right side, you’ll find all your background and shape-related ones. All the changes that you make will immediately be previewed within the banner template preview, which is front and center, allowing you to adjust it as you please.


Step 1
Let’s start by adjusting some of the text found within the banner. For example, I want to change the channel’s name from Zion-Sports to Nitro Gaming. To do this, I’ll simply select the text found within the top-left input box, and then overwrite it with my own.
As you can see, the tool lets me know the number of characters that I'm currently using out of the total allowed.


Step 2
I can easily change the font by clicking on the dropdown box found underneath and choosing a new one from the available list.


Step 3
You can also change the color of your text by clicking on the little dropdown box found next to the font, which will allow you to use one of the predefined values or a new one of your own if you click on the More button.


Step 4
You can also completely remove the current text field (or any other one), by unchecking its little checkbox, which will hide both it and its underlying decorative shape.


Step 5
Next, I’m going to customize the larger catchphrase, by going through the same settings presented for the channel’s name.


Step 6
Lastly, we have the social media handles, which I can individually rename and then customize to my own desire. Since at this point I’m pretty much done working on my text-based elements, I can now move on to customizing my banner’s different composing elements.


Step 7
If we move on to the right side of the browser’s window, we’ll see that we have a couple more options, which allow us to control the look and feel of our non-text-based elements.
The first is one is called Accent Color, and it enables us to change the color of our little avatar.


Step 8
Next, we have Icon Color, which as the name implies allows you to change the color of the little social icons.
Step 9
I then have the option of changing the colors for the two banner shapes (Banner 1 & Banner 2), but I’m going to leave them white for this example.


Step 10
The next option is called Main Color and controls the fill shape of the avatar illustration. As with the banners, I’m going to leave this set to default (white) in order to maintain the color scheme that I’m trying to build.
Step 11
Moving on down, we have the ability to change the avatar itself using one of the pre-created designs, or uploading a custom one of our own. Personally, I ended up using one of the provided ones, which due to its high quality proved to be a perfect fit.
Step 12
Finally, we have another option called Background, which as the name implies allows us to change the color of our background.


Step 13
If I feel that some elements could use a little adjusting, I can easily click on them, which will bring up a bounding box that I can then use in order to resize or reposition that specific element. If for some reason I’m not happy with the changes, I can easily undo them using the Reset Layout button.


Step 14
As soon as I’m happy with how my banner design ended up looking, I can easily download it by clicking the Download button, which will charge me a small fee each time I use the banner template generator.


4. How to Upload Your Banner to Twitch
So you’ve finished creating your awesome banner using Placeit's online banner generator, but how do you go about using it on Twitch?
Well, first you need to make sure you have an account and are already logged in to it. Once you're within your account, simply go to Settings > Profile Banner and then click on the Update button in order to upload your digital banner.


Once you've uploaded your design, you can go to your channel, and you should be able to see your new Twitch banner in all its glory.


Great Work! Now You Know How to Make a Twitch Banner
As always, I hope you’ve found this tutorial useful and that it will inspire you to create cute Twitch banners, gaming designs, eSports creations, and even anime Twitch banners. Unleash your creativity!


Create and Customize Your Twitch Banner Today!
Why not get started on your new Twitch Banner design today? You can do so right now, from the comfort of your browser, and you can start designing for free.
Looking for some fun, creative Twitch banner templates that you can try out on Placeit right now? Check these designs out.
1. Twitch Banner Maker With 8-Bit Characters and Pixel Art
Love pixel art? How about using a pixel art theme for your Twitch Banner? Customize the colors on this cute pixel character, and customize the look and feel to match your professional brand.


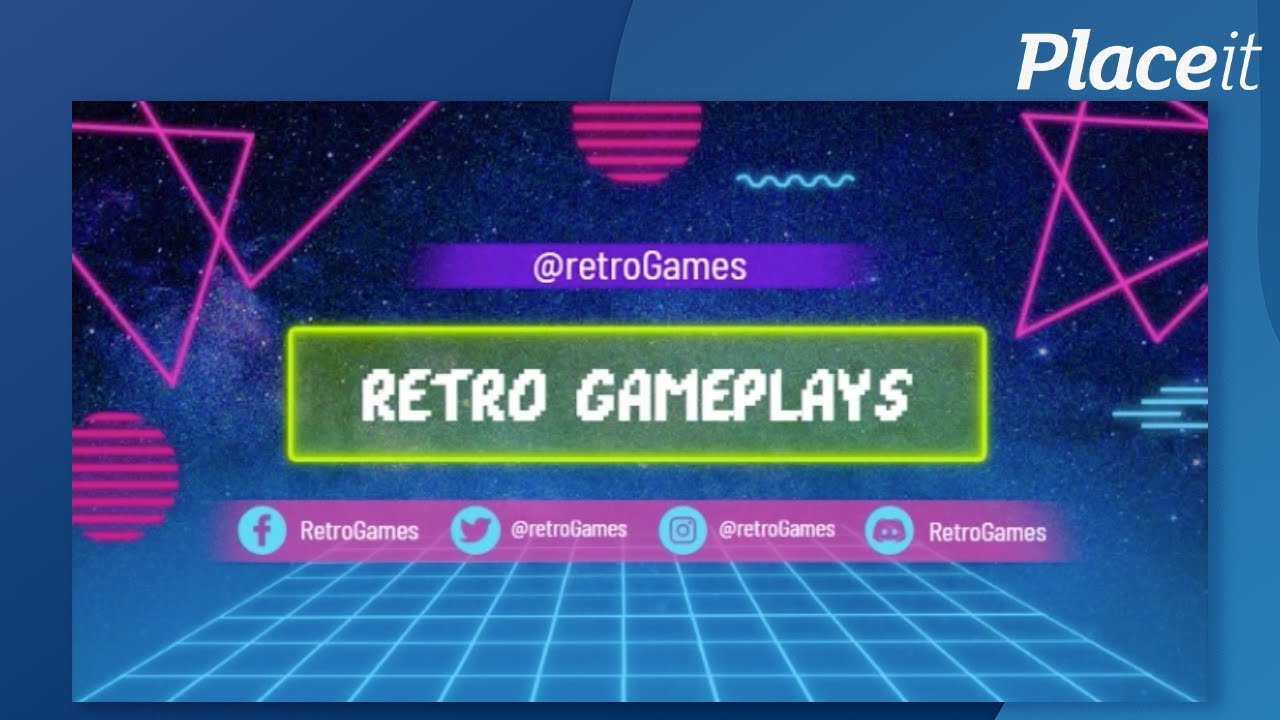
2. Retrowave Twitch Banner Template With Neon Shapes
Or how about taking your love of retro gaming in a different direction? Check out this fun, 80s-themed Twitch banner design. Try out some different saturated colors, or swap out the background for a different look.


3. Zombie Twitch Banner Template
But maybe zombie horror is more your play style. There's plenty of content for you to check out too, like this design. Keep and customize the character art, or remove it entirely—remember, the layout is customizable.


4. Creepy Twitch Banner Template With a Horror Theme
Keep things creepy with a Twitch banner design like this one. Move the text, change the colors, and keep the scary vibe going with a design that matches the content you play on your channel.


5. Twitch Banner Maker With a Nature Fantasy Land
Or how about something with a fantasy vibe? A design like this could be perfect for those who play MMOs or role-playing games. Add more content if you'd like to show off your social media channels, or keep it simple. The choice is yours.


Discover More Tutorials From Envato Tuts+
If you loved our tutorial on how to make a Twitch banner, you're in luck, as I've put together this short list that will help you take the next steps in your learning journey.

 How to Make Cute Anime Twitch Panels


 How to Customize Your Twitch Channel

 How to Make Twitch Panels

 How to Create a Fortnite Twitch Banner


 35+ Best Twitch Stream "Starting Soon" Overlays Using a Twitch Overlay Maker


 How to Make a Halloween Twitch Overlay

 Gaming Templates for Twitch & YouTube Gamers (Streaming Overlays, Banners, and More!)

 53 Best Webcam Borders for Twitch & Stream (Using a Twitch Border Maker)

 How to Create a Twitch OBS Stream Overlay in Photoshop


